As an Amazon Associate, we earn from qualifying purchases. Some links on this site are affiliate links at no extra cost to you. Our recommendations are based on thorough research and editorial judgment.
Wax Stuck in Warmer? Here’s How to Remove It Quickly & Cleanly
wax sticks because it shrinks when cooling, trapping itself against your warmer’s sides. The fastest fix? Heat it fully liquid, then absorb the melted wax with cotton balls and paper towels. If that doesn’t work, freeze your warmer for 10–20 minutes so the hardened wax shrinks away and pops out cleanly. Either way, stick with plastic tools—metal scrapers will scratch your dish faster than you can say “oops.” Stick around for the full toolkit and prevention tricks that’ll save you from this mess entirely.
Key Takeaways
- Heat the warmer fully to liquify wax, then absorb with cotton balls and wipe residue with paper towels.
- Freeze the warmer for 10–20 minutes to shrink wax, allowing it to pop out as a solid block.
- Use plastic scrapers or wooden tools on cooled wax, applying gentle pressure to avoid scratching surfaces.
- Apply post-wax oil to stubborn residue, let penetrate 15–20 minutes, then gently scrape and wipe clean.
- Maintain warmer temperature between 75–90°C and use proper cube portions to prevent sticking and buildup.
Why Wax Gets Stuck in Your Warmer
When wax doesn’t fully melt or gets pushed into corners of your warmer dish, it hardens in layers and basically glues itself to the surface—and I’ll be honest, it’s partly a physics problem and partly user error (the good news: it’s fixable). Here’s the thing: wax naturally shrinks as it cools, creating tiny gaps that trap it against whatever material your warmer’s made of, whether that’s ceramic or glass. Add fragrance migration into the mix—that’s when the scent oils separate and move through the wax differently—and you’ve got an uneven, stubborn mess. Overfilled warmers are the real culprit though. You pack too much wax in there, it pools unevenly, and some bits never fully liquify. The result? Stuck-on residue that feels permanent but absolutely isn’t.
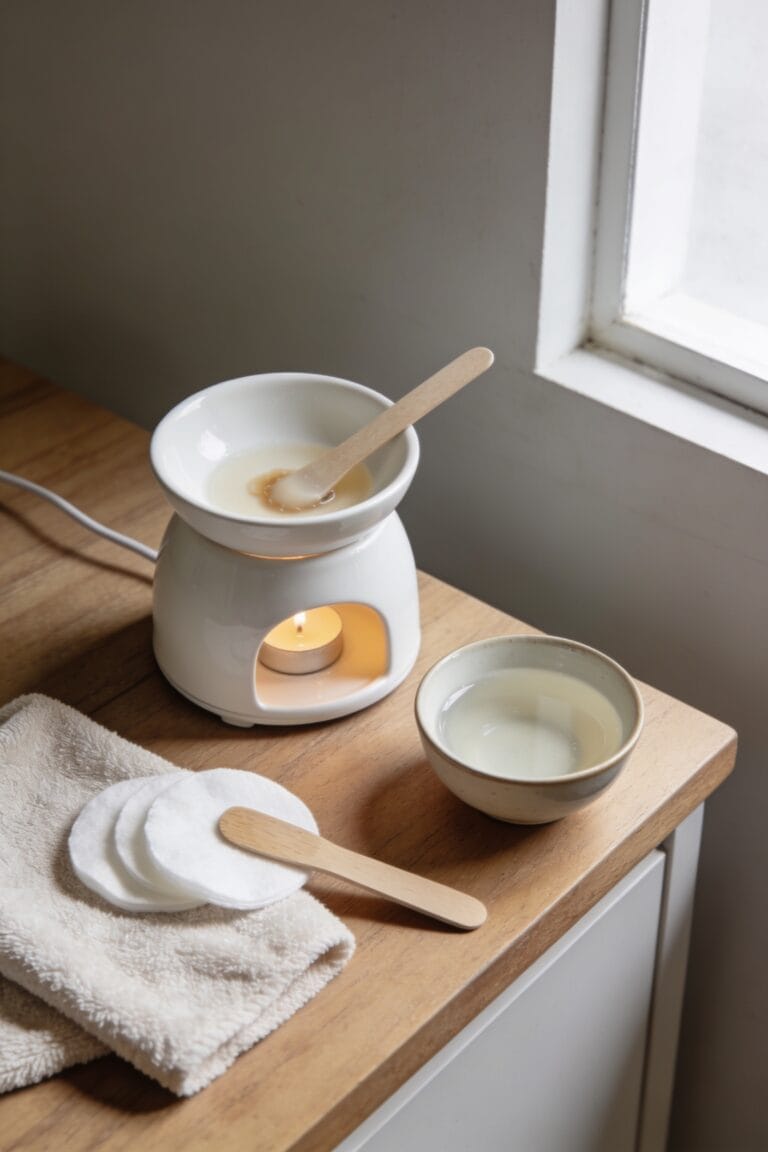
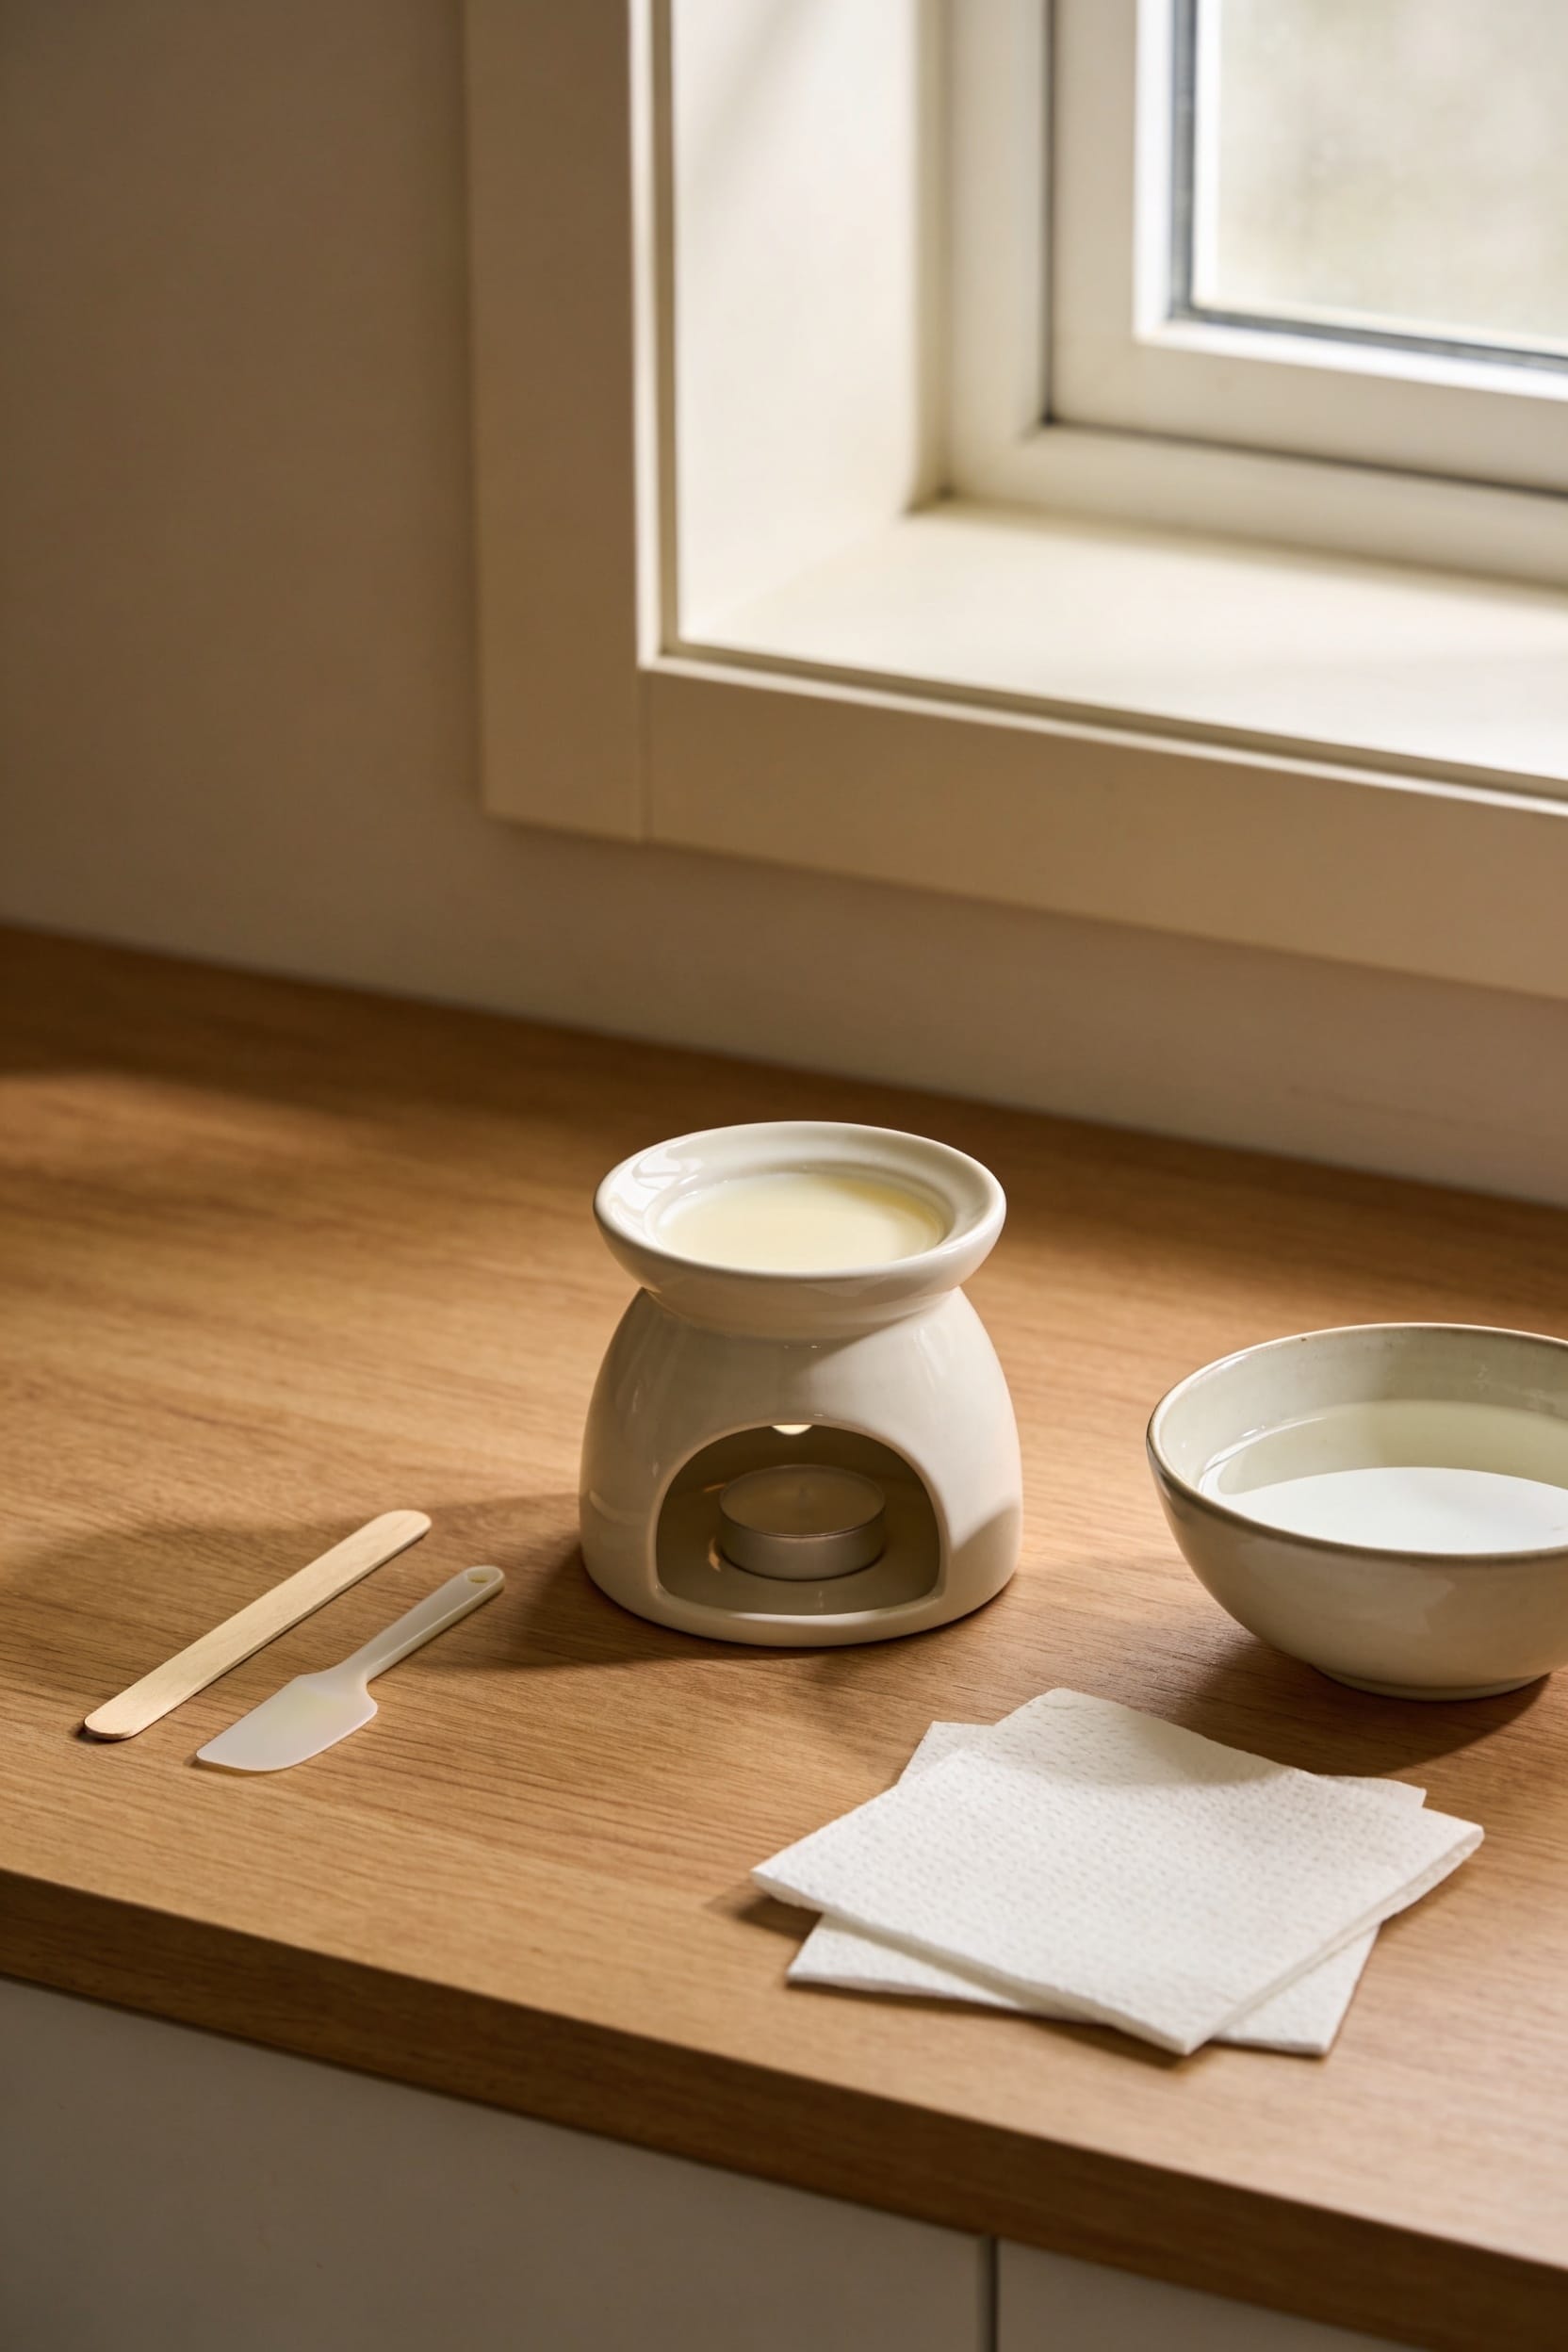
Hot Method for Stuck Wax: Melt & Absorb
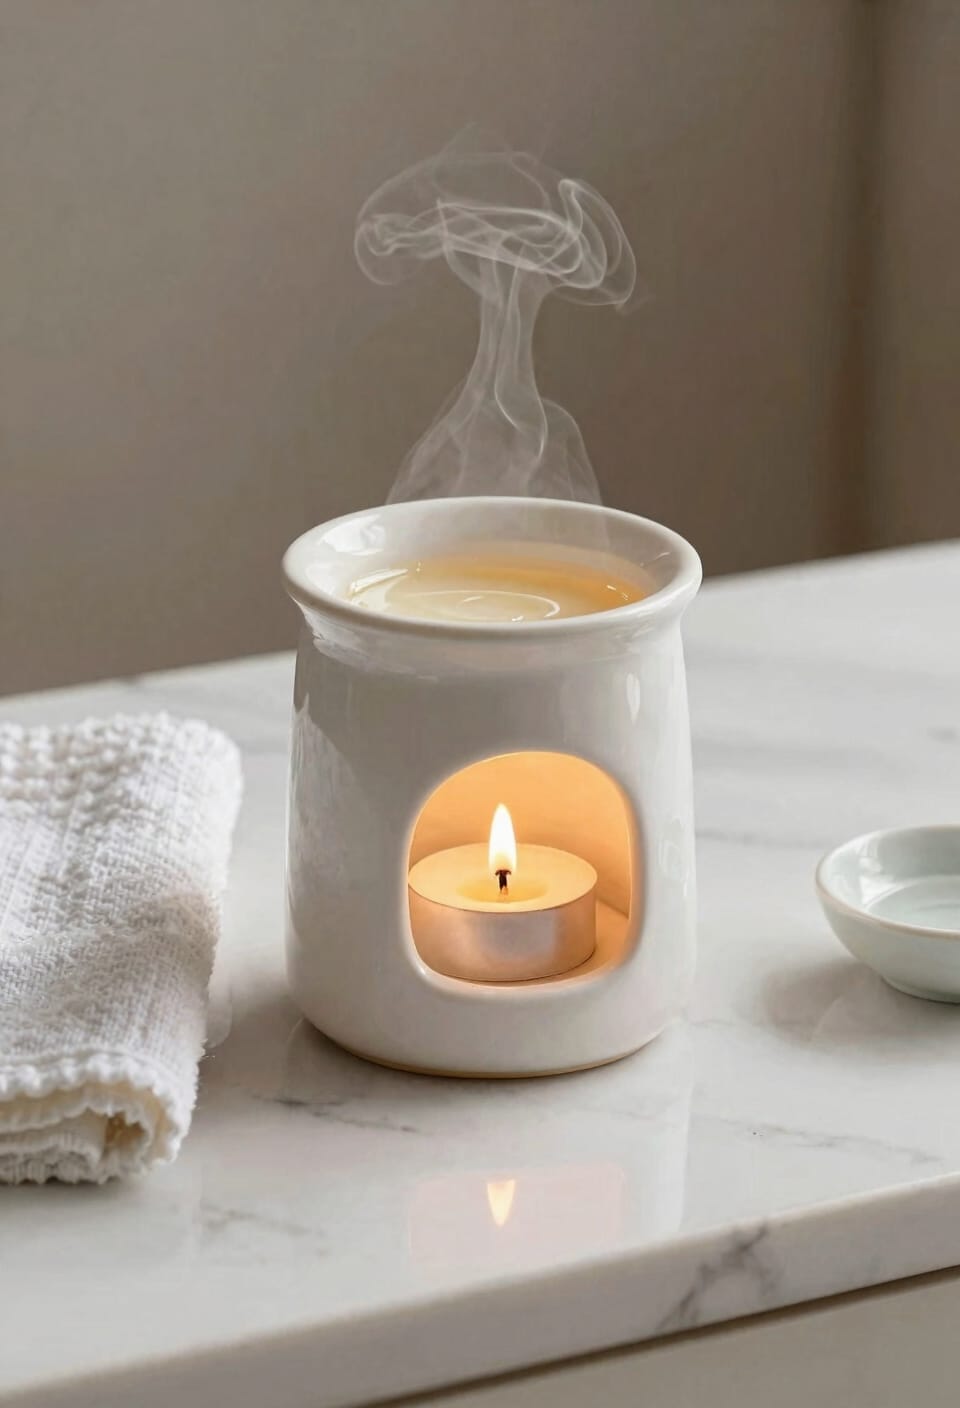
All right, here’s where the hot method comes in—it’s basically the straightforward approach, and honestly, it’s probably what you’d naturally try first. Turn your warmer up to fully melt that wax into liquid, then grab some cotton balls for melt absorption. One cotton ball per wax cube works perfectly. You’re fundamentally soaking up the liquefied wax like you’re mopping a floor, except messier and way more fragrant. After cotton swapping, wipe away any remaining residue with a paper towel. The key here? Don’t use metal scrapers while things are hot—stick with silicone or wood instead. Your warmer dish will thank you, and you’ll avoid those awful scratches that make cleanup harder next time around.
The Cold Hardening Trick: Pop Out Solid Wax in Minutes
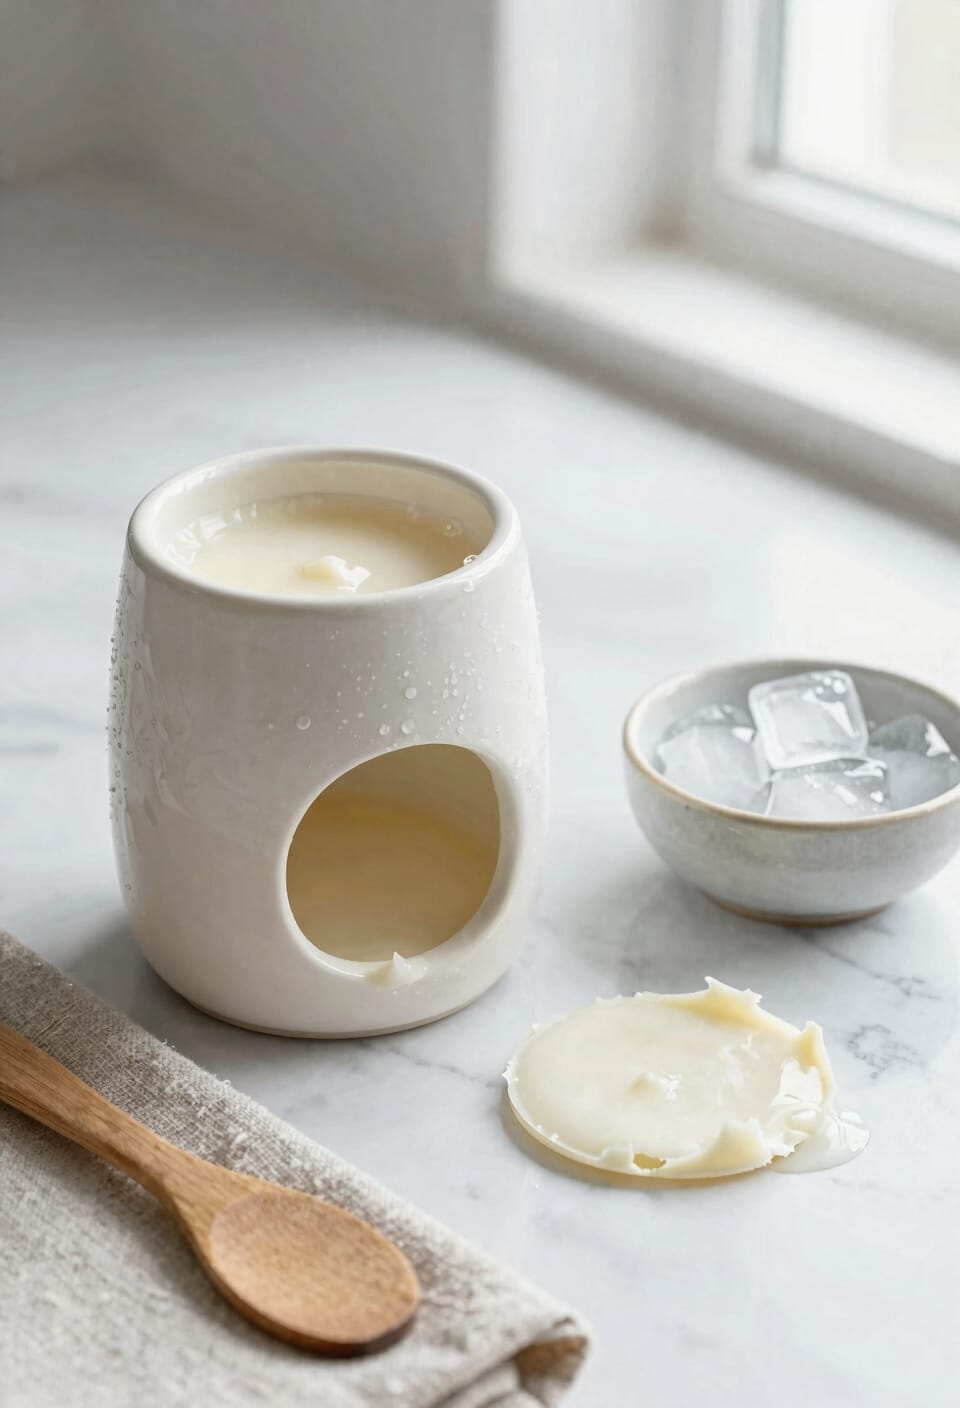
If you’re tired of scraping and wiping, there’s a genuinely clever workaround that feels almost like magic: the cold hardening trick. Here’s the thing—wax shrinks when it cools, which means it naturally pulls away from your warmer’s sides. You’ve got options. Pop your warmer in the freezer for 10–20 minutes and watch the wax shrink and pop right out as one solid block. Alternatively, hold an ice cube against hardened wax for about two minutes to trigger that freeze release effect. Some people insert ribbon into liquid wax before it sets, then simply pull the entire cooled block free. It’s faster than scraping, way less frustrating, and you’ll feel like a candle genius. No metal tools scratching your dish, no endless wiping. Just physics doing the heavy lifting.
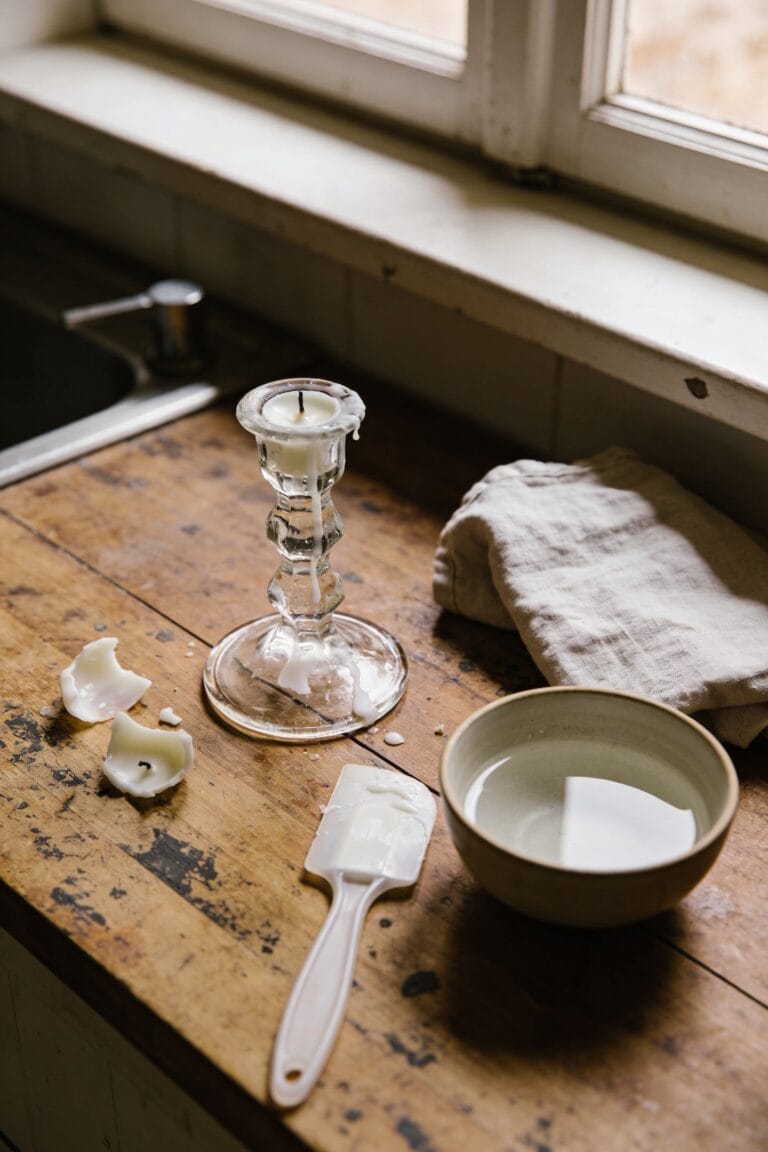
Scrape Without Scratching: Plastic Tools & Best Practices
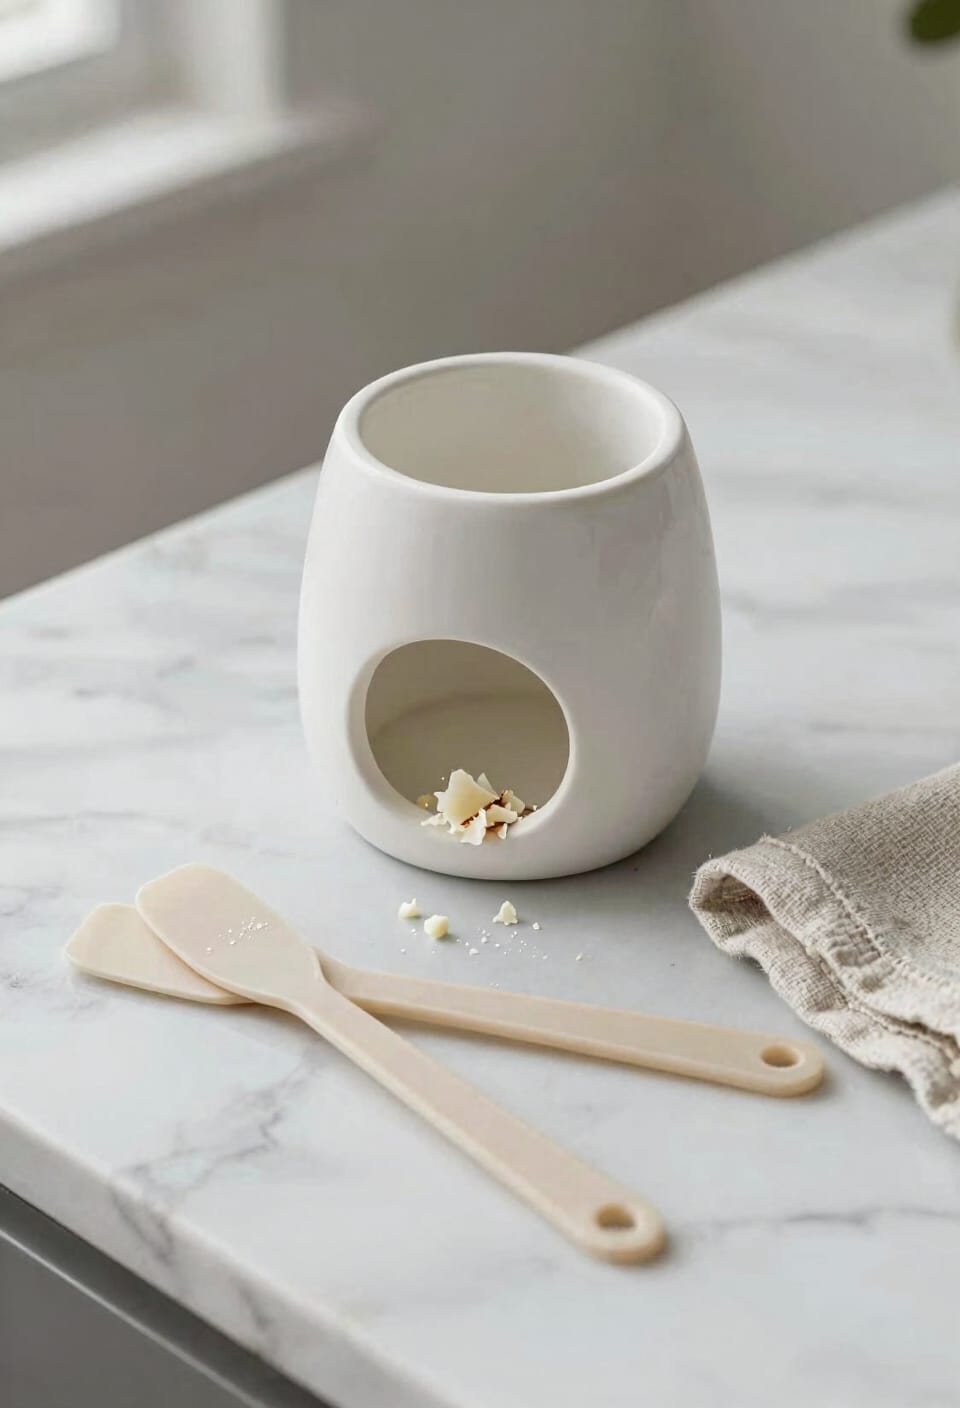
Scraping out old wax without gouging your warmer dish is genuinely easier than you’d think—and it all comes down to using the right tools. I’m talking plastic scrapers and nonabrasive probes—basically anything that won’t leave battle scars on your ceramic or glass. A citrus peeler works beautifully. So does a clamshell-edge scraper. You could even grab a plastic spoon from your kitchen drawer in a pinch. The key? Let that wax fully harden first, then go slow and steady around the edges. Apply gentle pressure and let the tool do the work instead of forcing it. Turn off your warmer before you start scraping. You’ll save yourself from heat burns and accidentally destroying a perfectly good warmer that’s got years of fragrance left to give you.
Oil-Based Removal: Breaking Down Stubborn Residue
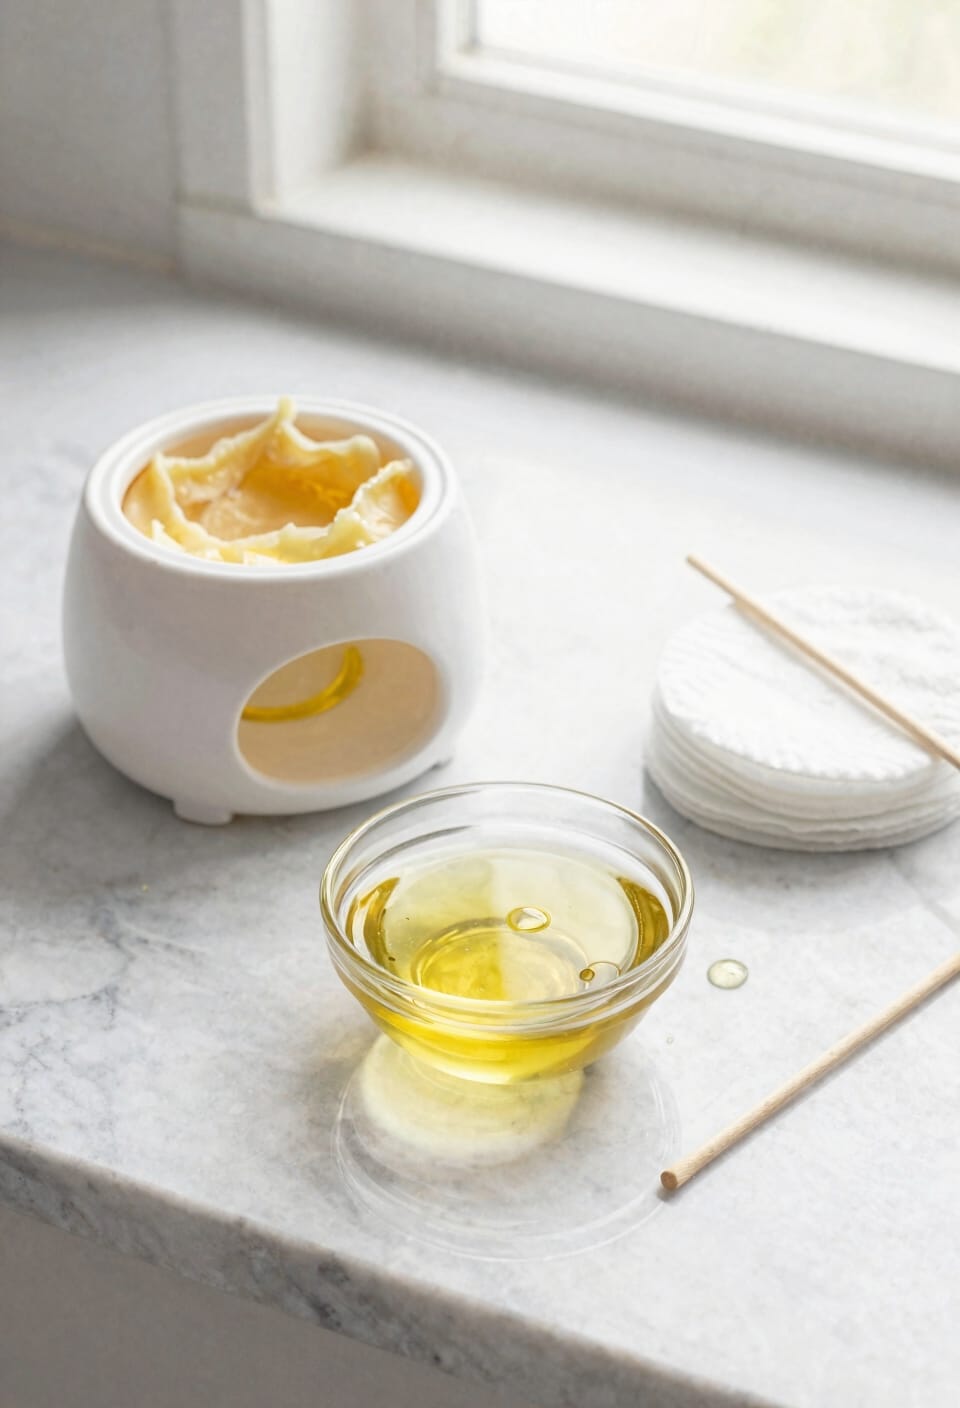
Now, sometimes you’ll scrape away the bulk of that hardened wax and still find yourself staring at a stubborn film clinging to the bottom and sides of your warmer dish—that’s where oil-based removal comes in clutch. I’m talking about post-wax oils like Starpil, which act as essential solvents that break down those clingy residue layers without damaging your warmer. Here’s my move: apply the oil sparingly to the cooled surface and let it penetrate for about 15-20 minutes. Then swirl it around with your spatula, scrape gently, and wipe everything down with paper towels. This method also protects fragrance preservation by preventing cross-contamination between different scent cubes. You’ll end up with a pristine dish, ready for your next wax adventure.
Wax Warmer Temperature Guide: Heat Settings That Work
Getting your wax warmer‘s temperature just right is where a lot of people stumble, because too hot and you’ll burn through your wax like it owes you money, but too cold and nothing melts at all. I’ve found that heat presets between 75-90°C hit the sweet spot for most warmers—hot enough to liquefy your wax fully without scorching it or turning your fragrance into burnt toast.
Now, if your warmer maxes out around 257°F, you’re working with a temperature range that’ll give you that thin, soupy consistency you’re after. The key? Don’t leave it cranked on high while you’re gone. Brief reheating for just 1-2 minutes melts only the base layer, making removal stupidly easy. Turn it off before you scrape. Your future self will thank you.
Your Wax Removal Toolkit: Essential Supplies
You’ll want to gather the right gear before you even turn your warmer on, because trying to scrape hardened wax out of a pot with whatever’s lying around in your junk drawer is how you end up gouging the dish and spreading fragrance residue everywhere. Stock your toolkit with plastic spatulas, cotton pads, and thick paper towels—metal tools are your warmer’s enemy. Keep post-wax oil handy for stubborn buildup. Scentsy’s cleanup pads handle four cubes per pad, which beats improvising. Whether you’re cycling through seasonal themes or experimenting with scent pairing combinations, having these supplies ready means you’ll actually maintain your warmer instead of abandoning it mid-season. Trust me, your next candle will thank you.
Prevention Strategies: Never Deal With Stuck Wax Again
Since prevention beats cleanup every single time, let me share the habits that’ll keep your warmer looking fresh and your wax removal headache-free. Start with proper cube portioning—use only what you’ll actually burn in one session. I know it’s tempting to dump a handful in there, but restraint saves you serious scraping later. Maintain a regular cleaning schedule instead of letting residue pile up like laundry on a chair. Store your wax cubes in a cool, dry place so they don’t get compromised before they even hit the warmer. Turn off your warmer when you’re done, clean spills immediately, and keep your toolkit handy. These small moves? They’re honestly the difference between a warmer that lasts years and one that becomes a wax archaeology project.
Frequently Asked Questions
Can I Drain Cooled Wax Down the Sink or Does It Cause Plumbing Problems?
No, you shouldn’t drain cooled wax down your sink. I’d avoid it because it’ll solidify in your pipes, creating plumbing concerns. Plus, there’s environmental impact. Always dispose of wax in the trash instead.
How Often Should I Clean My Wax Warmer to Prevent Buildup and Sticking?
I’d recommend weekly maintenance to wipe residue and a monthly deep clean for stubborn buildup. Regular cleaning prevents wax from sticking and keeps your warmer functioning smoothly and efficiently.
Is It Safe to Use Metal Tools on My Warmer, or Will They Damage It?
I’d scratch that idea—metal tools’ll gouge your warmer’s dish like nails on a chalkboard. You’ll damage the surface permanently. Stick with plastic or silicone; they’re gentler and keep your warmer looking pristine.
What’s the Difference Between Scentsy Cleanup Pads and Regular Cotton Balls for Absorption?
I’ve found Scentsy cleanup pads absorb four cubes per pad versus cotton balls’ one-cube capacity. They’re superior for absorbency comparison and don’t shed lint like regular cotton. Plus, they’re reusable, maintaining scent retention better.
Can I Mix Different Wax Fragrances, or Does Residue Cause Cross-Contamination Issues?
I’d advise against mixing fragrances directly—residue causes cross-contamination, muddying your scent. For fragrance layering or scent compatibility, I recommend thoroughly cleaning your warmer between wax changes using oil-based residue removal methods.
Conclusion
Look, I get it—you’re thinking, “Why’d I buy a warmer if I can’t just leave wax in there forever?” Here’s the thing: stuck wax isn’t a life sentence. With these methods, you’ll clear it out faster than you’d think. The real win? You’ll stop it from happening again. Your warmer stays cleaner, your wax lasts longer, and you’re not cursing at melted plastic at midnight. That’s worth the five minutes of prevention.