As an Amazon Associate, we earn from qualifying purchases. Some links on this site are affiliate links at no extra cost to you. Our recommendations are based on thorough research and editorial judgment.
How to Clean an Electric Wax Warmer Without Damage
All right, here’s the thing: unplug your warmer first, then pour warm wax into a disposable container instead of down your drain—trust me, your pipes will thank you. Scrape softened wax with a silicone spatula, absorb stragglers with cotton balls, then dissolve stubborn residue using mineral oil on a cloth. Wipe everything down with a clean microfiber cloth for that like-new shine. Use liners going forward and inspect regularly for cracks or frayed cords. Stick around to discover exactly why metal scrapers wreck these things.
Key Takeaways
- Unplug the warmer and let it cool slightly before removing wax to prevent burns and electrical hazards.
- Pour warm wax into reusable containers or foil bowls instead of down the drain to avoid clogs.
- Use mineral oil on a cloth to dissolve stubborn wax residue without damaging interior surfaces.
- Clean with soft tools like silicone spatulas and cotton cloths, avoiding metal scrapers that scratch.
- Schedule regular inspections every two weeks to detect cracks, cord damage, and prevent future buildup.
Safely Prepare Your Wax Warmer Before Cleaning
Before you plunge into scrubbing down your electric wax warmer, you’ve got to set yourself up for success—and that starts with the basics. First, do an unplug confirmation—seriously, make sure that thing’s completely disconnected from power. No shortcuts here. Next comes a temperature check. If your wax has hardened into a sad little brick, give it five to ten minutes of heat to liquify it again. You want it soft enough to work with, not cooled completely solid. Grab some heat protection like towels or gloves because we’re dealing with hot surfaces. Finally, do a quick inspection for cracks, frayed cords, or any damage that’ll tell you whether this warmer’s worth saving or headed for retirement.
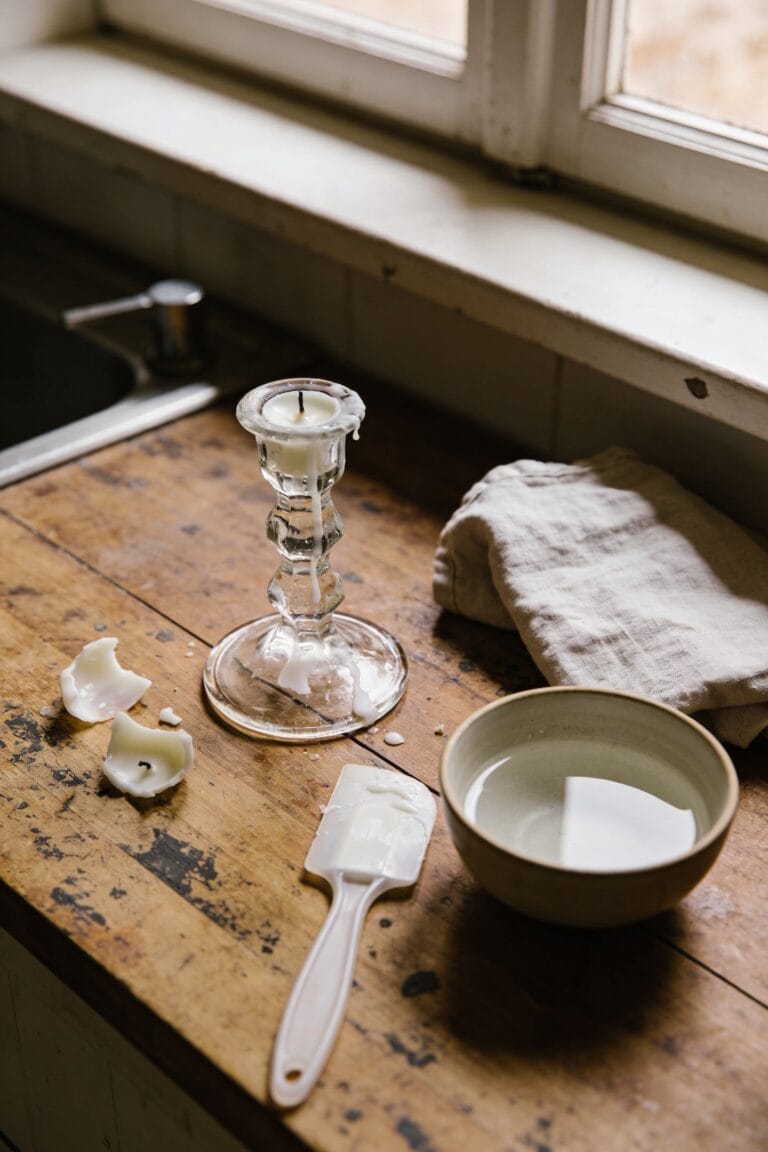
Remove Wax Without Pouring Down the Drain
Now, here’s where most people go wrong—they grab a trash bag and start dumping liquid wax like it’s yesterday’s coffee, only to end up with a melted plastic disaster or a clogged sink that’ll haunt them for weeks. Don’t do that.
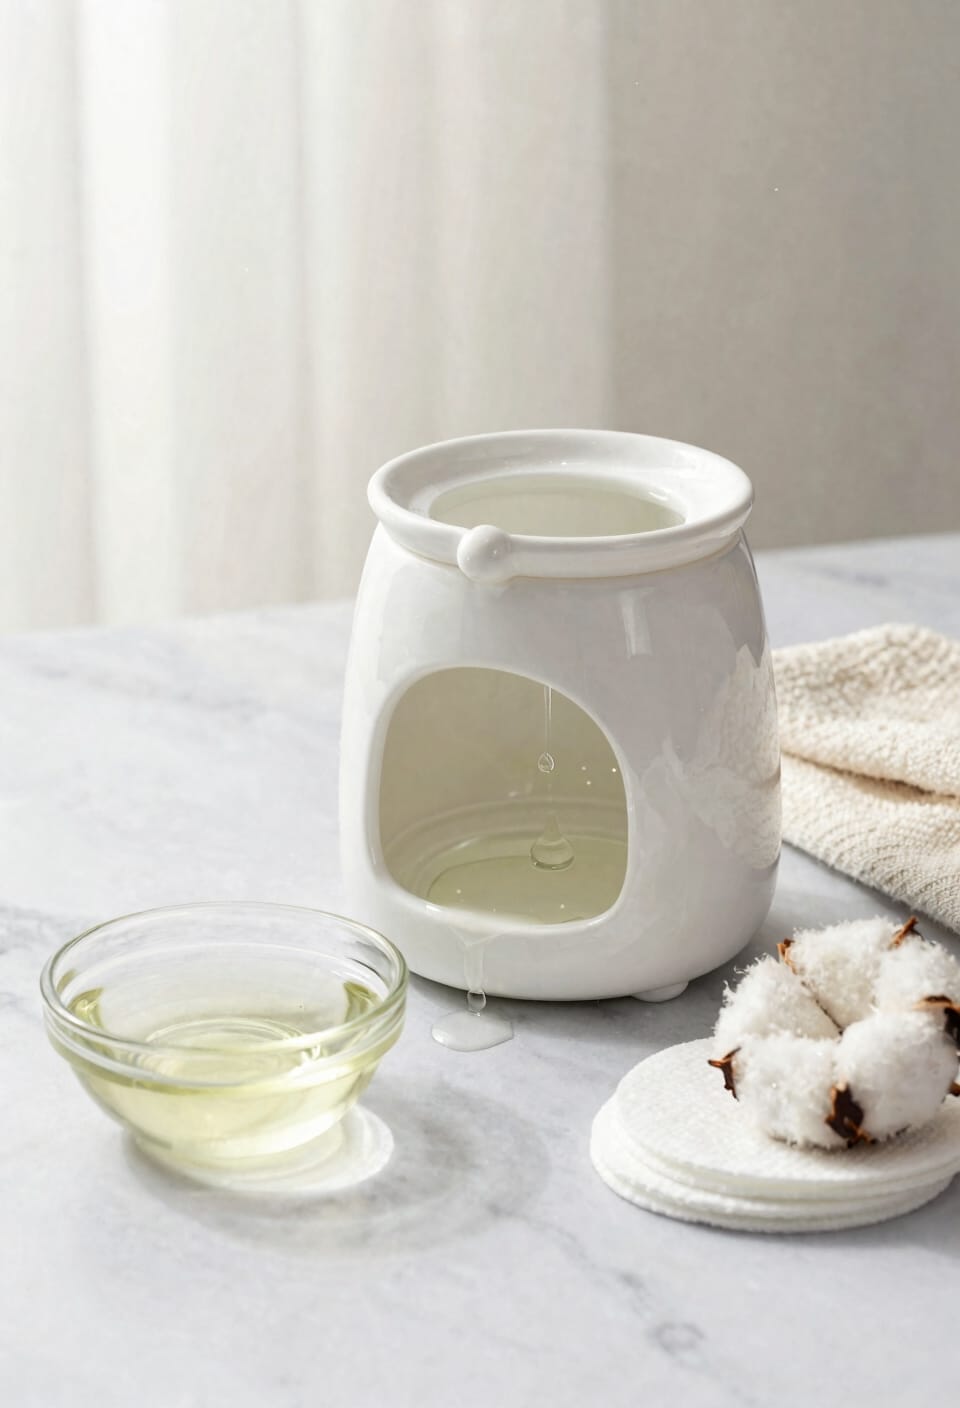
Instead, pour your warm wax into heat-resistant reuse containers or a disposable tin foil bowl. This prevents plumbing nightmares and lets you explore solidification hacks—you can actually reheat and repurpose that wax later if you’re feeling resourceful.
When the wax cools slightly, it becomes workable. Scrape softened wax with a silicone spatula or old spoon, then absorb remaining bits with cotton balls. You’re protecting your warmer and your pipes simultaneously. That’s the move right there.
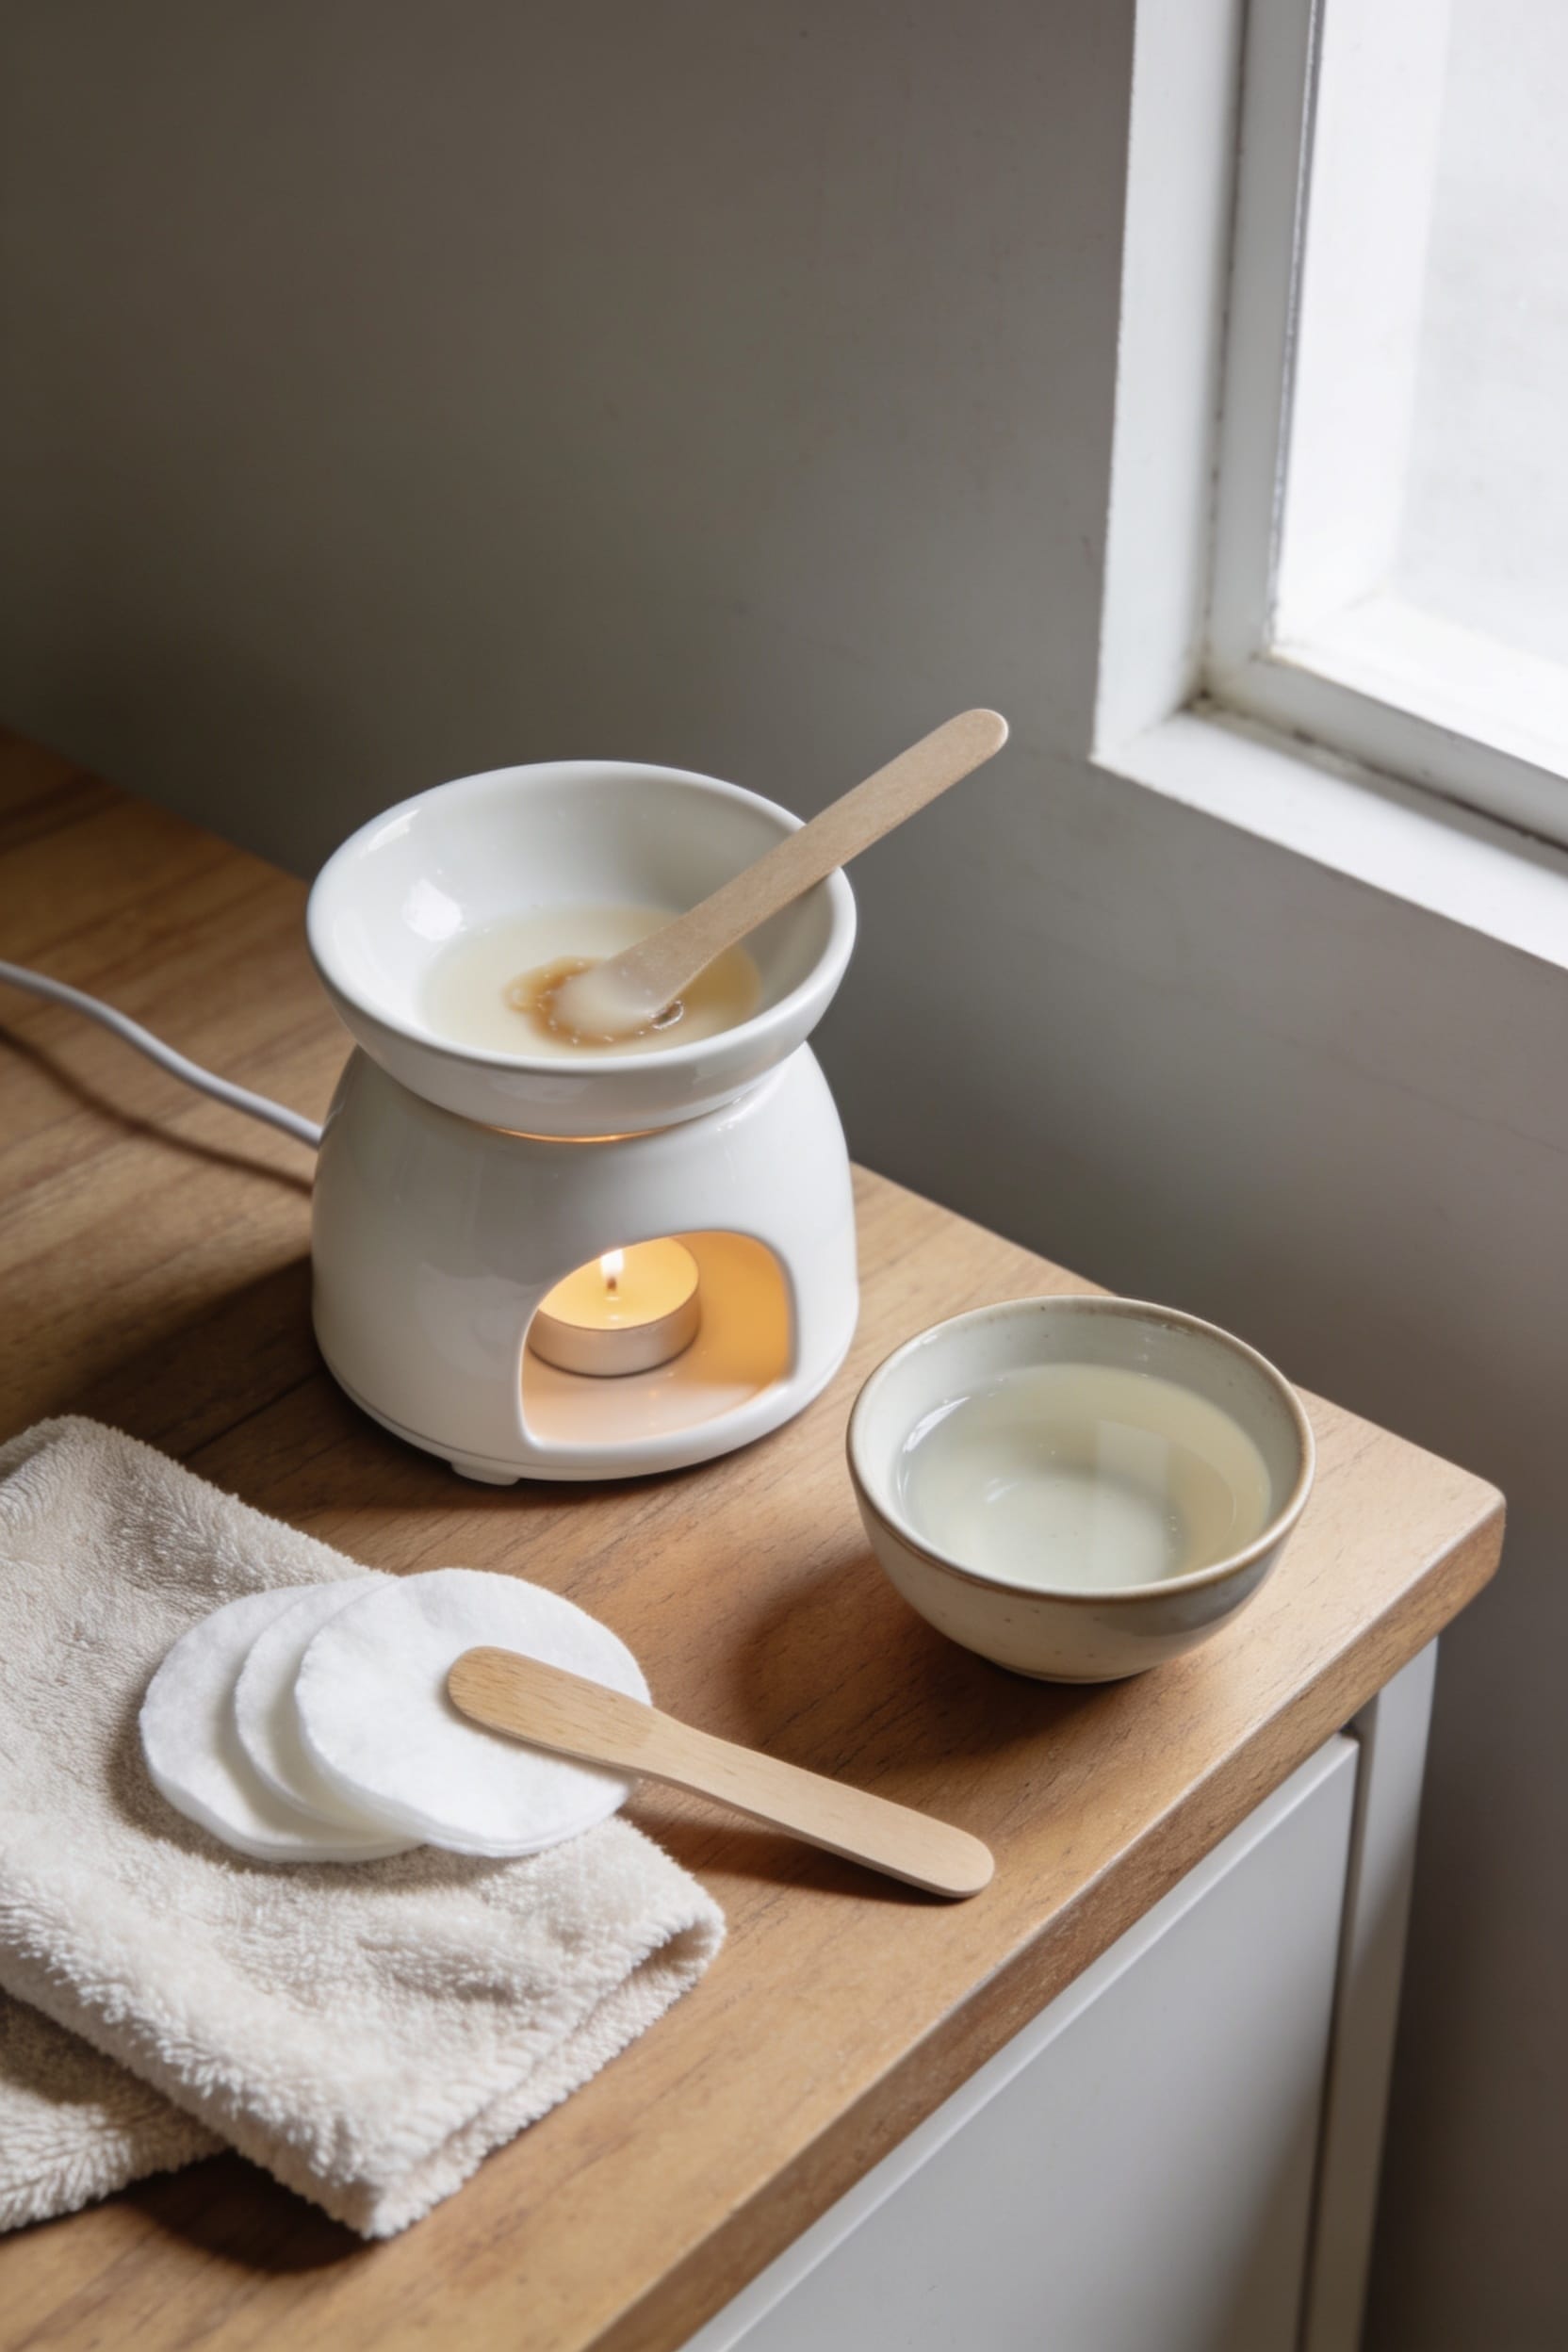
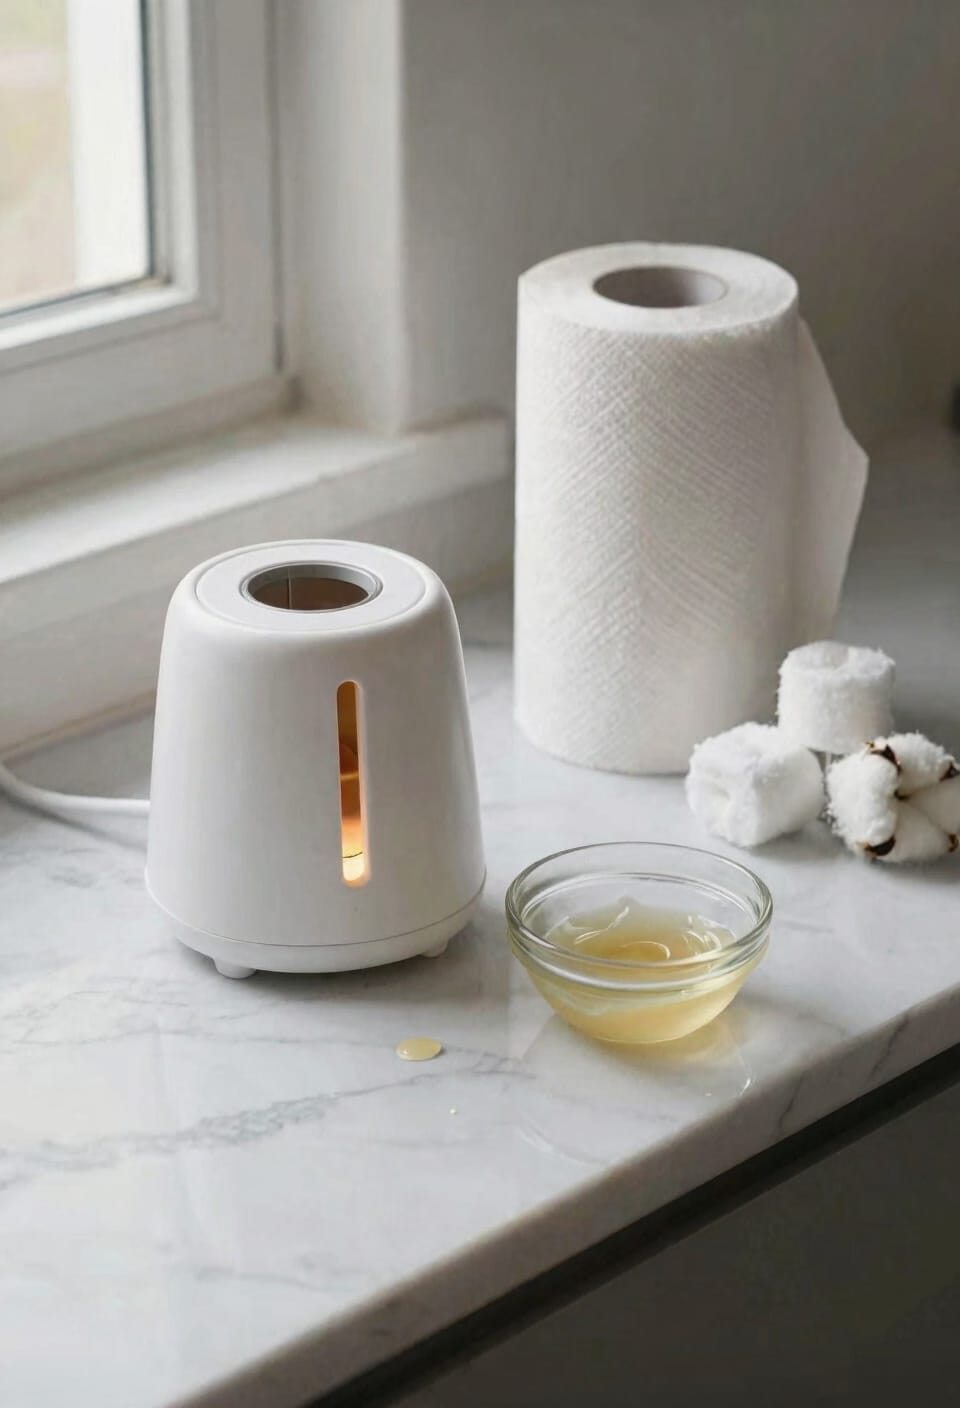
Dissolve Stubborn Residue With Mineral Oil
Once you’ve scraped away the bulk of the wax, you’re left with that stubborn film clinging to the interior like it’s paying rent—and that’s where mineral oil becomes your secret weapon. Here’s the thing: apply mineral oil generously to a cloth or paper towel, then rub the interior surfaces thoroughly. The application technique matters—you’re basically massaging the oil into that residue until it surrenders. Temperature effects play a role too; a slightly warm warmer helps the oil penetrate better. Repeat applications until everything dissolves completely. Swirl the oil inside the hot pot, then wipe with dry paper towels. If you’re concerned about mineral oil, synthetic alternatives work similarly, though mineral oil’s the classic choice for this job.
Make Your Warmer Shine: Final Polish and Wipe-Down
All right, you’ve done the hard work—scraped, absorbed, and dissolved your way to a mostly clean warmer. Now comes the satisfying part: making it shine. Grab a clean cotton cloth and give the entire unit a thorough wipe down, inside and out. This removes any lingering oil residue and restores that like-new gleam you’re after. For stubborn spots that won’t budge, hit them with a melamine sponge—think of it as the gentle enforcer of wax warmer cleanliness. Once you’ve tackled those trouble zones, do a final polish with a dry microfiber cloth. Your warmer deserves to look as good as it smells. That final polish? It’s the difference between “clean enough” and actually caring about your stuff.
Avoid These Common Mistakes That Damage Wax Warmers
You’ve gotten your warmer sparkling clean, which is genuinely satisfying, but I’ve got to be honest—most people undo all that hard work by making a few preventable mistakes that’ll wreck their warmer faster than you can say “melted plastic.” The biggest culprit? Overheating plastics. Cranking your warmer to maximum temperature constantly weakens the housing over time and creates cracks you won’t notice until it’s too late.
Then there’s improper tools. I know it’s tempting to grab whatever’s handy—a metal scraper, a knife edge—but these scratch and gouge the interior. Stick with silicone spatulas and soft cloths instead.
And never, ever pour wax down your sink. Your plumbing will hate you, and your warmer’s lifespan depends on keeping moisture away from electrical components.
Prevent Future Buildup With Liners and Regular Inspections
The simplest way to avoid the whole mess—literally—is to use liners in your wax warmer before you pour anything in. Reusable liners catch wax before it hardens on your warmer’s interior, transforming cleanup from a tedious scraping session into a five-second swap. I’m telling you, this one habit saves so much frustration.
Beyond liners, scheduled inspections keep your warmer running smoothly. Every couple of weeks, power down your unit and check for cracks, frayed cords, or damage that might cause problems later. Look at both the interior and exterior—wear happens quietly sometimes. Catching issues early means you’ll actually enjoy your wax warmer instead of constantly fighting buildup. Prevention beats cleanup every single time.
Frequently Asked Questions
How Long Can I Safely Leave the Wax Warmer Heating Before Cleaning?
I’d recommend heating your wax warmer for a maximum of 5-10 minutes before cleaning. Set a pre-cleaning timer to make sure you don’t exceed this safe duration, which allows the wax to reach liquid state without overheating or causing damage.
Can I Use Paper Towels Instead of Cotton Balls for Wax Absorption?
Yes, I’ll use paper towels instead of cotton balls for wax absorption. They’re equally effective, though you’ll want to watch for lint residues. Paper towels work like a sponge, soaking up melted wax efficiently.
What Temperature Setting Works Best for Removing Hardened Wax Safely?
I’d recommend using the hottest setting, around 257 degrees, for removing hardened wax safely. This creates a thin consistency that’s easier to scrape. However, if you’re concerned about damage, I’d start with low heat and let it lukewarm melt gradually before scraping.
Is Mineral Oil Safe to Use on All Warmer Materials and Finishes?
I’d recommend testing mineral oil on hidden areas first—while it’s generally safe, surface compatibility varies. I always do residue testing before applying it to visible finishes, ensuring your warmer stays protected.
How Often Should I Clean My Wax Warmer to Prevent Buildup?
I’d recommend weekly maintenance to prevent wax buildup, wiping out residue regularly. Then I’d suggest a seasonal deep clean using oil and thorough scraping for peak warmer performance.
Conclusion
You’ve now mastered the maintenance mission that keeps your warmer working wonderfully. By banishing buildup, preserving your pot properly, and preventing problems through preventative practices, you’re protecting your investment and ensuring endless enjoyment. Simple steps save your warmer from wear and waste. You’re not just cleaning—you’re committing to candlelit comfort. Keep caring consistently, and your faithful warmer will reward you with years of aromatic ambiance.