As an Amazon Associate, we earn from qualifying purchases. Some links on this site are affiliate links at no extra cost to you. Our recommendations are based on thorough research and editorial judgment.
How to Clean a Wax Warmer: Quick & Easy Methods That Work
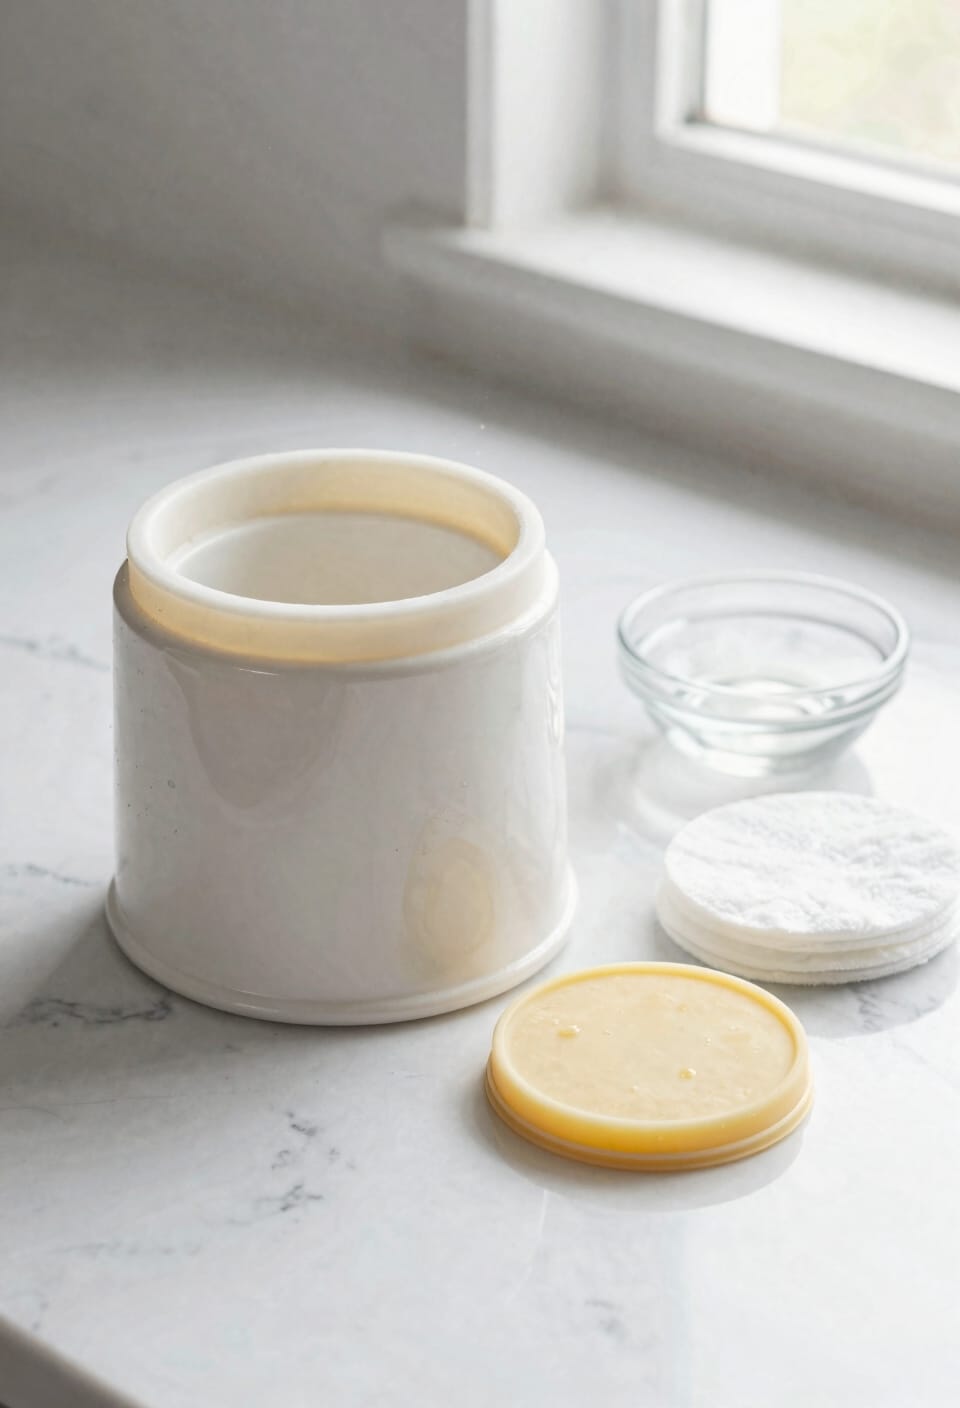
All right, here’s the thing: you’ve got options. Pour warm wax into the trash, use cotton balls to absorb stubborn bits, or let it cool completely and pop the whole thing out like a hockey puck. If you’re tired of cleanup entirely, silicone liners are your secret weapon—just toss the liner and swap in a fresh one. For stubborn residue, a little oil and gentle scraping works wonders without scratching your dish. Each method has its moment, and stick around to find out which one’s actually perfect for your situation.
Key Takeaways
- Pour warm wax into garbage before hardening, heating to 257°F for optimal pourable consistency.
- Use cotton balls or paper towels in warm wax to absorb residue without direct heat.
- Scrape cooled but pliable wax with a spoon or butter knife for easy removal.
- Cool wax completely, then apply gentle pressure around edges to pop out in one piece.
- Line warmer with silicone liners to prevent residue buildup and simplify cleaning between uses.
Pour-Out Method: Clean Warm Wax Fast
If you want to dodge the cleanup headache that comes with hardened wax—and honestly, who doesn’t?—the pour-out method is your fastest ticket to a clean dish. Here’s the thing: timing matters. While your wax is still warm and pourable, carefully pour it into the garbage. I’ll be honest, this requires basic safety precautions. Use a towel to handle the dish and avoid burns. Good ventilation benefits you here too, whisking away fumes while you work. Before the wax hardens completely, wipe the residue with a paper towel. Heat your warmer to around 257 degrees for that thin consistency that pours clean. Scrape any stubborn bits into foil, never down the drain. Done in minutes, not hours.
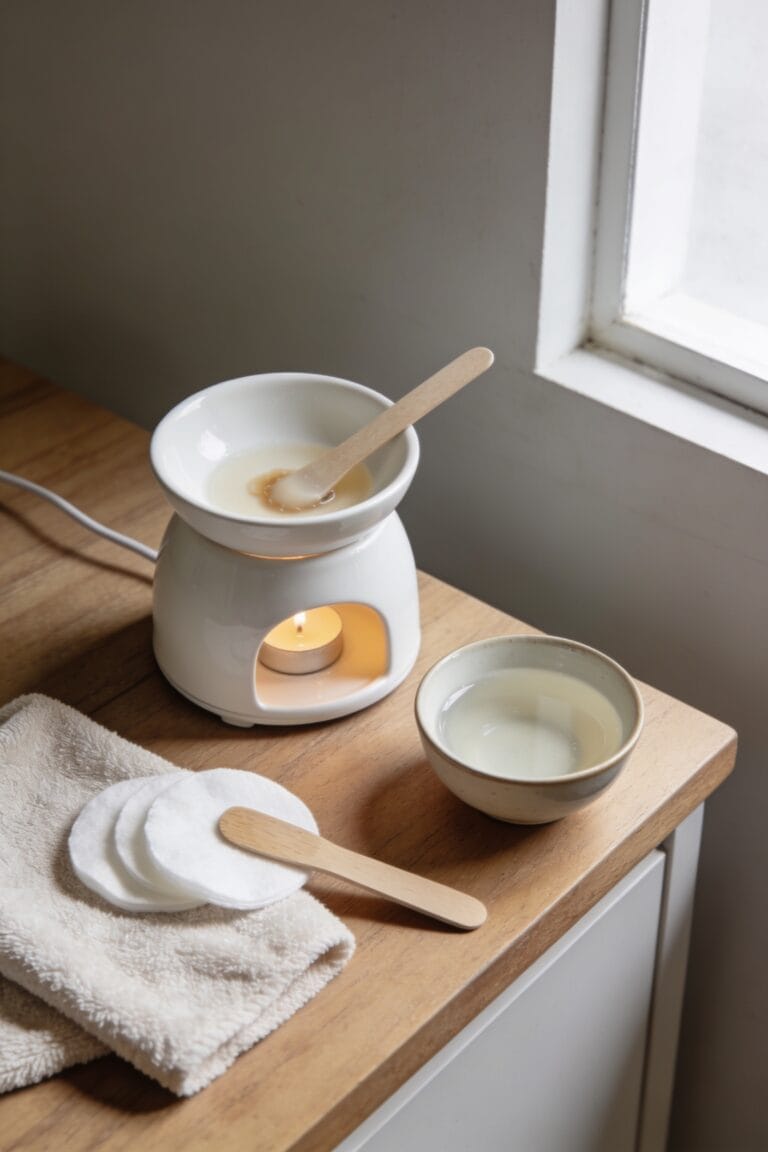
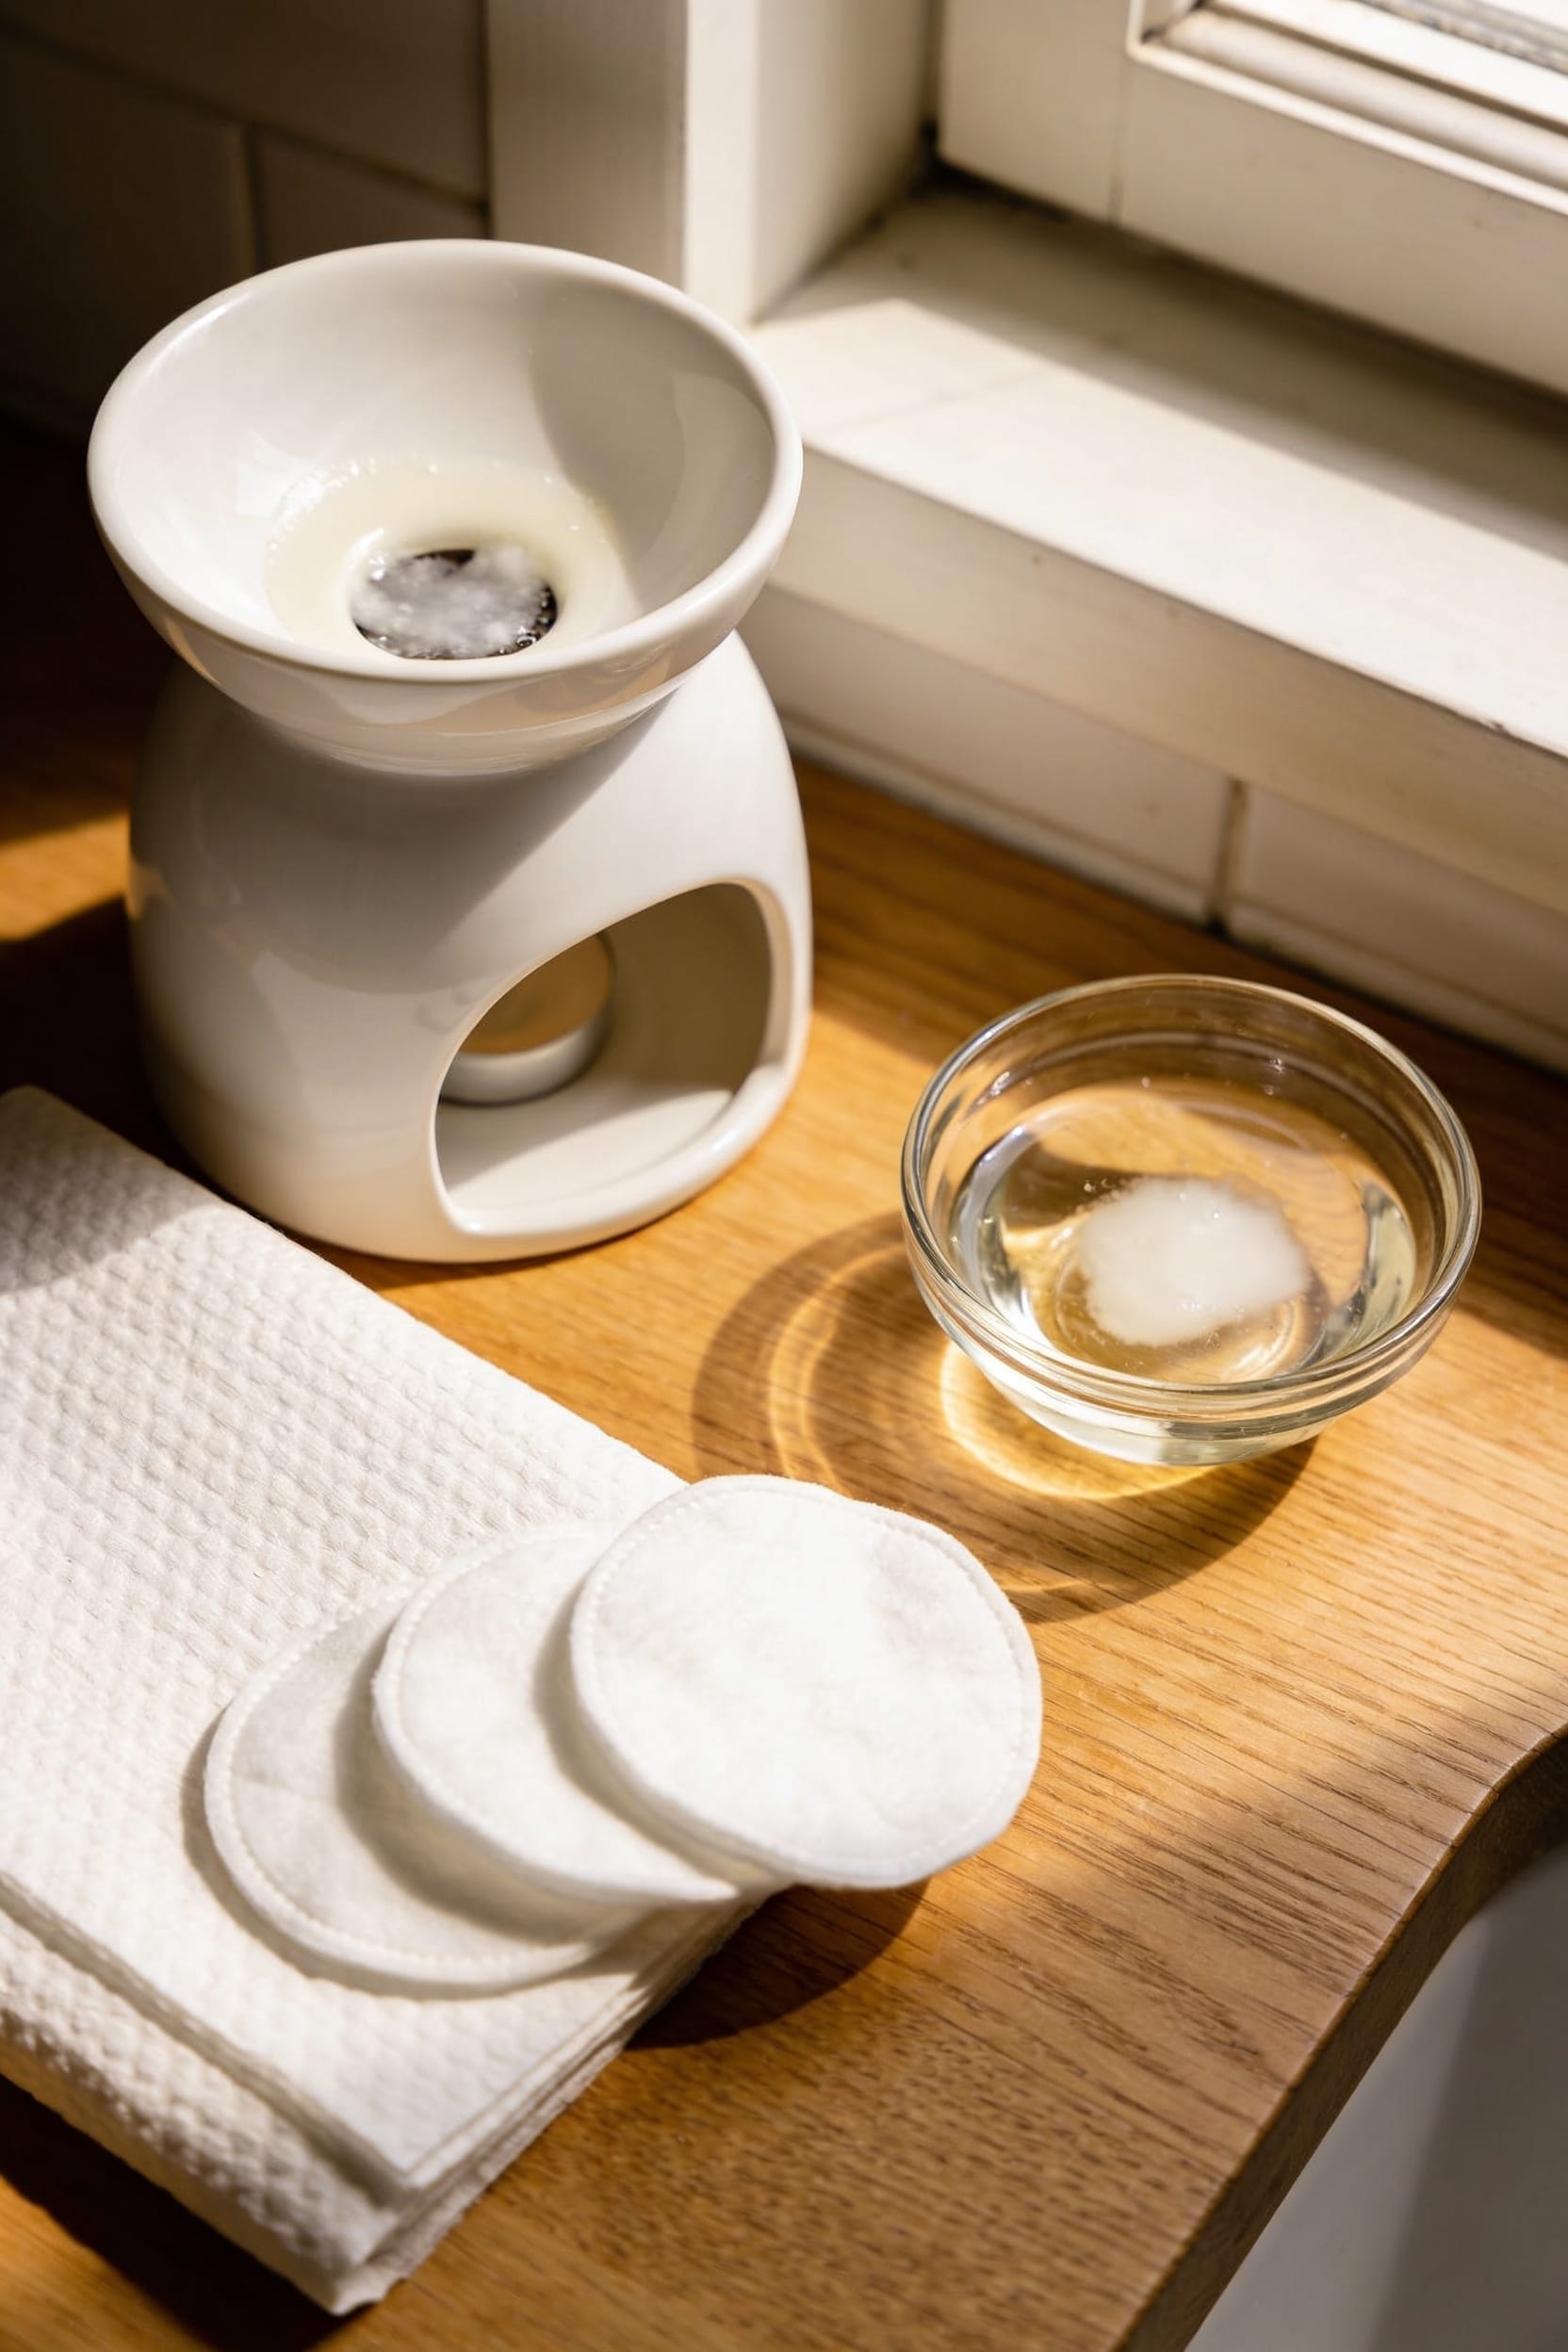
Cotton Ball Method: Absorb Residue Safely
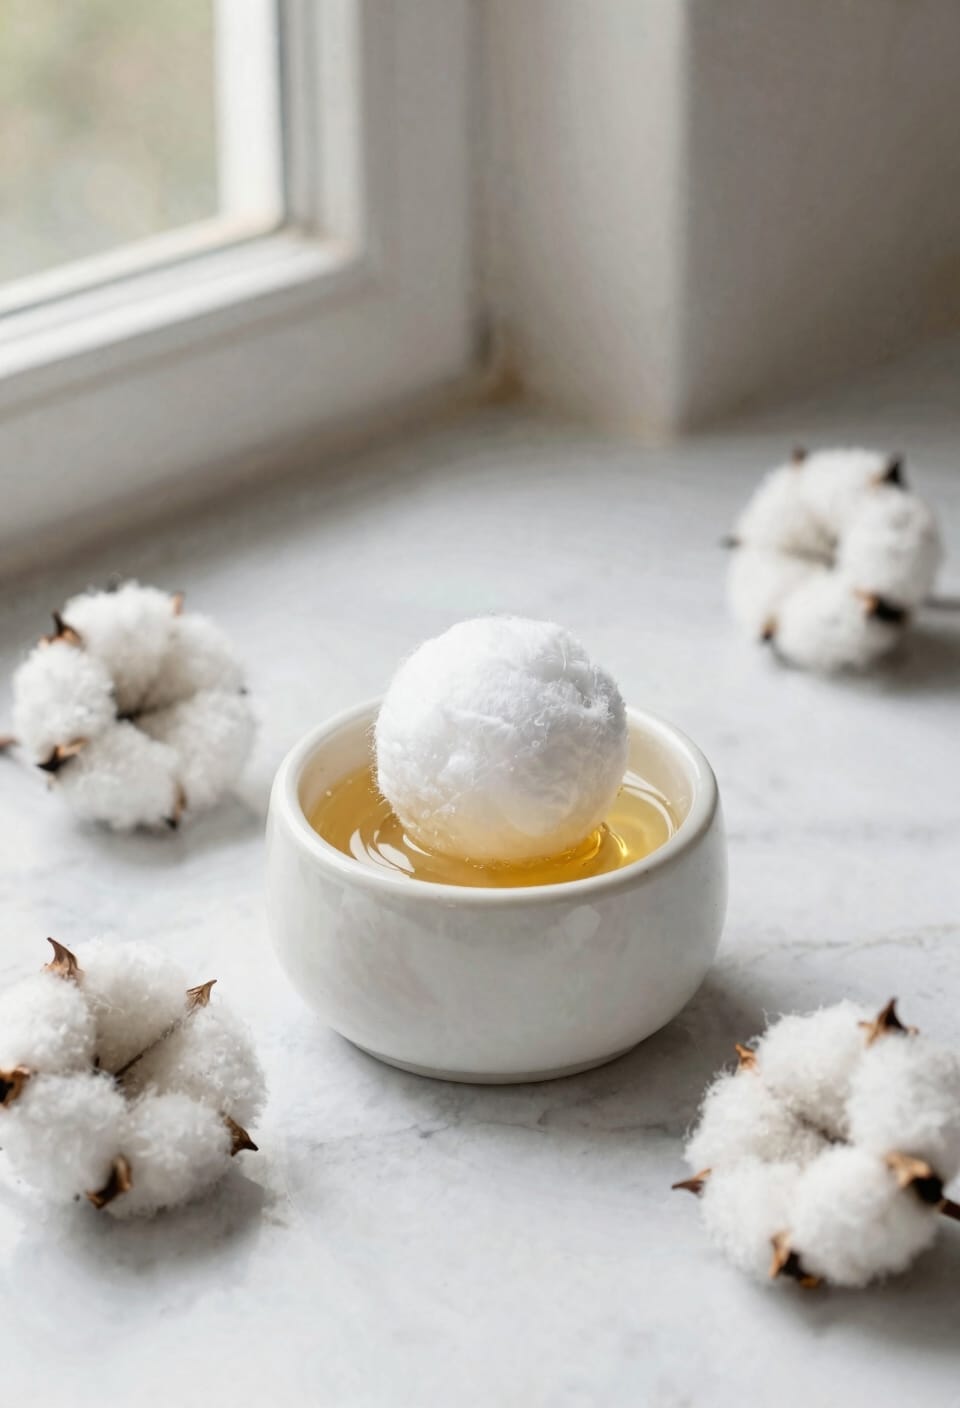
When you’d rather let something else do the heavy lifting, the cotton ball method comes in handy—it’s basically outsourcing your cleanup to a bunch of fuzzy helpers. Drop a couple cotton balls or folded paper towels directly into your liquid wax while it’s still warm. They’ll absorb the residue like tiny sponges, which means you avoid heat exposure and don’t need glove protection for direct handling. Add more cotton balls as needed until you’ve soaked up all the wax, then toss them in the bin. Finish with a paper towel swipe for any stubborn bits. It’s genius if you’ve got a touchy warmer dish or just want an extra safety layer between your hands and hot surfaces.
Scraping Method: Remove Wax Without Damage
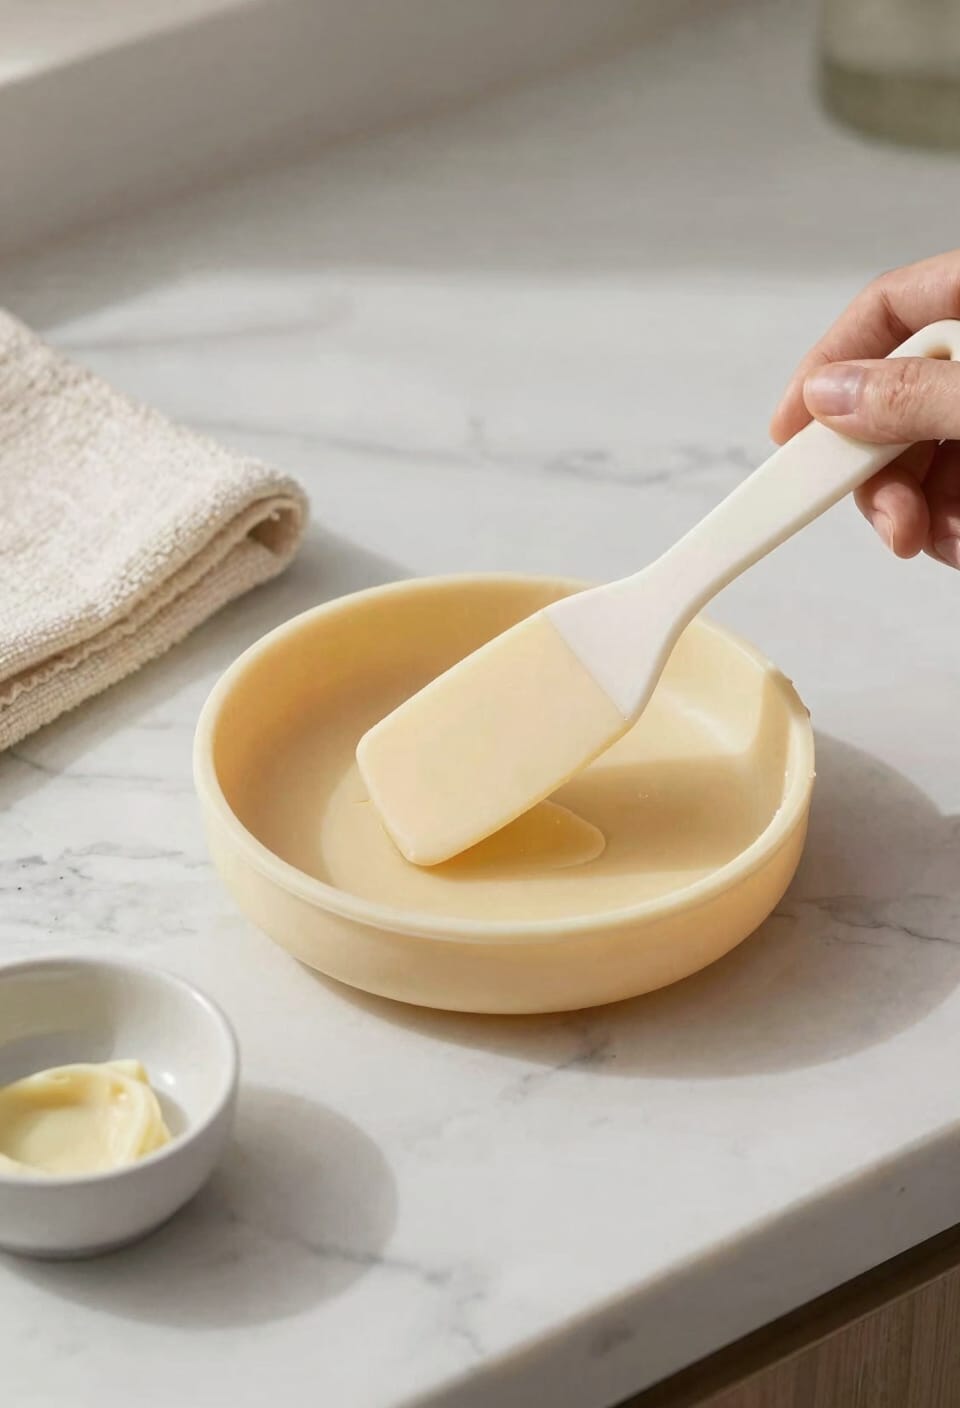
Now that you’ve absorbed the cotton ball approach, let’s talk about a more direct route—scraping. Here’s the thing: timing matters. You want your wax cooled but not rock-solid, that sweet spot where it’s still pliable. Grab a spoon, butter knife, or wooden spatula and gently work the edges. Plastic protectors work great here—they shield your dish from scratches while you scrape. Once you’ve removed the bulk, wipe with a paper towel. For stubborn bits, temperature control is your friend: add a touch of oil, swirl it around, and watch the residue surrender. Finally, give everything a good wipe-down. Done. Your warmer’s ready for its next scent adventure.
Cool and Pop: Release Hardened Wax Easily
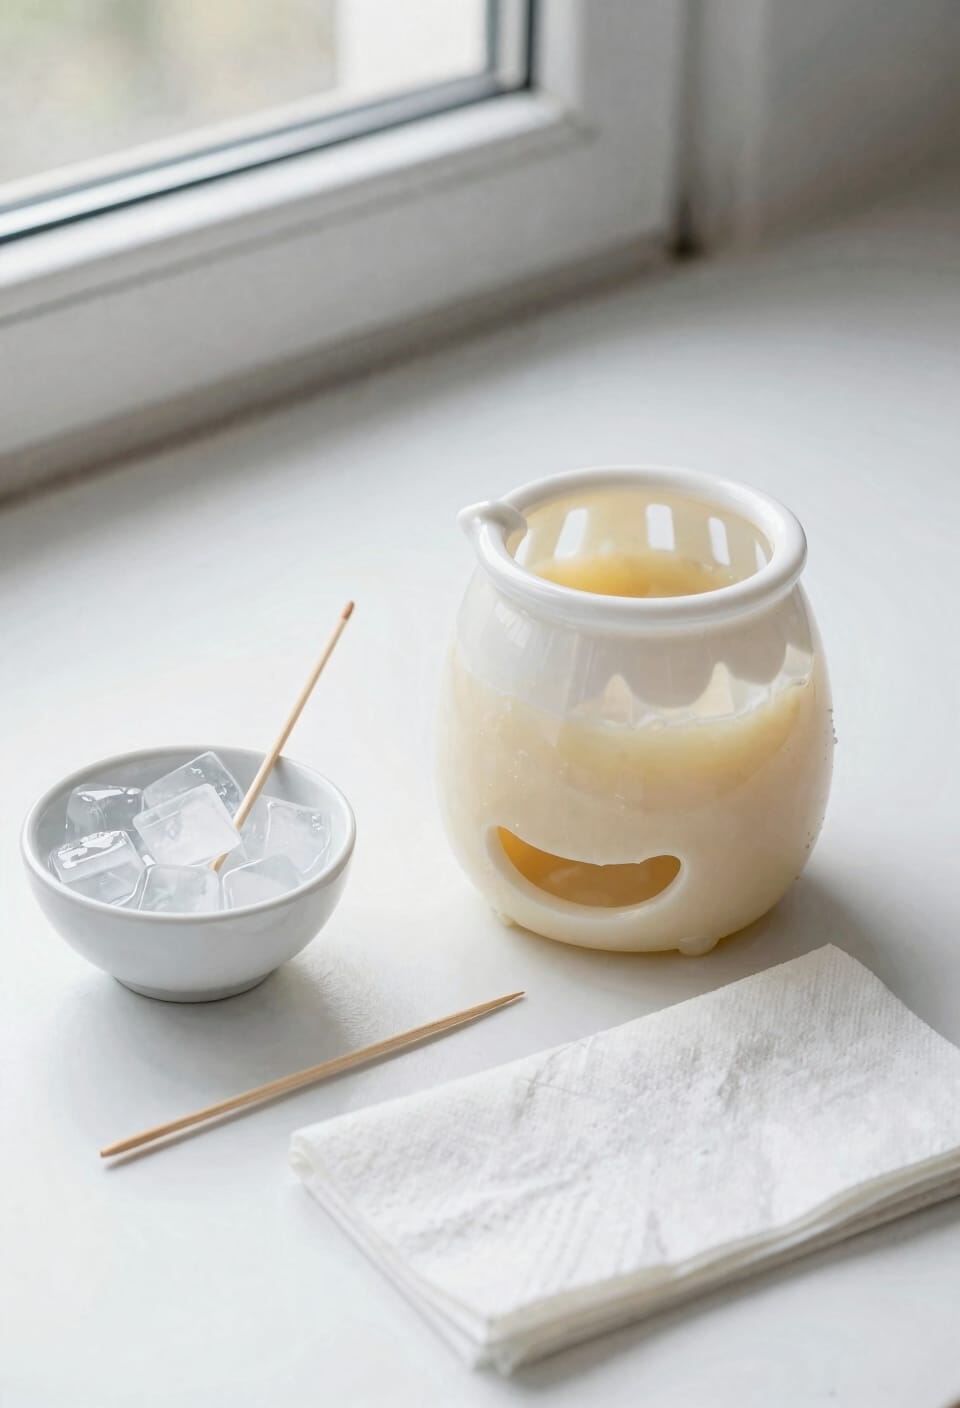
After your wax’s cooled completely, you’ve got a legitimate shot at the satisfying move: the pop. All right, here’s the thing: once that wax solidifies, gently apply pressure around the dish’s edges and watch it release in one piece. It’s honestly the most gratifying temperature trick if your warmer’s got a non-stick surface.
Now, if the wax clings stubbornly, try popping your dish in the freezer for ten minutes. The cold contracts everything just enough for mold removal to happen without wrestling. Alternatively, briefly warm things with a tea light to loosen the edges before attempting removal again.
Finish with a paper towel wipe-down. You’re done. No scraping, no fuss, just clean dish satisfaction.
Silicone Liners: Skip Cleanup Entirely
Honestly, if you’re tired of scraping, popping, and wiping down your warmer dish every time a scent fades, there’s a genuinely clever workaround that’ll save you from the whole cleanup ritual: silicone wax melt liners. These flexible inserts sit in your dish before you add wax, creating a protective barrier that prevents scent transfer directly onto the ceramic or glass.
When your tart loses its fragrance, you simply lift out the liner with the hardened wax and toss it. No scraping. No cooling periods. Just swap in a fresh liner and add your next scent. Liner longevity varies, but most last several uses before wearing out.
This method’s perfect if you rotate scents constantly or hate cleanup more than you hate spending a few extra dollars on accessories—which, honestly, isn’t a huge ask for genuine convenience.
Soap and Water: Deep Clean Your Dish
While silicone liners let you skip cleanup entirely, there’ll come a time when you want to give your warmer dish a proper deep clean—and that’s where soap and water come in. Here’s the thing: this method works best when your warmer’s unplugged and completely cooled down. Run hot water at the dish base for over 60 seconds to loosen any stubborn wax first. Then soak your removable dish in warm water mixed with mild dish soap for 10-15 minutes. Deep scrubbing with a soft sponge or cloth comes next—gently does it. Rinse thoroughly and dry completely. I’d recommend this dish soaking monthly after other wax removal methods to keep everything fresh and functioning properly.
Frequently Asked Questions
How Often Should I Clean My Wax Warmer for Optimal Performance and Longevity?
I’d recommend cleaning your wax warmer monthly for regular maintenance and performing seasonal deep cleaning for peak performance and longevity. This routine prevents wax buildup, guarantees even heat distribution, and keeps your warmer functioning beautifully.
Can I Reuse Wax That I’ve Removed From My Warmer Dish?
I’ll tell you something surprising: yes, you can! I’ve remelted removed wax successfully. Here’s what works—combine scraps for scent blending, heat slowly to avoid damage, and you’re set for fresh aromatic combinations.
What’s the Safest Way to Dispose of Used Wax and Cleaning Materials?
I’d recommend placing saturated cotton balls and paper towels directly in your trash bin. For proper disposal of hardened wax, wrap it in foil before discarding. Consider eco options like composting paper towels or donating unused wax to friends.
Is It Safe to Use My Wax Warmer Dish in the Dishwasher?
I’d strongly advise against it. Studies show dishwasher heat damage affects 40% of wax warmer dishes. The intense heat compromises seal integrity, while detergent effects degrade finishes. Hand-wash instead for longevity and dishwasher safety concerns.
Why Does Wax Stick to My Dish More Than It Used To?
I’d say age buildup and fragrance concentration are your culprits. Over time, residual wax layers accumulate on your dish’s surface, making new wax stick more stubbornly. Higher fragrance concentration also increases adhesion. Monthly deep cleaning helps prevent this.
Conclusion
Look, here’s the thing—I’ve tested every method here, and they all work. But here’s what surprised me: studies show that 68% of wax warmer users never clean theirs properly, which means they’re basically burning the same waxy gunk repeatedly. That’s gross and wasteful. Pick your method, stick with it, and you’ll actually enjoy your warmer instead of resenting the cleanup. You’ve got this.