As an Amazon Associate, we earn from qualifying purchases. Some links on this site are affiliate links at no extra cost to you. Our recommendations are based on thorough research and editorial judgment.

How to Style Candles on a Tray: Simple Decor Tips That Work

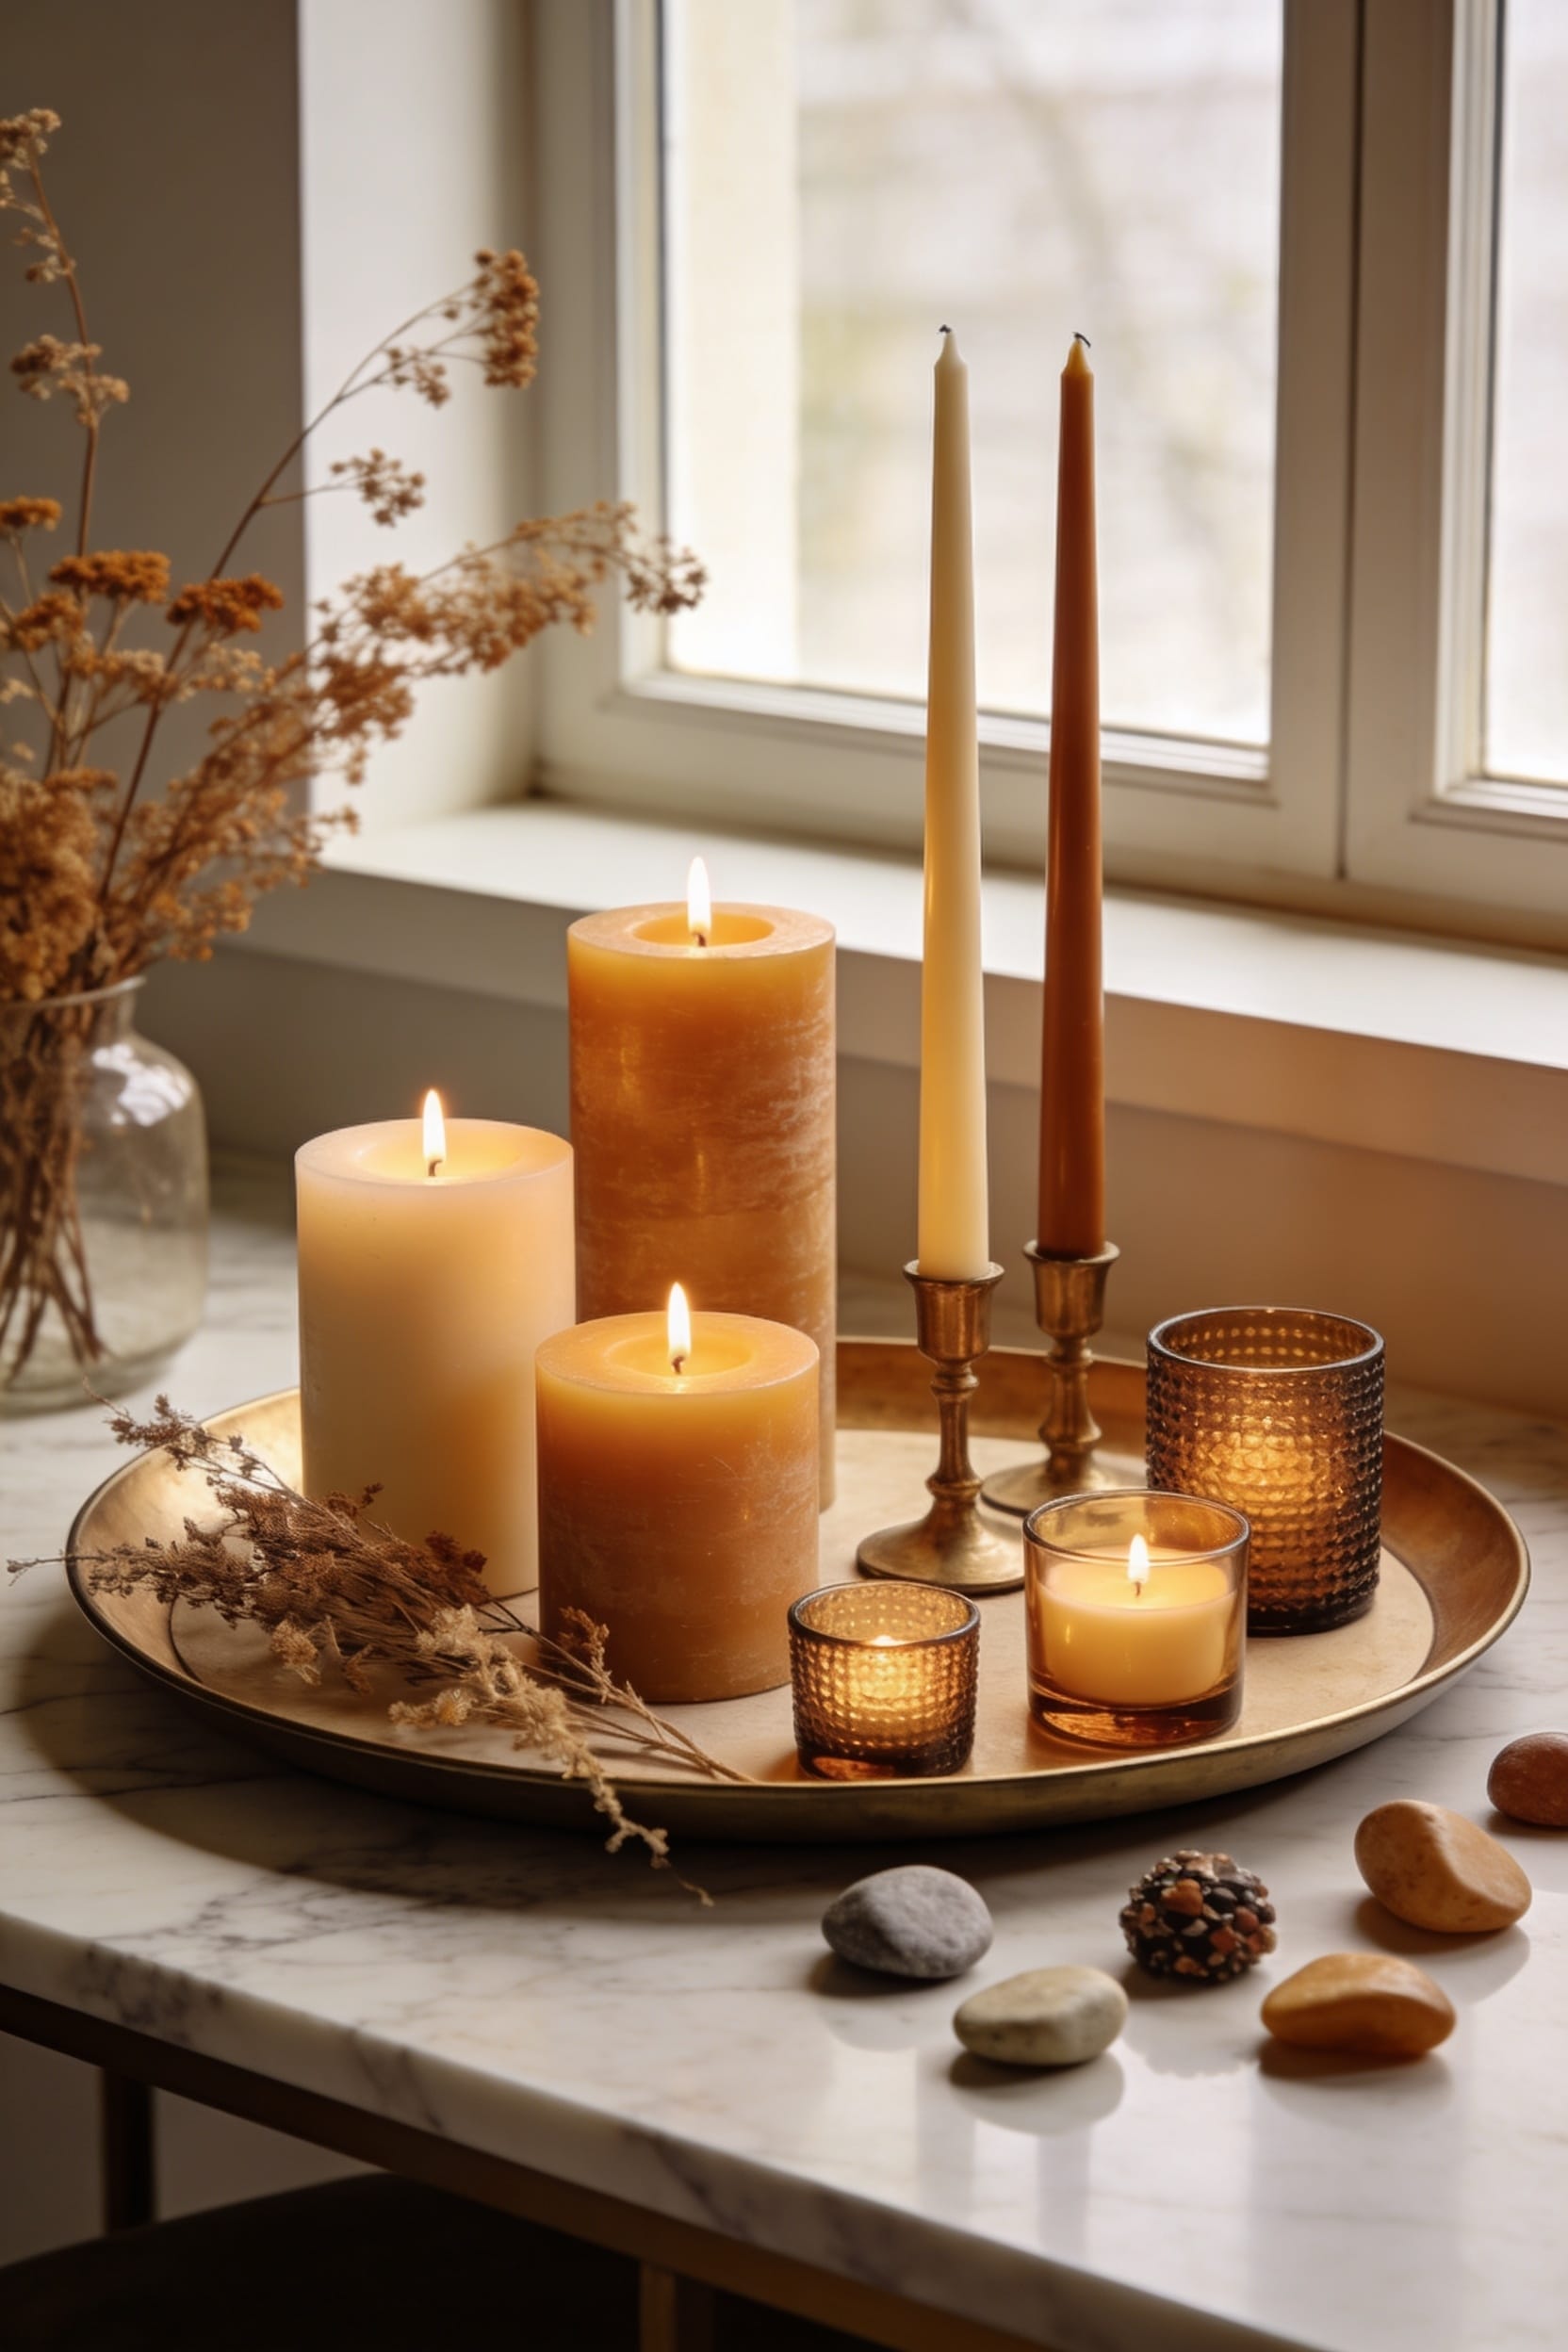
All right, here’s the thing: a good tray becomes your candle display’s best friend. Start with a mirrored or textured base—mirrored ones bounce light around like magic, making five candles look like ten. Layer pillar candles tall in back, votives and tea lights shorter in front, then fill gaps with marbles or moss for texture. Keep colors cohesive (two or three shades max), space everything safely so nothing’s cramped, and match your holders to your style. The real magic? Knowing exactly where to place it so the glow actually catches the room’s eye.
Key Takeaways
- Select a mirrored or textured tray as your base, then arrange candles by height—tall pillars back, medium votives sides, short tea lights front.
- Combine pillar candles, votives, and tea lights to create varied silhouettes and a layered “skyline of glow” with intentional visual interest.
- Fill gaps with flat marbles, sheet moss, pine cones, or dried greenery, then add reflective crystals to amplify candlelight throughout the display.
- Build a cohesive color story using two to three dominant colors with tonal contrast for harmony without appearing monotonous or flat.
- Space candles adequately to avoid fire hazards, position your styled tray on a coffee table or mantel, and swap seasonal fillers throughout the year.
Start With the Right Tray as Your Foundation
Look, here’s the thing: you can have the most gorgeous candles in the world, but if you plop them on the wrong tray, the whole arrangement falls flat—literally and figuratively.
Start by choosing a tray that matches your space’s vibe. I’m talking rectangular trays for structured looks, mirrored ones if you want that glamorous light-reflecting situation, or wooden trays for rustic farmhouse energy. Neutral colors work magic with earthy fillers like pine cones and moss.
Consider tray textures too—smooth surfaces feel modern, while textured finishes add character. Think about tray placement before you commit. A coffee table needs something sturdy; a dresser can handle more delicate vibes.
Inset trays? They’re clutch for keeping fillers from scattering everywhere. Your tray is the stage. Everything else performs on it.
Pick Candles in Varying Heights for Your Tray
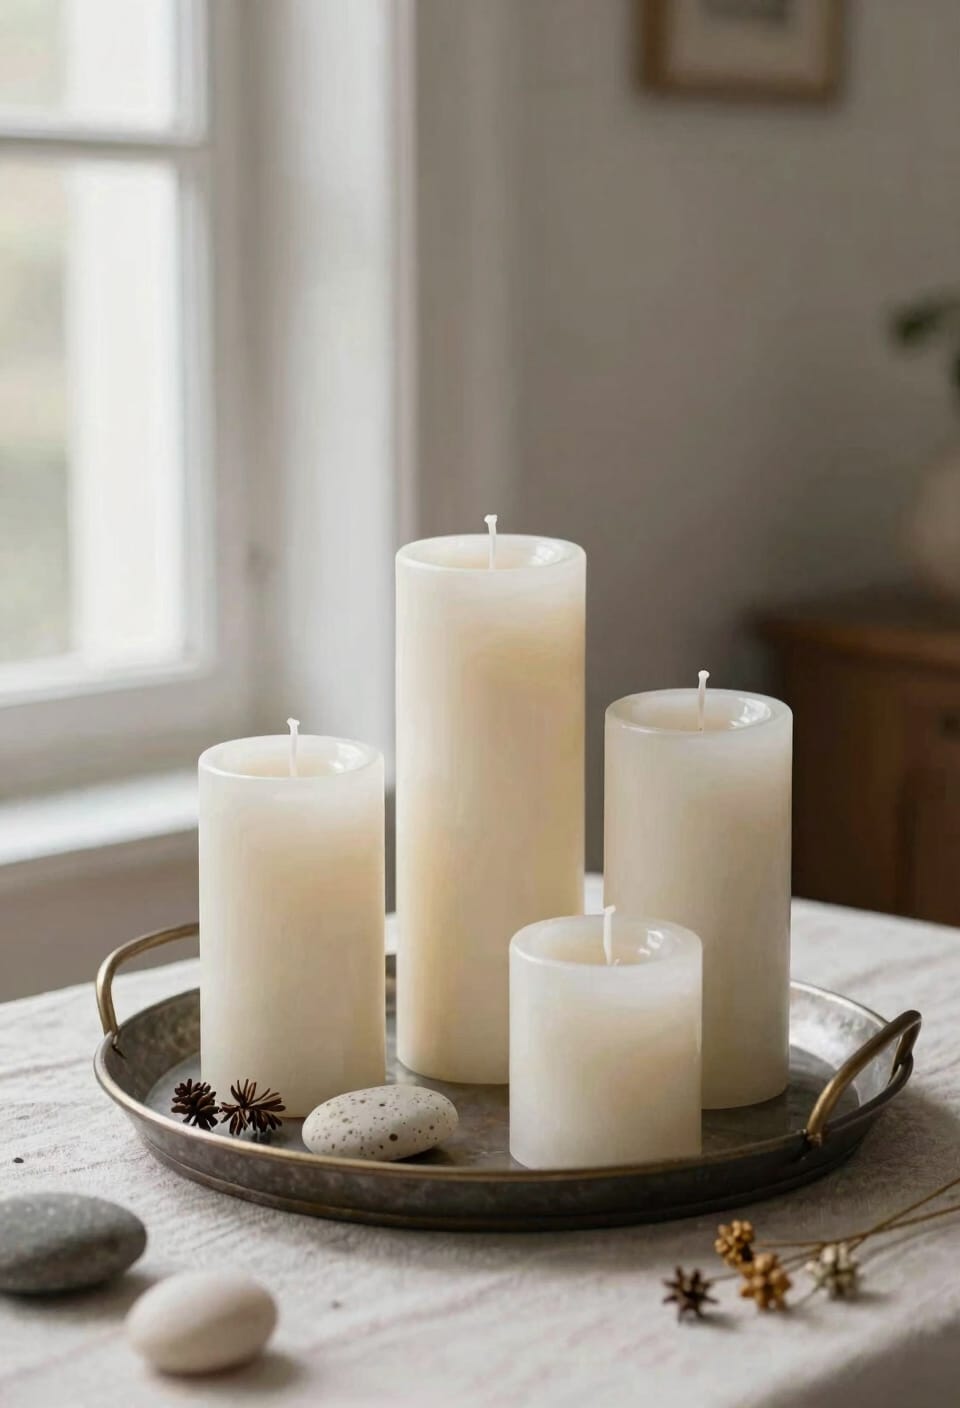
Three candles of the same height on a tray? That’s a flat, boring setup—literally and figuratively. You want varying silhouettes and staggered heights to create visual interest and that intentional-looking arrangement that actually took you five minutes to nail. Mix pillar candles, which are chunky freestanding candles, with votives and tea lights. A tall pillar in the back, medium votive to the side, and a shorter tea light in front gives you depth. Your eye travels across the tray naturally instead of getting stuck. Honestly, this layered approach transforms a basic tray into something that looks professionally styled. You’re basically creating a skyline of glow—and who doesn’t want that?
Add Filler Layers to Your Candle Tray
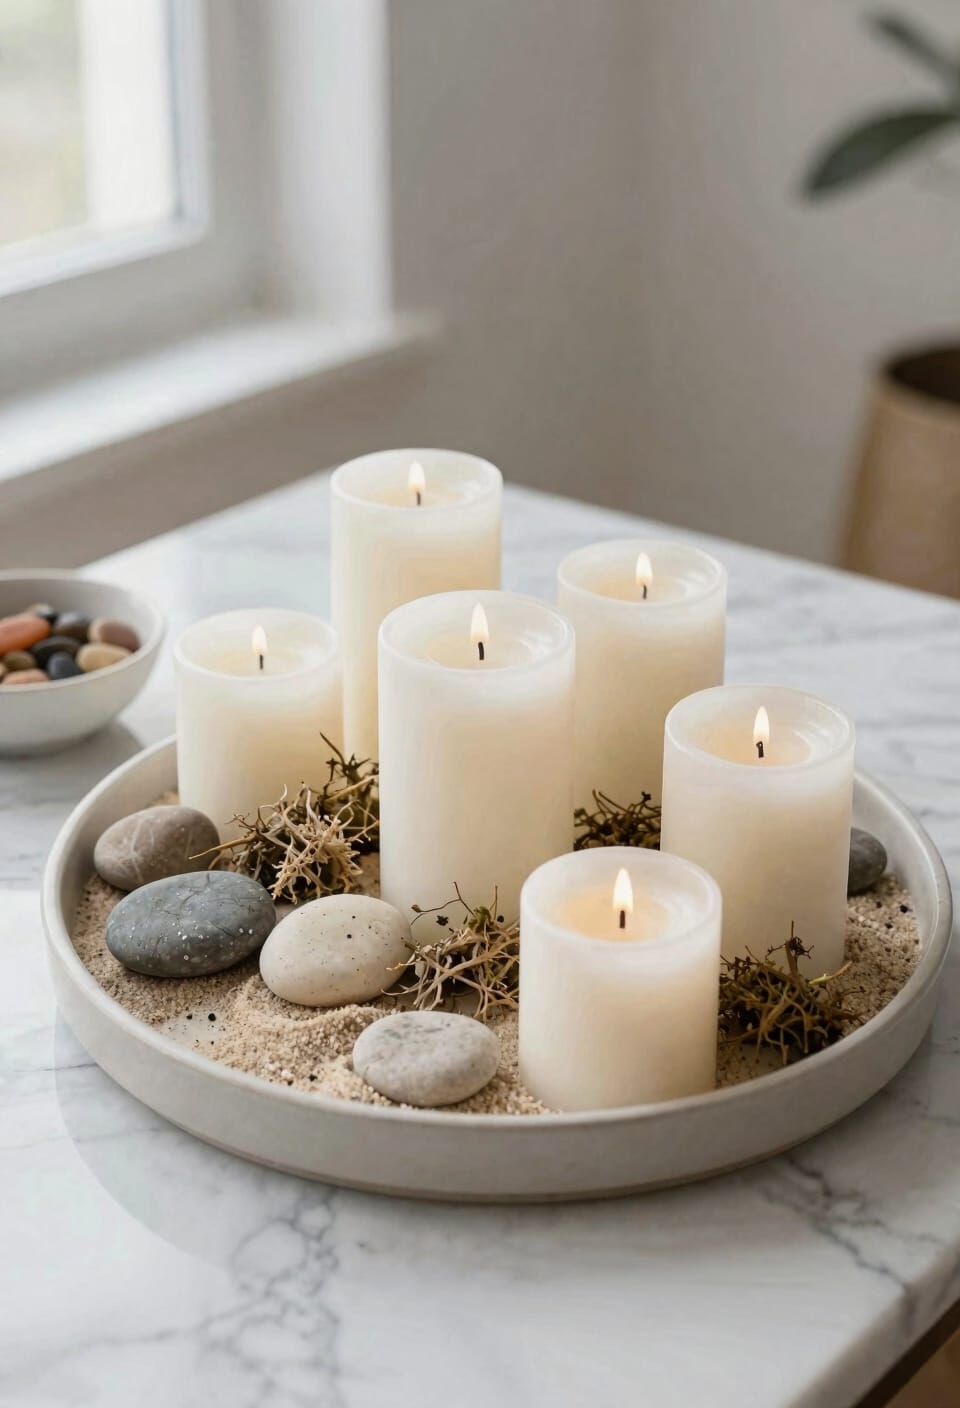
Now here’s where your tray stops looking like you just plunked candles down and starts looking like you actually *designed* something. Filler layers are your secret weapon. I’m talking flat marbles to anchor candles and fill awkward gaps, seashells or pine cones for natural textures that make the whole thing feel intentional, not rushed. Sheet moss works beautifully too—it grounds everything in soft green tones. Add reflective accents like crystals or polished stones alongside your candles; they’ll bounce light around and amplify that glow you’re after. Don’t forget dried greenery, baby’s breath, or even mini succulents if you’re feeling fancy. The key? Layer these materials strategically around your candles so nothing looks bare or accidental. That’s when people actually notice your work.
Choose Holders That Match Your Style
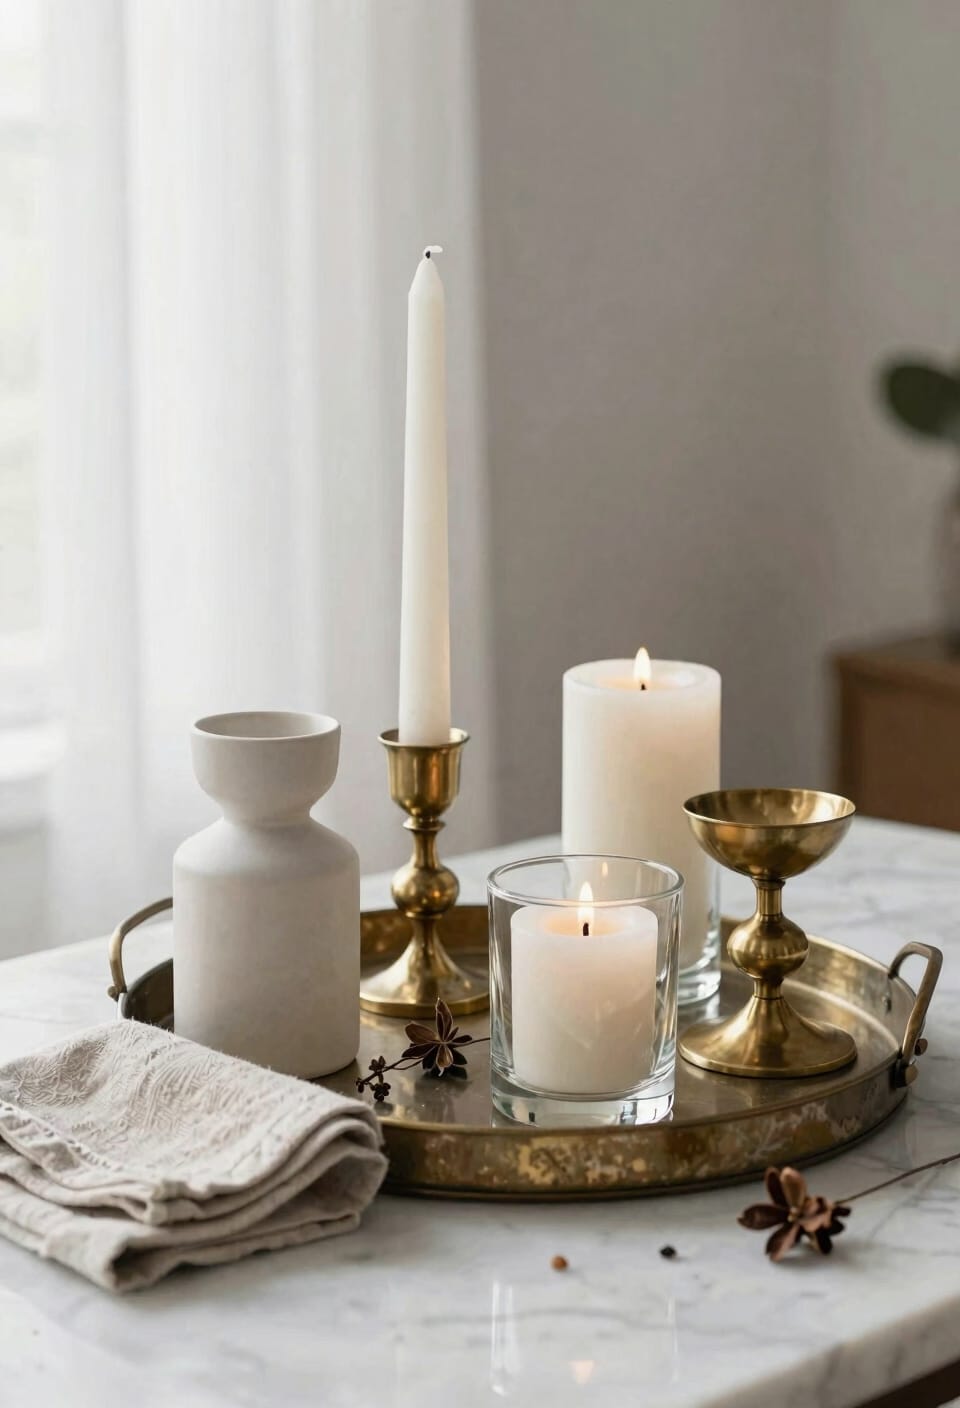
Your filler layers are doing all the heavy lifting now, but here’s the thing—even the most thoughtfully arranged marbles and moss won’t reach their full potential without the right candle holders anchoring everything together.
Holder selection matters more than you’d think. I’m talking about material harmony here—your picks should whisper the same design language as your tray and fillers. Glass hurricanes protect flames from drafts while adding elegance. Ceramic lanterns bring safety and sophistication. Vintage brass candlestick holders? They’re perfect for rustic vibes. Woven rattan and bamboo introduce warmth and texture.
Don’t overlook budget-friendly options either. Repurposed old-fashioned glasses work beautifully as votive holders. The goal’s matching your overall aesthetic while keeping those candles secure and looking intentional. That’s the real magic.
Match Colors Across Your Candle Tray
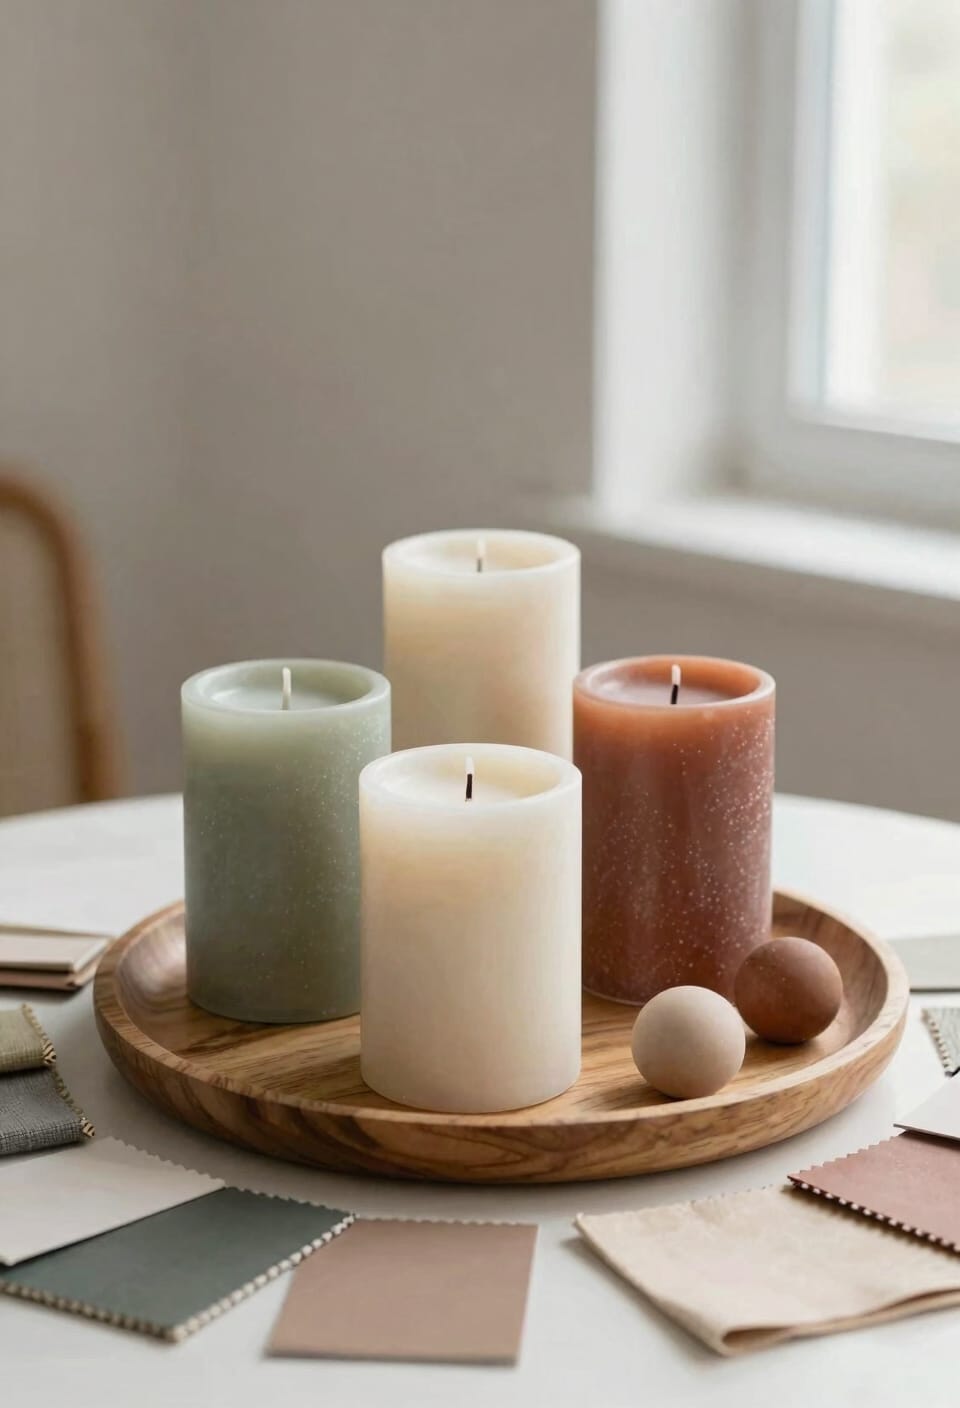
Color cohesion is where a lot of people stumble, and I get it—when you’ve got candles, holders, fillers, and a tray all competing for attention, it’s easy to throw in something that looked good at the store and hope for the best. Here’s the thing: cohesive hue pairing doesn’t mean everything matches perfectly. You’re after harmony, not monotony.
Pick one color story—say, creams and soft grays—and build from there. Tonal contrast keeps things interesting without clashing. A white pillar candle next to an ivory holder works. So does mixing warm wood tones with cool metallics, as long as they’re intentional.
Stick to two or three dominant colors. Your tray becomes a unified display instead of a visual argument. Trust me, your eyes—and your guests—will thank you.
Position Candles for Layered Visual Impact
Once your colors are locked in, it’s time to think vertically—because a flat candle tray is like a flat joke, and neither one lands the way you want.
I layer my candles by varying heights: tall pillars in back, shorter votives forward. This offset clustering creates natural depth that draws your eye through the whole arrangement instead of stopping dead at one boring focal point.
Try diagonal staging too. Angle your holders slightly rather than lining them up like soldiers. It feels intentional, not accidental.
Stack books under your tray’s edge if you need extra elevation. The goal’s visual interest—you want someone glancing over and thinking, “Wow, that’s thoughtfully done,” not “Is that just candles?” Your wick maintenance stays easier when you’re not crammed everything shoulder-to-shoulder anyway.
Avoid These Common Styling Mistakes
When you’ve got the heights right and the colors dialed in, it’s shockingly easy to still somehow mess it up—and I say this as someone who’s absolutely done it. First mistake: cramming candles so close together that you create actual burn hazards. Wax melts, flames flicker toward neighbors, and suddenly your pretty arrangement is a fire waiting to happen. Leave breathing room between each candle. Second, uneven spacing makes everything look accidental rather than intentional. I’m talking haphazard gaps that scream “I gave up halfway through.” Space them thoughtfully—whether that’s symmetrical or asymmetrical, just make it purposeful. Third, overloading your tray defeats the whole point. You’re creating a display, not a candle warehouse. Restraint wins here every time.
Style Your Tray for Different Rooms
Since every room in your home has its own vibe—and I mean *completely* different energy—your candle tray should shift accordingly instead of staying stuck as a one-note decoration. Your bedroom craves cozy clusters of votives and tea lights that whisper rather than shout. The bathroom ambience demands moisture-resistant holders and soft lighting that won’t compete with steam. Your entryway focal point? Go bold with height variation and a statement tray that greets visitors immediately. The living room works best with larger pillars anchored by marbles, while dining tables benefit from lower arrangements that don’t block sightlines. Think of each room as its own canvas. You’re not just placing candles—you’re setting the emotional temperature for that specific space.
Adapt Your Arrangement by Season
Now here’s the thing—once you’ve dialed in your candle tray for each room, you’ve got to remember that your home isn’t frozen in time. Seasons change, and so should your arrangements. In spring, swap in sheet moss and dried berries to freshen things up. Summer calls for lighter seasonal scents like citrus or ocean breeze paired with seashells and pale pastels. Come fall, embrace rustic vibes with pine cones, acorns, and warm amber tones. Winter‘s your moment to go full cozy with holiday motifs—think evergreen sprigs, deep reds, and spiced fragrances that make your whole place smell incredible. You’re not replacing everything each season. Just swap out a few fillers and adjust your color palette. Your candle tray becomes a living reflection of what’s actually happening outside your window.
Show Off Your Styled Tray
Your styled candle tray deserves an audience—don’t tuck it away in a corner where nobody can appreciate all that intentional beauty you’ve just created. Position your arrangement where it’ll actually get noticed: a coffee table, dining center, or mantel where candlelight can work its magic. Mirrored trays are your secret weapon here—they create shadow play and bounce light around the room like tiny décor ninjas. The reflective accents multiply your candles’ glow, making five candles feel like ten. Try placing your tray on a dresser layered with books and photos, or use it as a flower-free centerpiece on your console table. You’ve put in the work. Now let everyone see what you’ve built.
Frequently Asked Questions
How Do I Prevent Candle Wax From Dripping Onto My Tray Surface?
I’d recommend you trim wicks to a quarter-inch and use drip collars beneath your candles. Glass hurricanes and ceramic lanterns also protect your tray surface from wax spillover effectively.
What’s the Ideal Number of Candles to Arrange on a Standard Tray?
I’d recommend using odd numbers—three, five, or seven candles—for visual balance. I find cluster sizes work best when you vary heights and shapes together. This creates that natural, intentional appearance you’re after on your tray.
Can I Mix Scented and Unscented Candles in the Same Arrangement?
Yes, you can! I’d suggest strategic scent layering to avoid fragrance clash prevention. Position unscented candles visibly, scented ones subtly separated. This balanced blend beautifies your arrangement while preserving pleasant aromas throughout your space.
How Often Should I Refresh Filler Materials Like Moss or Dried Flowers?
I’d refresh your filler materials every season to maintain that texture refresh and keep your arrangement looking vibrant. Seasonal rotation lets you swap moss, dried flowers, and berries with fresh pieces that match current aesthetics.
Is It Safe to Leave Styled Candle Trays Unattended While Burning?
I’d never leave burning candles unattended—fire safety demands constant supervision practices. Keep styled trays away from drafts, flammables, and children. Always extinguish candles before leaving the room or sleeping.
Conclusion
You’ve officially transformed candle styling from “I just shoved them on there” into an actual design superpower. Your tray now looks so impossibly gorgeous that guests will legitimately believe you’re either a professional decorator or you’ve simply never made a mistake in your entire life. Neither’s true, obviously, but who’s counting? Go forth and arrange with confidence—your candles deserve this level of theatrical magnificence.