As an Amazon Associate, we earn from qualifying purchases. Some links on this site are affiliate links at no extra cost to you. Our recommendations are based on thorough research and editorial judgment.
DIY Wedding Candle Centerpieces: Easy & Affordable Step-by-Step Guide
All right, you don’t need to spend a fortune on wedding candle centerpieces—I’m talking round mirror bases, pillar candles in hurricane vases, and diamond filler from Michaels or IKEA, all assembled in under an hour. The secret’s trimming wicks to a quarter-inch and positioning them away from vents so they burn clean and even. Start sourcing six weeks out, batch-assemble by style, and do a practice run first. Mix premium candles with thrifted holders, match your wedding palette to seasonal colors, and you’ve got something that looks professionally curated without the event-planning markup. Stick around and I’ll walk you through exactly how to avoid the mistakes that cost most people time and money.
Key Takeaways
- Source materials from Michaels, Hobby Lobby, IKEA, and thrift stores for affordable bulk candles and holders.
- Place a round mirror base, center a hurricane vase, add a pillar candle, then surround with diamond filler.
- Group votives and smaller candles around the main piece to create layered, romantic lighting effects.
- Trim wicks to quarter-inch and light centerpieces 30 minutes before guests arrive for optimal burning.
- Start sourcing six weeks early, batch-assemble by type, and perform a practice run to ensure consistency.
Gather Materials on a Budget: What You Need and Where to Buy
Before you start hunting down supplies, here’s the thing—you don’t need to drop a fortune to create wedding candle centerpieces that’ll make your guests actually stop mid-conversation to admire them.
I hit up Michaels and Hobby Lobby first for bulk sourcing on pillar candles, hurricane vases, and diamond filler. Their sales rotate constantly, so timing matters. IKEA‘s my secret weapon for affordable cylinder vases, and Quick Candles offers bulk sets starting around $3.50 per pair—seriously competitive pricing.
Don’t sleep on thrift stores and flea markets for eclectic holders. That’s where packaging hacks come in: reuse old glass containers you already own. Dollar Tree candleholders work great for double-tower designs when you’re stretching your budget. Combine artificial flowers with real candles, and suddenly you’re looking smart and financially responsible.
Recommended Products

Religious Supply Center

Practical Decoration Set: you will get 36 pieces of glass candle vases and 36 pieces of ivory white pillar candles, easy for you to use in daily life or other important occasions that need some romantic atmosphere

Sculptural Design: Truly capturing a sense of fluidity and movement, this candleholder makes a striking centerpiece with its undulating, shiny surface
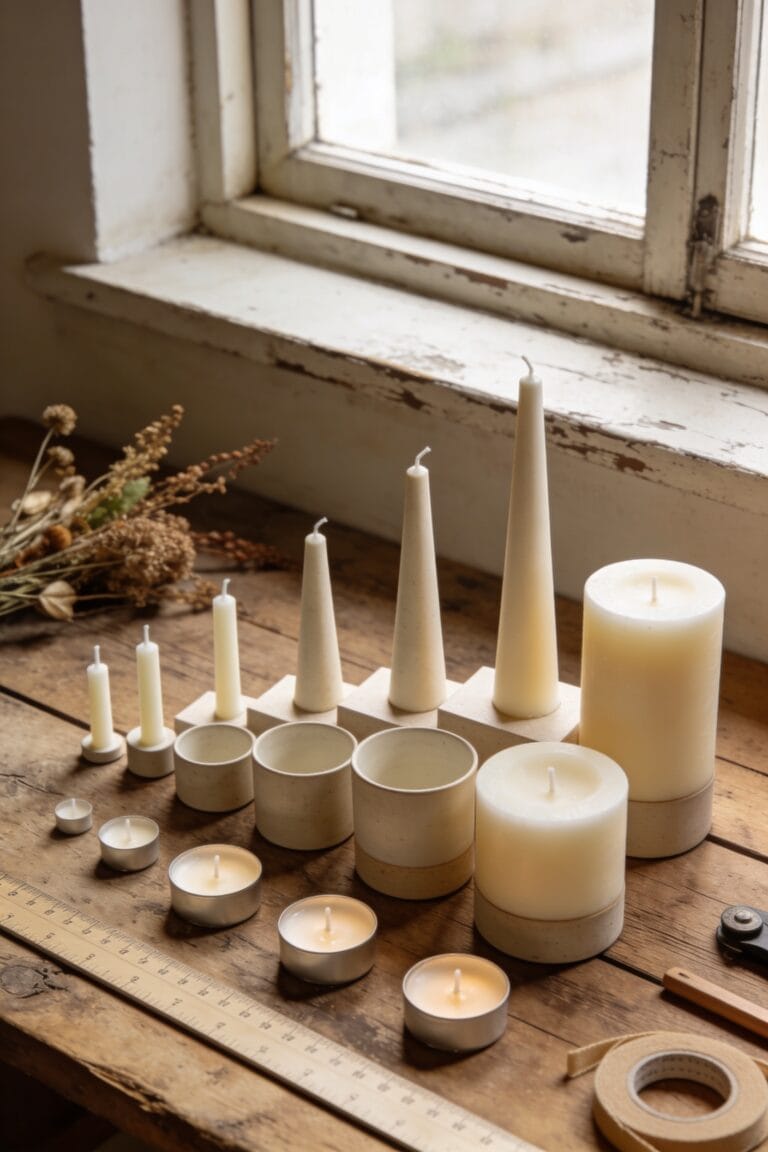
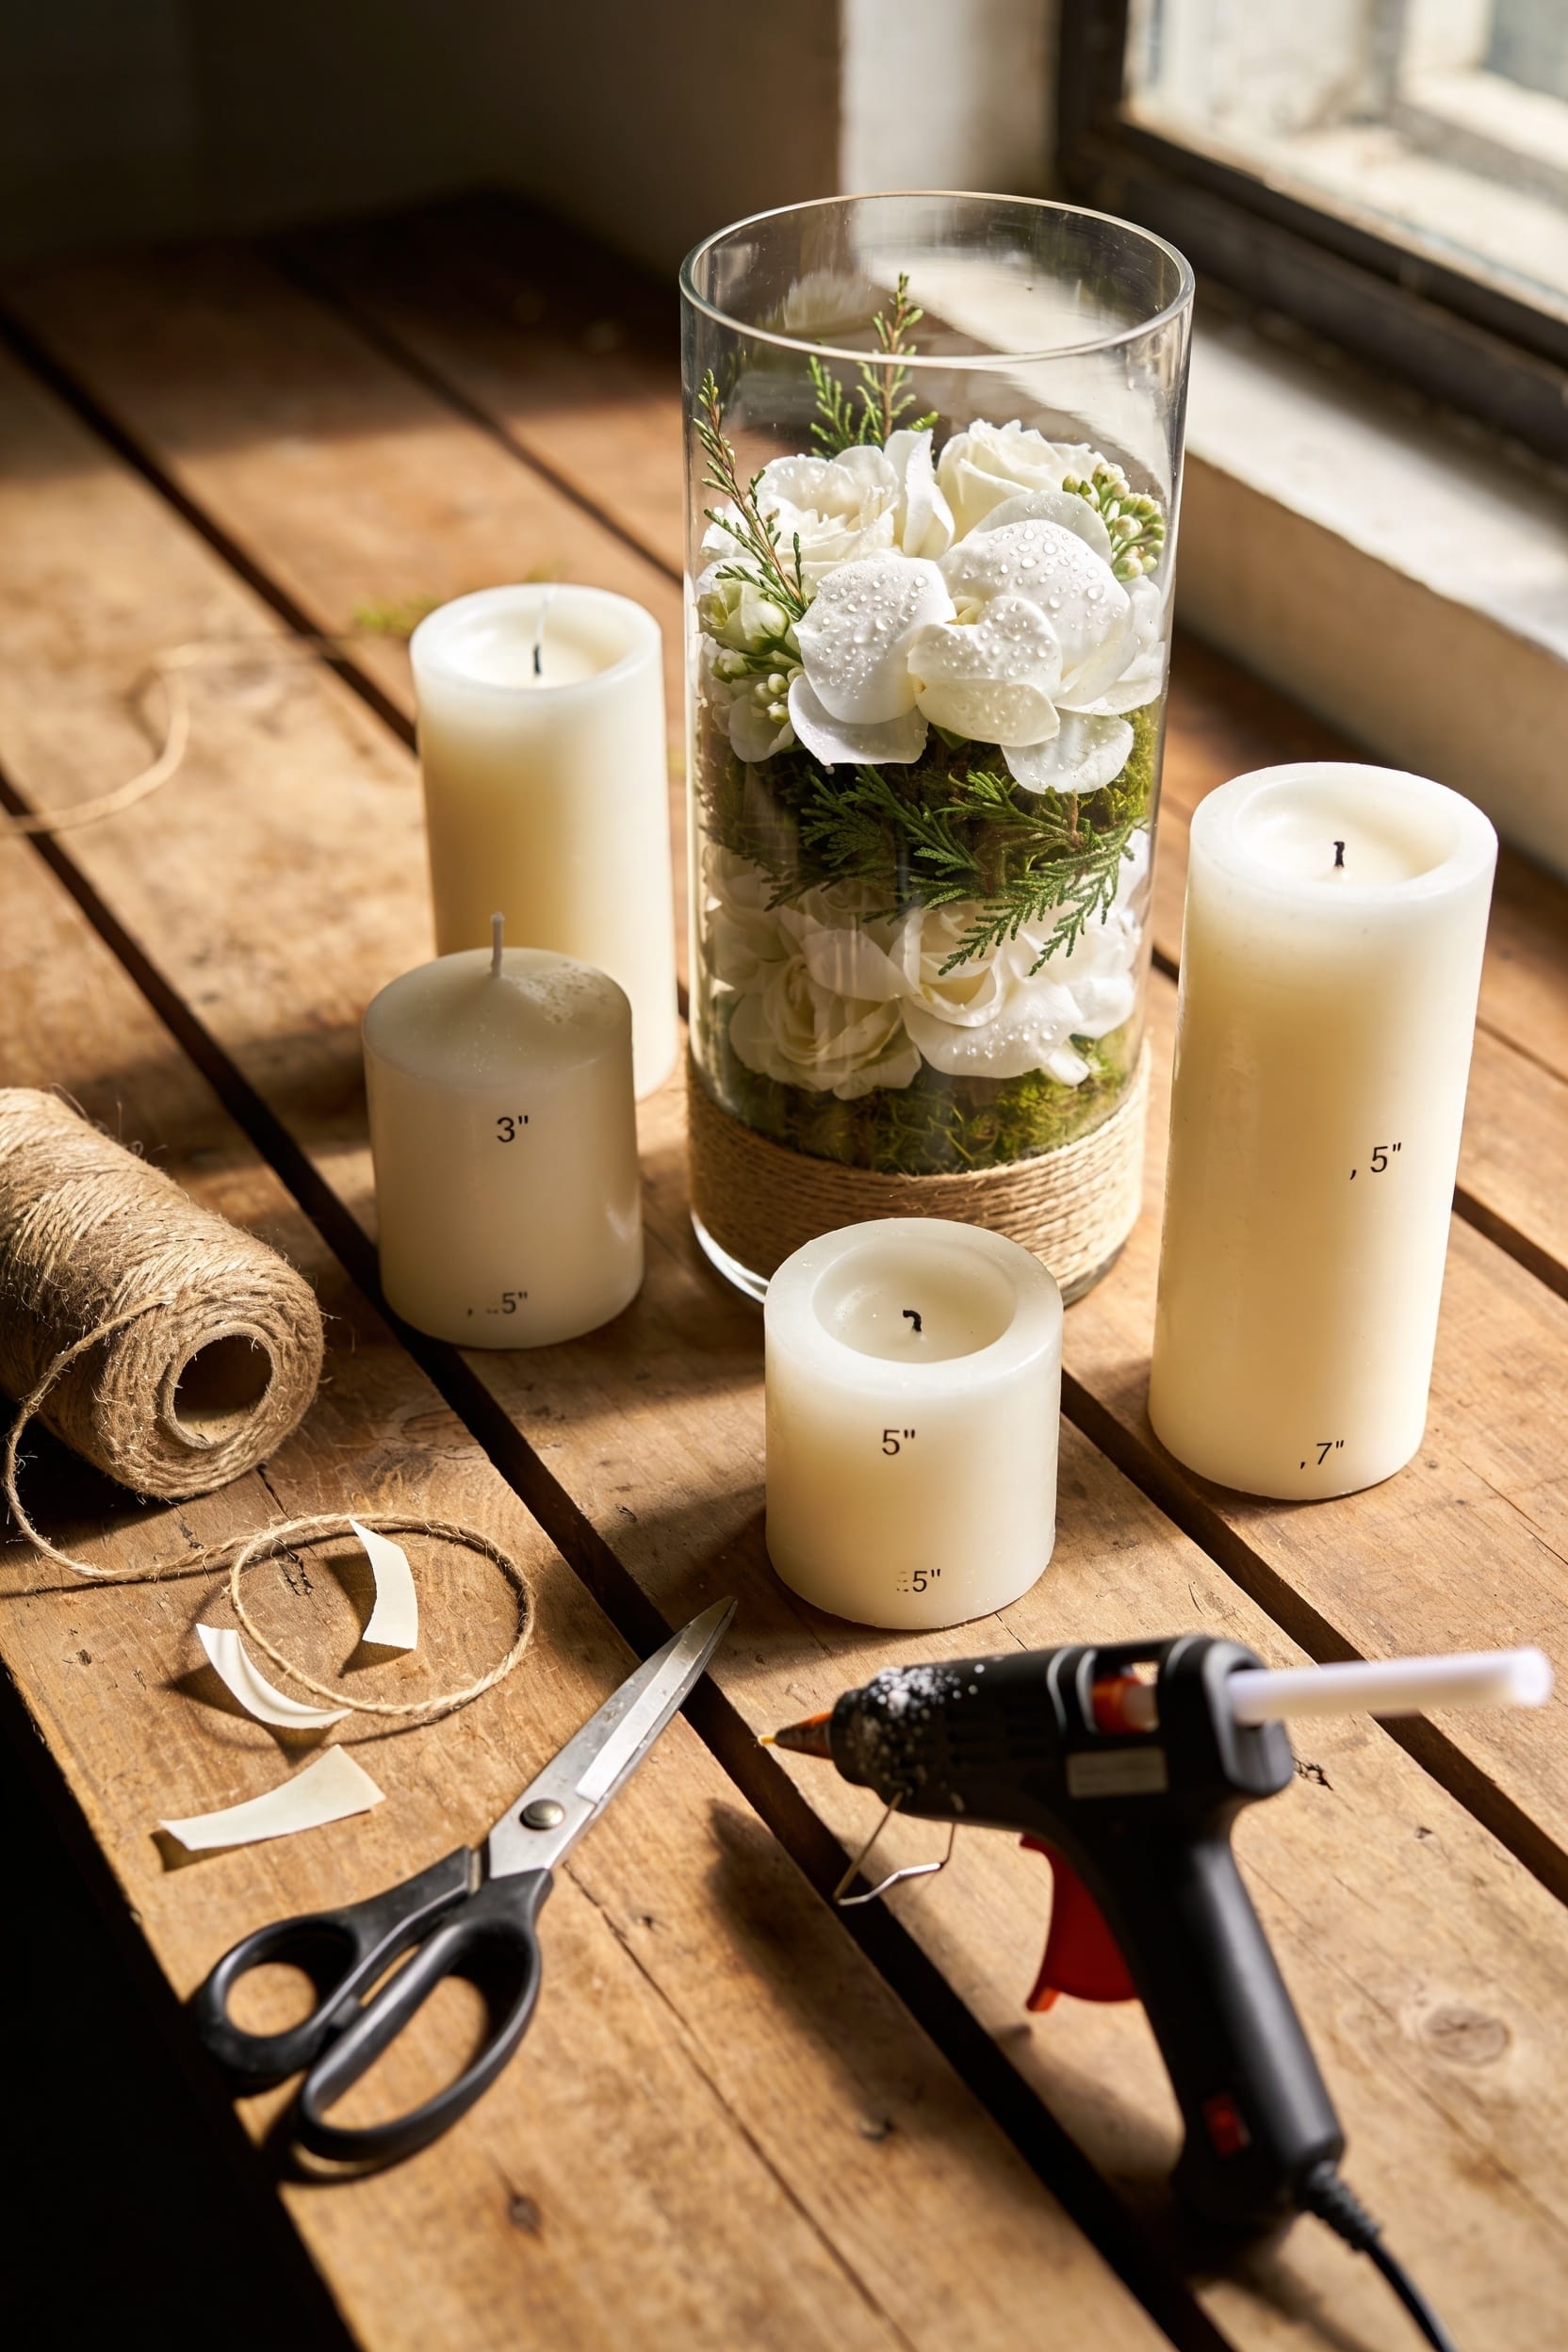
Build Your First DIY Centerpiece: Step-by-Step Assembly
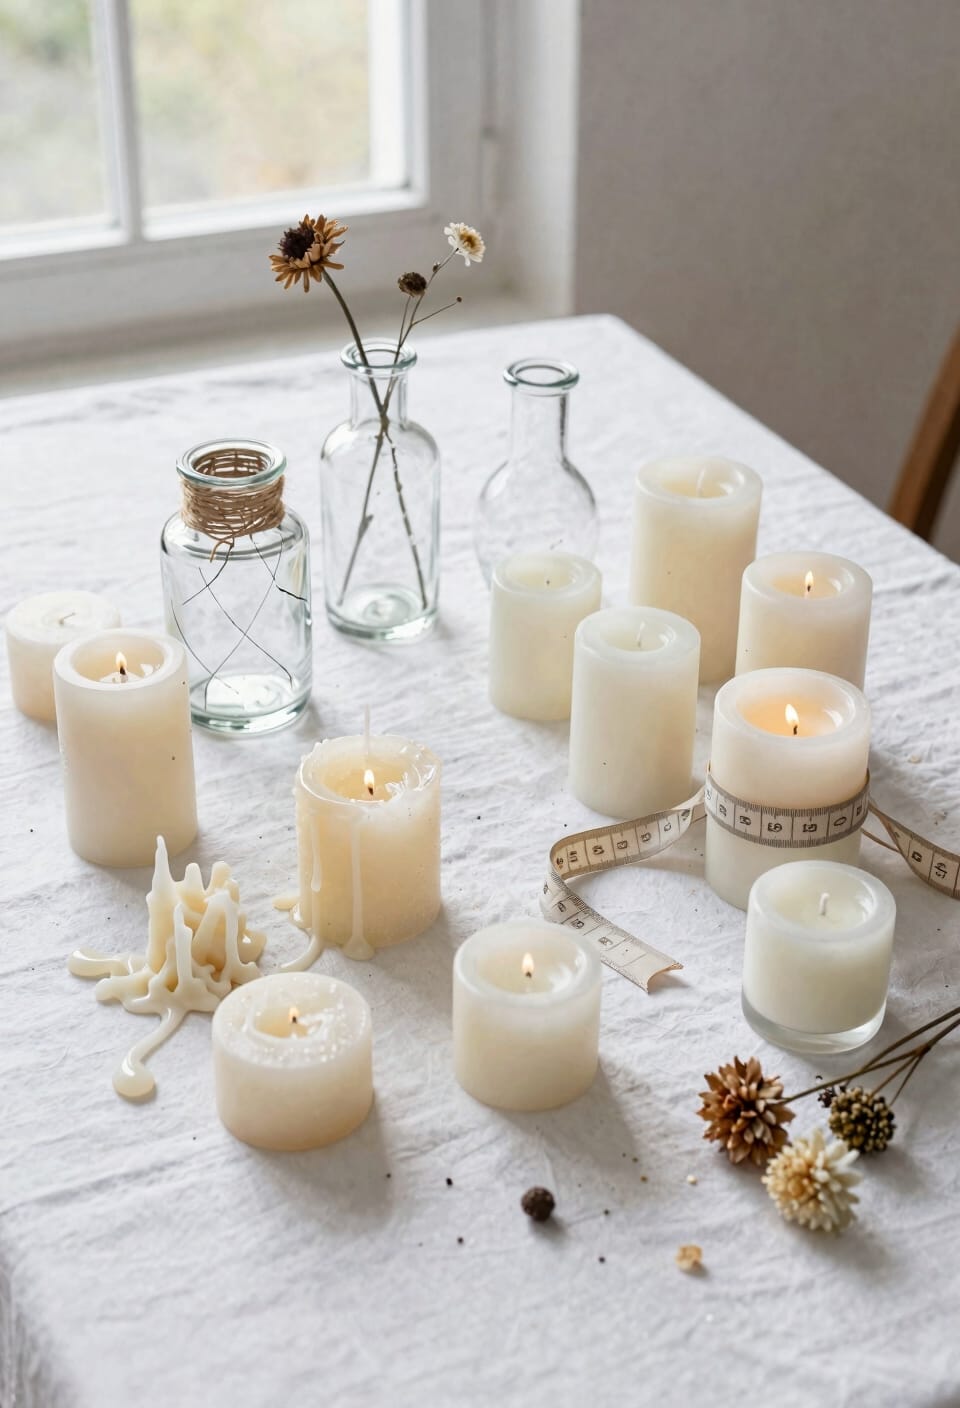
Grab your round mirror base—this is your foundation, literally—and set it down on your work surface where you’ve got some room to play around. Now, place your hurricane vase in the center and slide that pillar candle inside. Before you light anything, check that candle wick (the string running through the center that actually burns) sits about a quarter-inch above the wax. Pour your diamond filler around the base until you’ve hit your desired height. Give that mirror polish a quick buff so light bounces off it beautifully when you light up later. Group your votives and smaller candles around the main piece. This arrangement isn’t just pretty—it’s functional. You’re creating layers of light that’ll make your table glow without looking like a fire hazard.
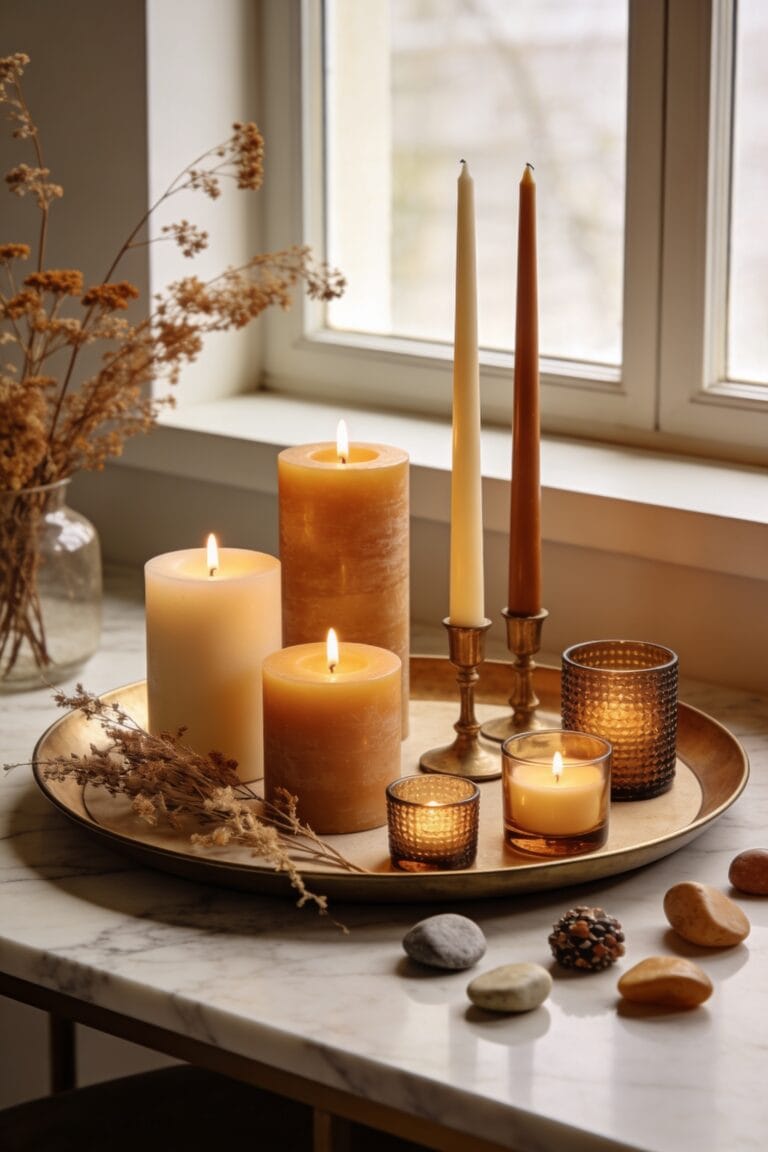
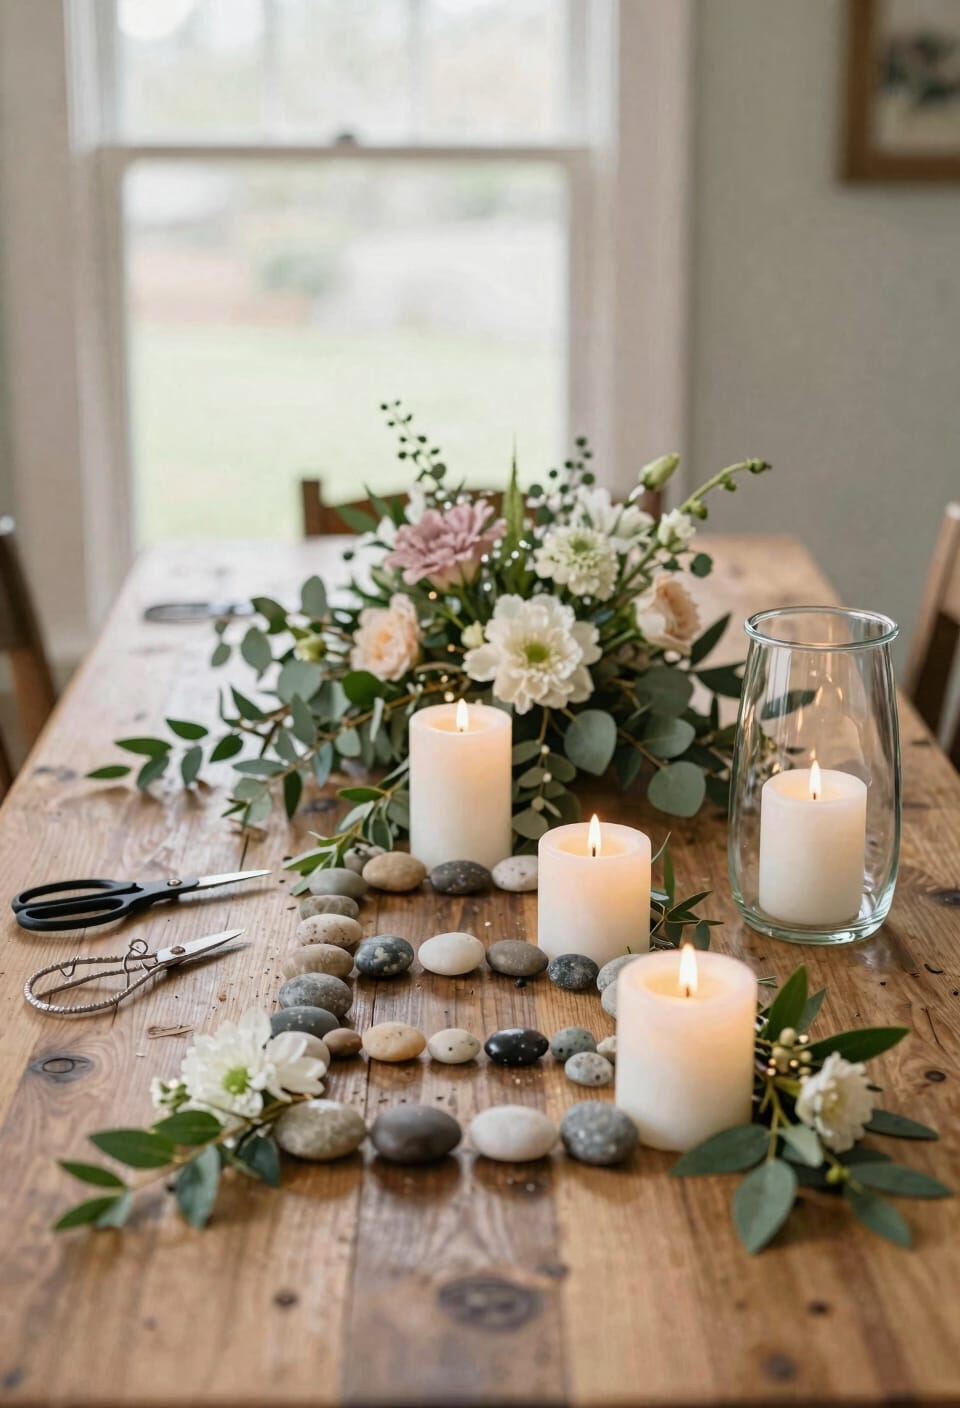
Five Design Styles: From Romantic Floating Candles to Modern Pillars
Once you’ve mastered the basic setup, the real fun starts—because there’s honestly no single way to do this right, and that’s what makes it beautiful. You can go full romantic with floating candles drifting in water-filled cylinders, creating that soft silhouette effect that makes everyone sigh. Or lean modern with stacked pillar candles and metallic accents for sophistication. There’s the organic greenery runner look, the cascade arrangement on a flat dish, or low florals with tapered candles in stemmed glass. Each style burns differently too—floating candles give you gentle, even heat; pillars? They’ll tunnel if you’re not careful with wick length. Pick the style that speaks to you, then keep those wicks trimmed to quarter-inch.
Recommended Products

Large Bulk Set in Multiple Sizes: You will receive 96 pieces of glass cylinder vases in 3 different sizes, 32 pieces for each size. Each cylinder vase is individually wrapped in soft bubble and packed with upgraded protective packaging to lock the vase in place, provide better protection, and reduce breakage during shipment. Ideal for bulk wedding and event needs.

[Set of 24 Sloan Cylinder Vases] - Clear glass cylinder vase, 24" height. Straight-sided design with smooth polished rim for elegant, unobstructed floral and candle displays.

Large Bulk Set in Multiple Sizes: You will receive 72 pieces of glass cylinder vases in 3 different sizes, 24 pieces for each size. Each cylinder vase is individually wrapped in soft bubble and packed with upgraded protective packaging to lock the vase in place, provide better protection, and reduce breakage during shipment. Ideal for bulk wedding and event needs.
Personalize Your Centerpieces With Colors and Seasonal Touches
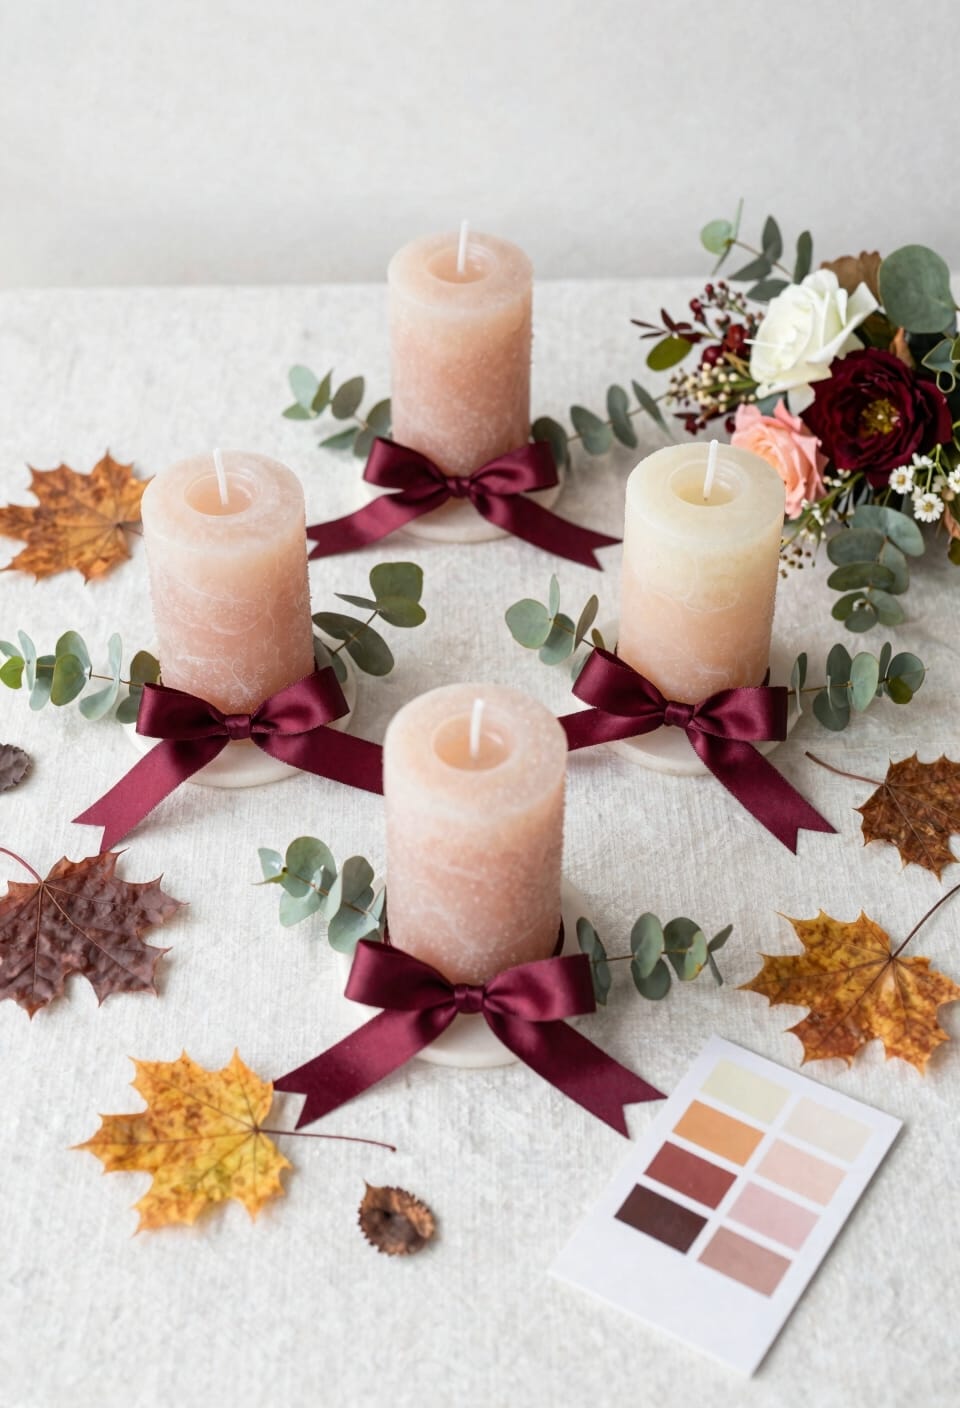
Color and seasonality are where your centerpieces stop being nice decorations and start being *you*—and honestly, that’s the part that makes guests actually remember them. Here’s the thing: you’re not just arranging candles; you’re setting a mood that matches the moment.
Think about seasonal colorways. Summer weddings glow with peach tapered candles paired alongside soft florals. Winter calls for deep burgundy or ivory pillars with pinecones nestled in your filler. Fall? Go amber and gold.
Now, monogram accents elevate everything. A personalized holder or charm hanging from your hurricane vase tells your story without screaming about it. Cricut DIY lets you customize holders affordably. Match your candle colors to your palette—it’s not overthinking; it’s intentional design. That’s what makes guests pause and actually notice what you’ve created.
Common Mistakes That Waste Time and Money (and How to Avoid Them)
Most people spend all their time picking the perfect candles and mirrors, then sabotage the whole project by buying way too much filler or grabbing mismatched holders that don’t actually fit together. I’ve done it—we all have.
Here’s the thing: overheating wax happens when you cram pillars into undersized hurricane vases without proper airflow. Buy your holders first, then measure twice. Don’t order last minute shipping on candles you could’ve grabbed locally; you’ll pay triple and still stress about delivery.
Skip artificial flowers until you absolutely need them—fresh greenery costs less and looks better. Calculate filler carefully. Three boxes genuinely covers five centerpieces if you’re smart about depth.
Test your setup before the big day. One practice run saves you from disaster.
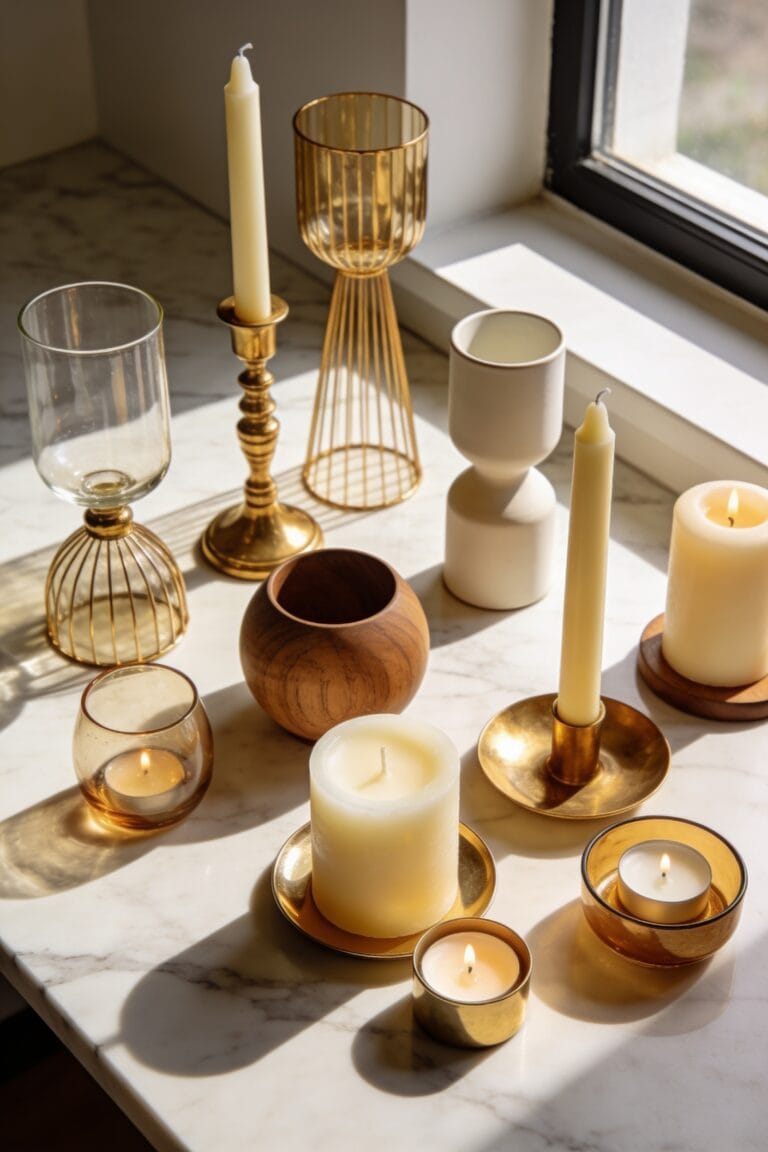
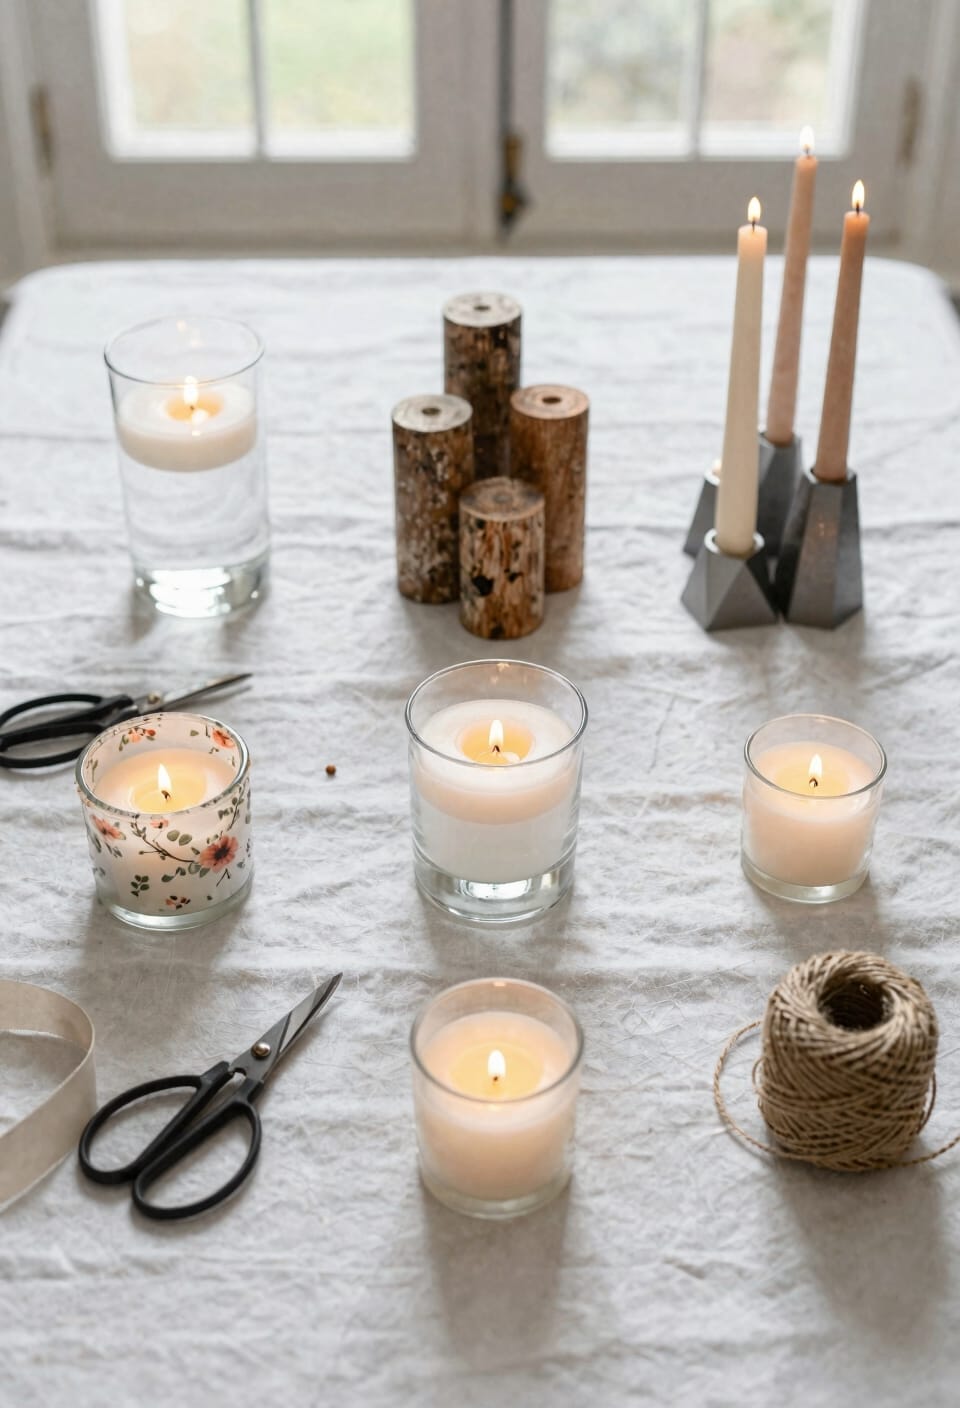
Smart Shopping: Mix Premium Candles With Thrift Store Finds
You don’t have to choose between quality candles and staying on budget—mix premium with thrift, and you’ll end up with centerpieces that look intentional instead of cobbled together. Start with luxury scouting at Yummi Candles or Quick Candles for hand-dipped tapers and pillars in cohesive colors. These set your design’s tone. Then hit thrift networking—flea markets and secondhand shops for eclectic holders that add character without the markup. Pair a $15 premium pillar in cream with three $2 thrifted glass votives, and suddenly you’ve got visual depth and personality. The trick? Let quality candles anchor your design while thrifted holders provide variety. Your guests won’t know the difference in cost, only that everything feels curated and intentional.
Recommended Products

About Product Size: Package:12 Packs Floor Candle Holders Tall Set. Material: Metal. Color: Gold Style: 7-Arm and Thick Round Base Overall Height: 48" Arms Heights: 24.6", 28.5", 32.4", 36.2", 40.2", 44", 48",Base Size: 9.36"Dia. Candle Cups Size:0.98” Dia. Note: Candles and other accessories are not included!Due to different light settings the actual color might vary a bit from the pictures.The 4 piece floor candle holders tall set can meet the decoration needs of weddings, restaurants, parties and various scenes

Set Includes: 18 3" Floating Candles & 18 Monet Stem Holders

Set includes 36 Slim Pillars (12 of each size: 2.25"D x 3", 5",7"H) and 36 Cylinders (12 of each size: 3.5"D x 6", 7.5",9"H) and 1 Stick Um
Scale Your Project From One Table to Twenty
Now that you’ve got your mixing strategy down—quality candles paired with thrifted finds—let’s talk about what happens when you’re not just making one gorgeous centerpiece, but ten, fifteen, or even twenty of them. Here’s the thing: scaling up requires serious timeline coordination. Start six weeks before your wedding and break assembly into phases. First, source all your materials. Then batch-assemble centerpieces by type. You’ll need a dedicated workspace—trust me, your dining room will vanish under hurricane vases and filler. Calculate supplies carefully: three boxes of filler per five centerpieces means you’re buying smart, not scrambling at the last minute. Create a checklist so nothing gets missed. Consider guest favors that complement your centerpieces, reinforcing your design throughout the entire event.
Recommended Products

Bulk Case of 1440 Assorted Fall Artificial Acorns

7 FULL HYDRANGEA BLOOMS ON ONE 22-INCH STEM — Seven 6-to-7-inch White blooms deliver centerpiece-scale fullness from a single bush. One stem fills a vase the way a tight florist bouquet would, so you skip multi-stem ordering and still get a lush look.

1000 Silk Carnation Picks: Each flower is securely attached to a 5" floral pick, perfect for crafting stunning floral arrangements.
Troubleshooting: Keep Your Centerpieces Looking Fresh
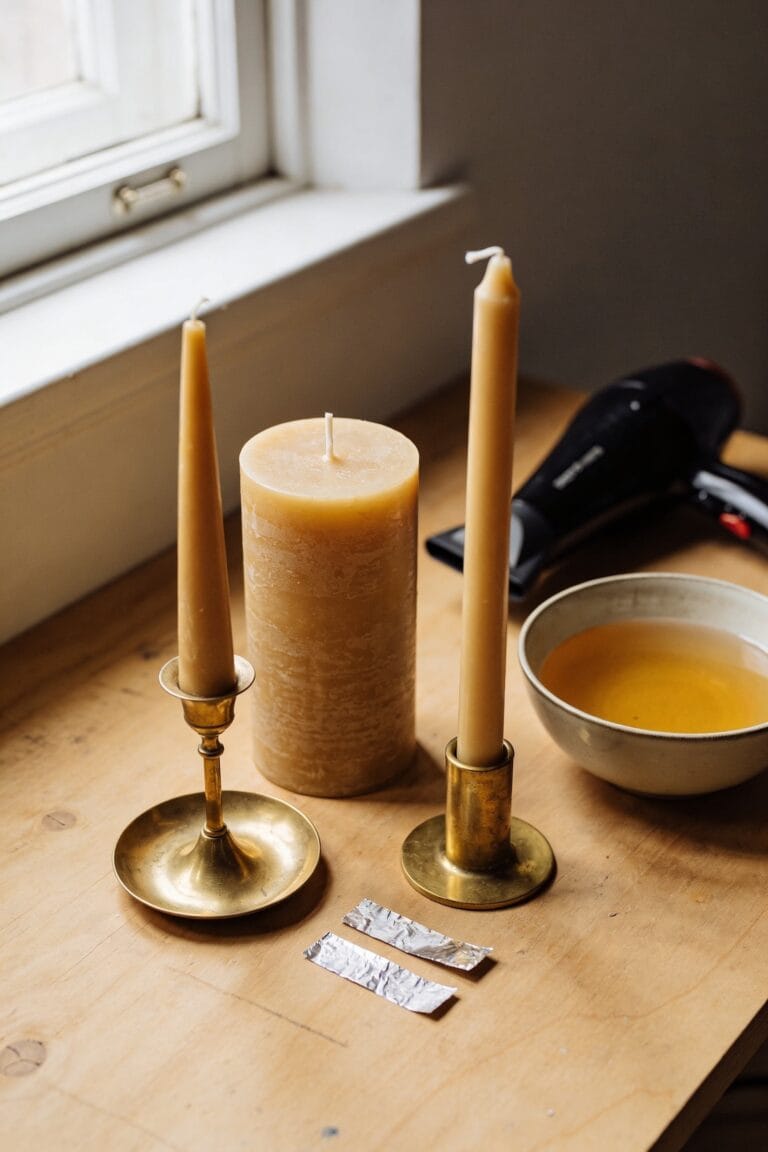
Since you’ve invested time and money into creating beautiful candle centerpieces, the last thing you want is for them to look neglected or damaged by the time guests sit down for dinner. Here’s the thing: a few simple habits make all the difference. Before the event, trim each wick to about quarter-inch to prevent excessive smoking and soot buildup—grab a quality wick trimmer if you don’t have one. Position centerpieces away from air conditioning vents and windows; avoid drafts that’ll make flames flicker and create uneven melting. Light candles thirty minutes before guests arrive so wax pools evenly. Keep a candle snuffer nearby to extinguish flames gently without blowing smoke everywhere. You’ve got this.
Recommended Products
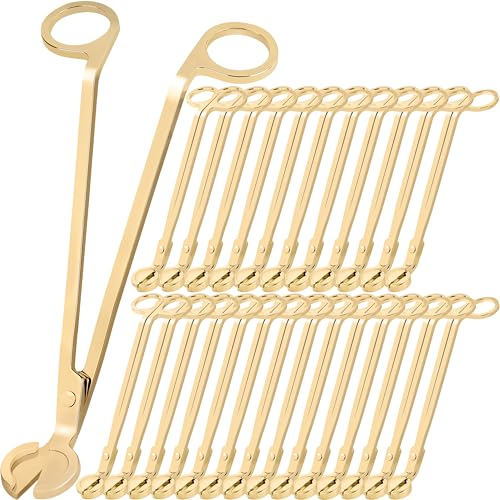
Pick Your Favorite Finish: No matter your interior design preference, we have a wick trimmer tailored for you. Choose from Black, Gold, Rose Gold, Silver, Brushed Gold, and Brushed Copper to complement your candles, decor, and gifting style

Brushed Solid Brass

Frequently Asked Questions
How Far in Advance Should I Assemble Centerpieces Before the Wedding Day?
I’d recommend you start assembling centerpieces 2-3 days before your wedding. This gives you time to arrange everything without stress, then you can do last minute touch ups the morning of your event.
Can I Reuse These Centerpieces for Other Events After the Wedding?
Like a chameleon adapting to its surroundings, these centerpieces transform beautifully for other events. You’ll absolutely reuse them—their vintage charm and seasonal swaps make them perfect for anniversaries, dinner parties, and holidays.
What’s the Safest Way to Transport Finished Centerpieces to the Venue?
I’d wrap each centerpiece individually in bubble wrap, securing it firmly so candles don’t shift. Transport them in your car with climate control on to prevent wax damage. Keep them upright and avoid sudden stops.
How Do I Prevent Pillar Candles From Smoking or Creating Soot Stains?
I’ve found that trimming wicks to quarter-inch lengths and ensuring proper airflow control around your centerpieces prevents smoking and soot stains. You’ll want adequate spacing between candles so air circulates freely, keeping flames clean and bright.
Are There Fire Safety Considerations for Using Multiple Candles Together?
You’ll want to space candles at least twelve inches apart to prevent overheating. I’d recommend using flame guards and keeping them away from decorations, curtains, and flammable materials. Never leave them unattended.
Conclusion
So there you have it: you’re about to spend way less money creating centerpieces that look like you hired a professional. Ironic, really—all those budget hacks mean your guests will assume you’re secretly wealthy. Don’t correct them. Your secret’s safe with me, and honestly, those thrifted candle holders paired with bulk votives? They’ll never know the difference. You’ve basically just become a wedding designer. You’re welcome.