As an Amazon Associate, we earn from qualifying purchases. Some links on this site are affiliate links at no extra cost to you. Our recommendations are based on thorough research and editorial judgment.
How to Remove Wax From a Candle Holder Without Damaging It
All right, here’s the thing: match your method to your holder’s material, because one wrong move and you’re scratching something irreplaceable. Freezing works beautifully for delicate glass—let it sit 30 to 60 minutes until the wax shrinks and hardens, then gently tap it out. For sturdy holders, boiling water floats the wax right to the surface. Always use plastic scrapers, never metal on delicate finishes, and warm frozen glass gradually to prevent cracking. The specifics matter way more than you’d think.
Key Takeaways
- Match your removal method to the holder material—freezing suits delicate glass, while boiling water works best for sturdy glass.
- Use only plastic scrapers and soft-bristled toothbrushes to avoid scratching delicate metals like silver and textured surfaces.
- Prevent thermal shock by starting with room-temperature water before applying heat to glass holders.
- Allow frozen holders to warm gradually to room temperature to prevent cracking from rapid temperature changes.
- Clean residue gently with dish soap and warm water using a microfiber cloth, then dry immediately.
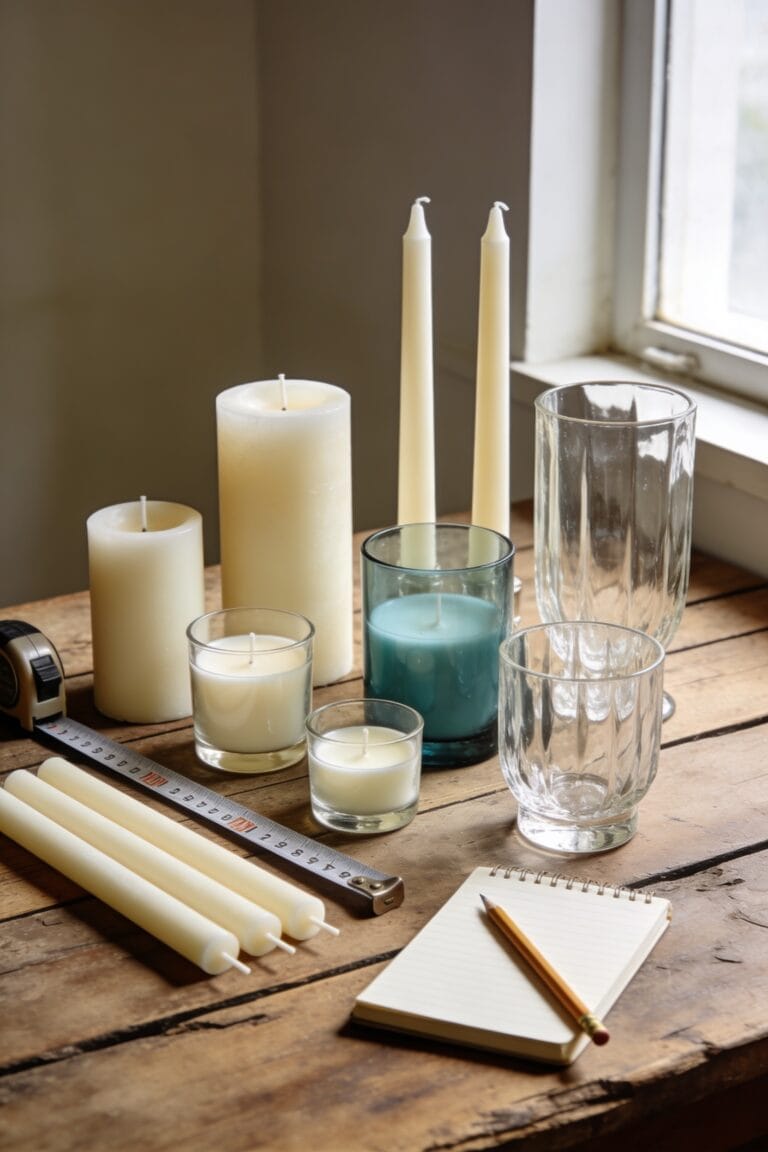
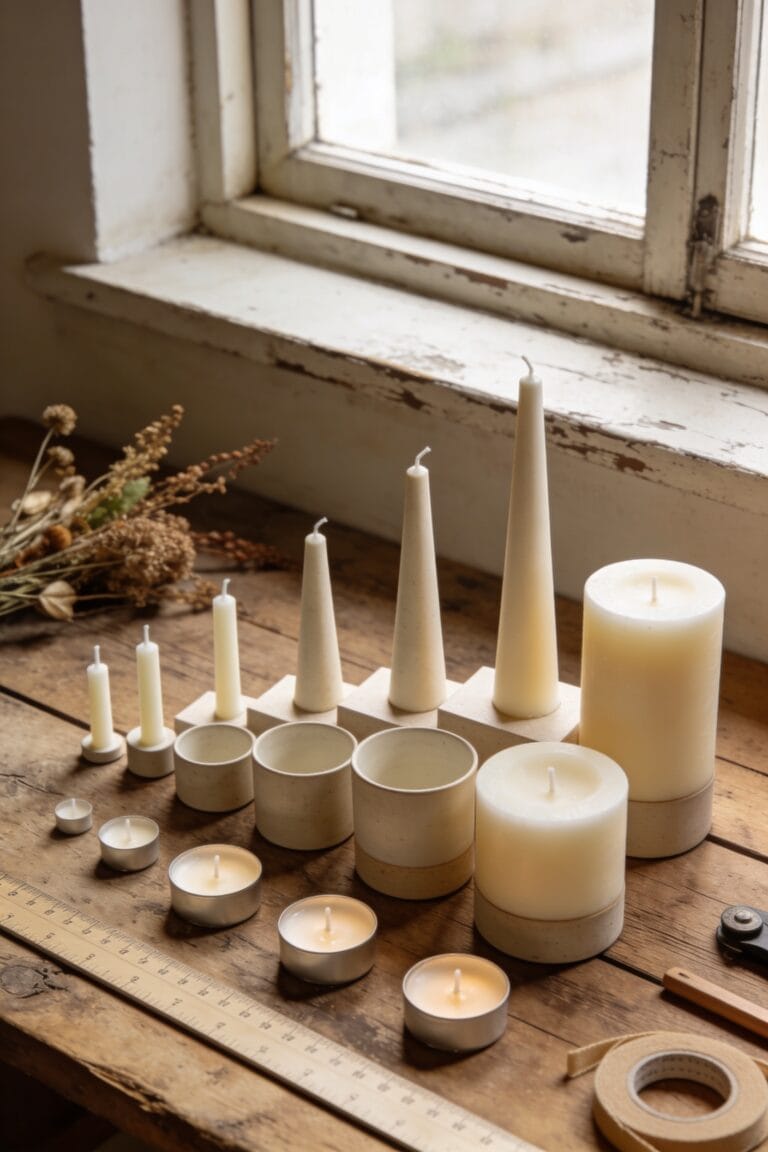
Choose the Right Wax Removal Method for Your Candle Holder
Look, I’ve been there—staring at a beautiful candle holder now basically encased in hardened wax like some kind of archaeological artifact, wondering if I’ve just ruined it forever. The truth? You probably haven’t. But here’s the thing: different holders need different approaches based on material compatibility and surface texture.
Glass votives? Freezing works beautifully. Delicate silver? Skip the metal tools entirely. Ceramic with intricate designs demands a soft-bristled toothbrush for those crevices. Before you attack that wax, consider what you’re working with. A smooth ceramic pillar tolerates scraping better than textured stainless steel. You’ve got options—boiling water, freezing, oven melting—and choosing wisely means your holder survives intact and ready for its next candle life.
Fast Wax Removal With the Boiling Water Method
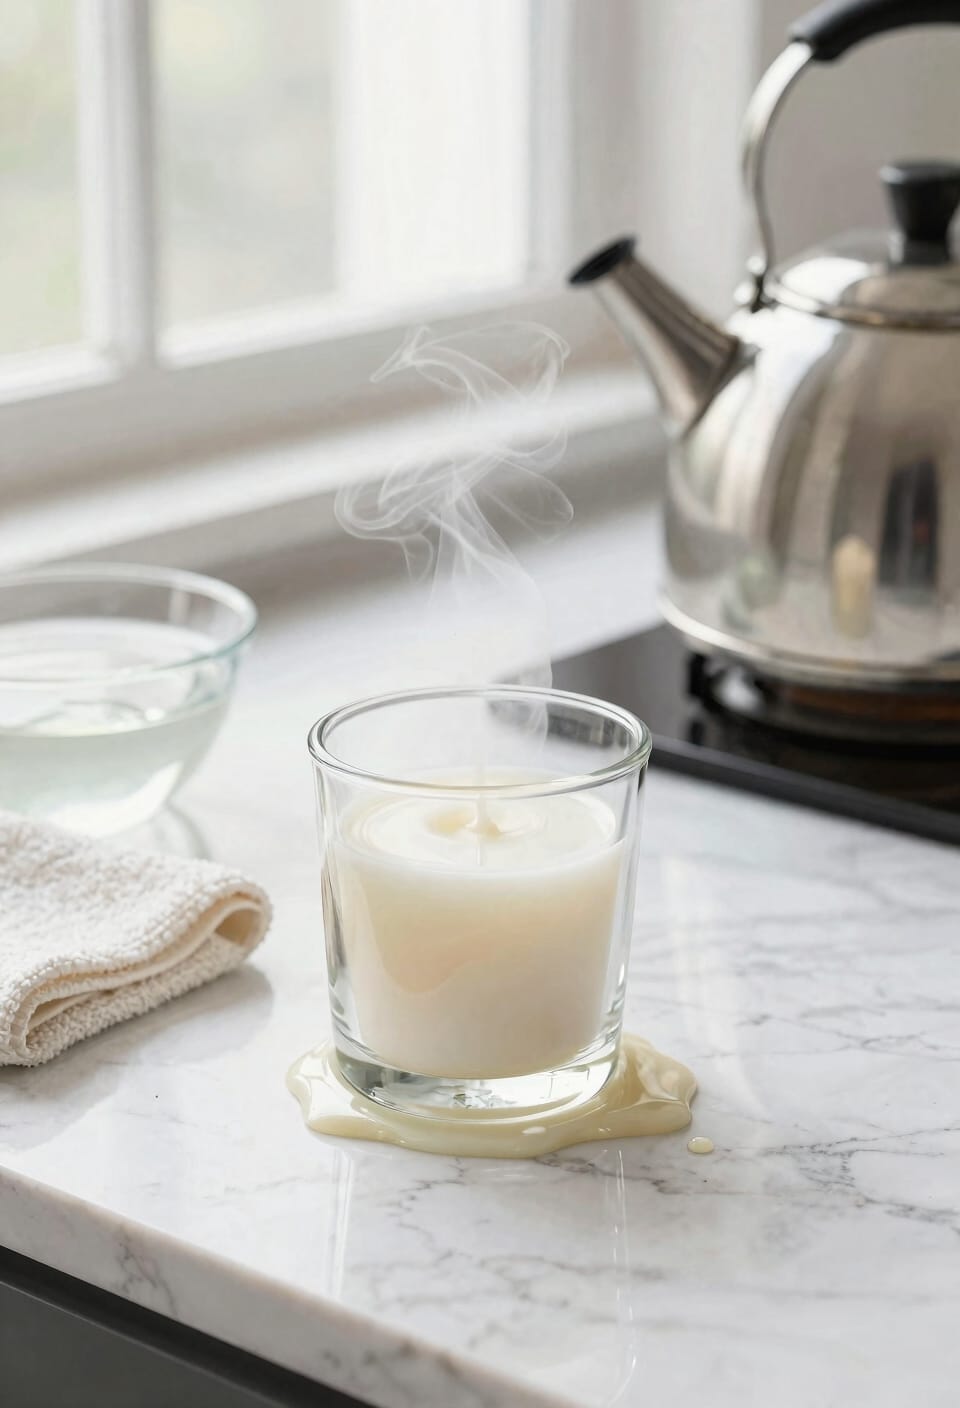
If you’ve got a glass candle holder swimming in solidified wax and you’re short on patience, the boiling water method is your speediest ticket to a clean slate. Start by adding an inch of room temperature water to prevent thermal shock—that’s when sudden temperature changes crack glass. Then pour boiling water into the holder. The heat liquifies the wax, which floats to the surface as it melts. Here’s the bonus: your whole room fills with that candle scent transfer, so you’re basically getting a final burn without the flame. Once cooled, lift off the wax disc and wipe residue away. Water safety matters, so never skip that cool water buffer step.
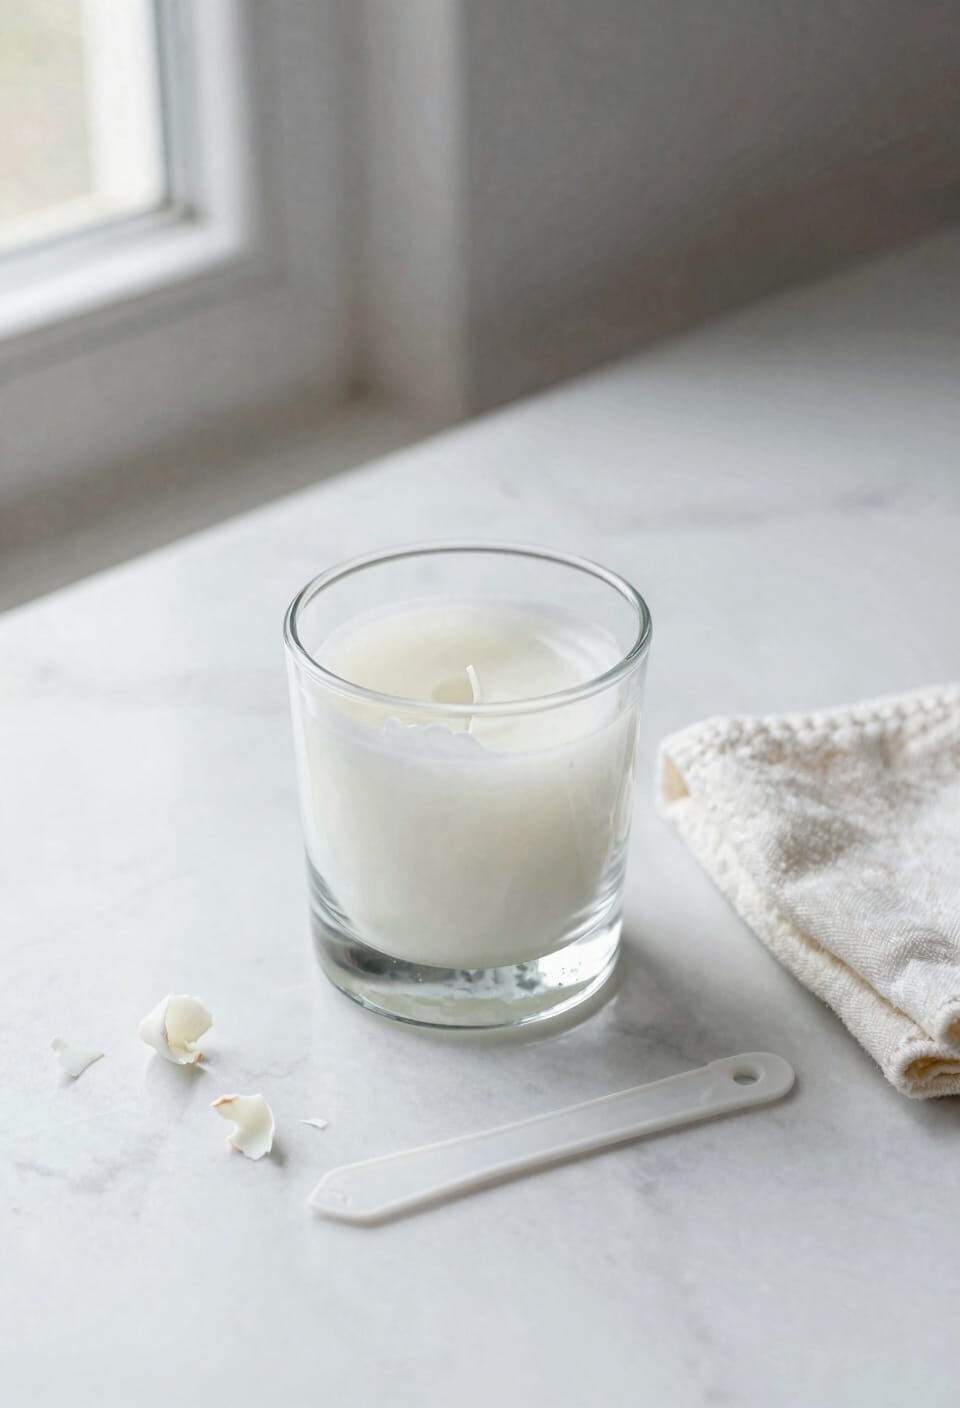
Freeze Wax Out of Glass Holders (Best for Delicate Pieces)
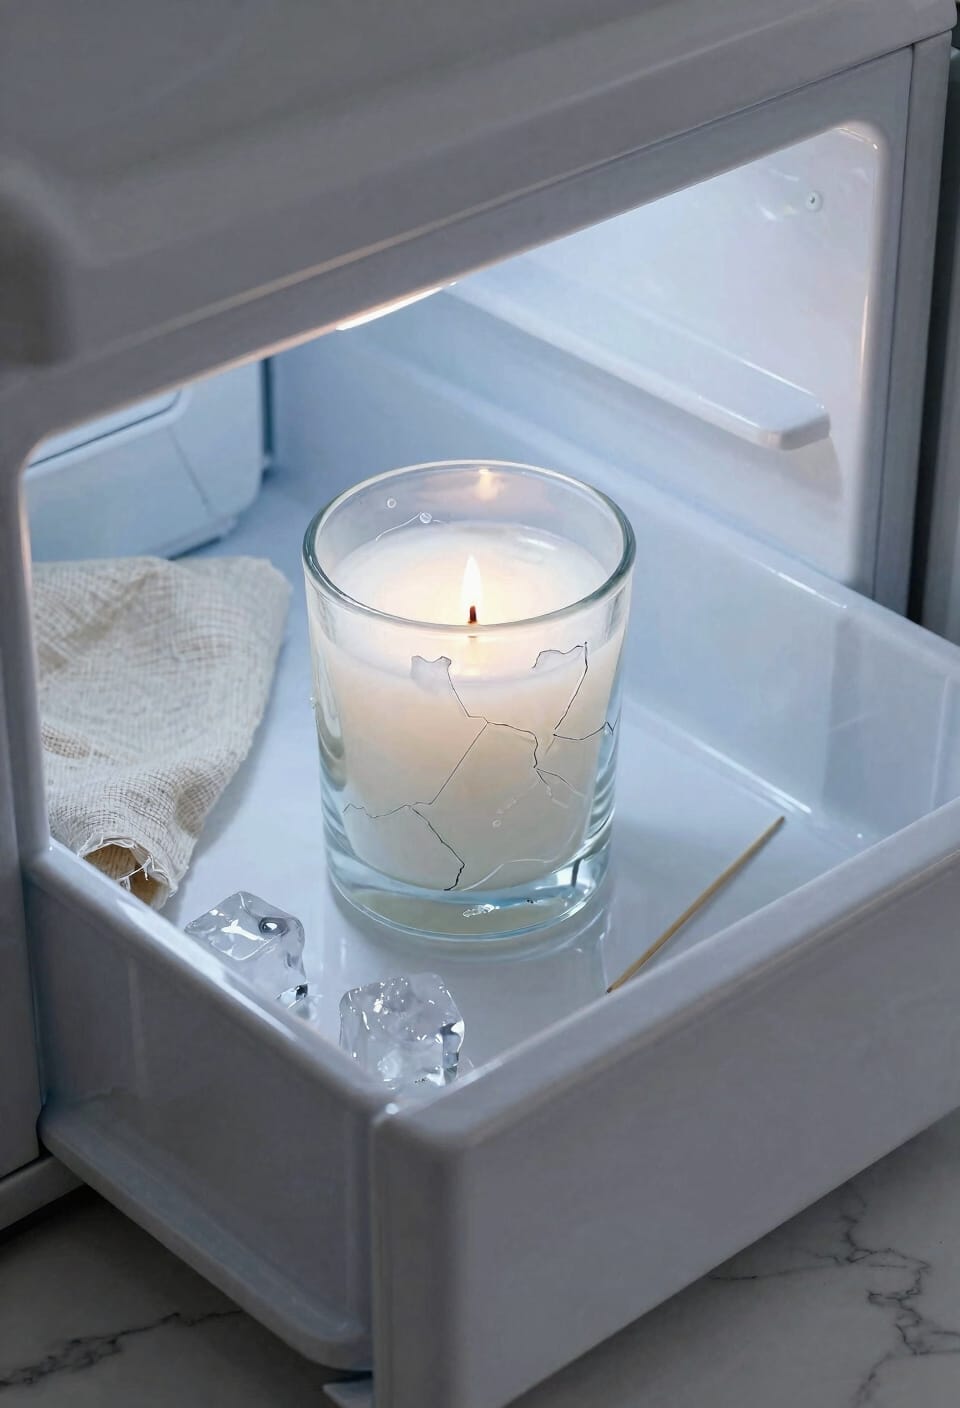
Freezing wax out of your candle holders is honestly one of the gentlest ways to reclaim delicate glass—the kind that makes you nervous every time you reach for it. Here’s the thing: cold contraction works magic on wax. Pop your holder in the freezer for 30 minutes to an hour, and the wax hardens while shrinking away from the glass walls. You’ll feel it actually pull back. Then gently tap or pry the disc out with your finger or a spoon. For dripped wax on surfaces, use a plastic scraper or your fingernail. This method demands delicate handling, but that’s exactly why it’s perfect for your fancy pieces. Finish with baby oil or soapy water to remove any stubborn residue.
Oven Melting: Clean Multiple Holders at Once
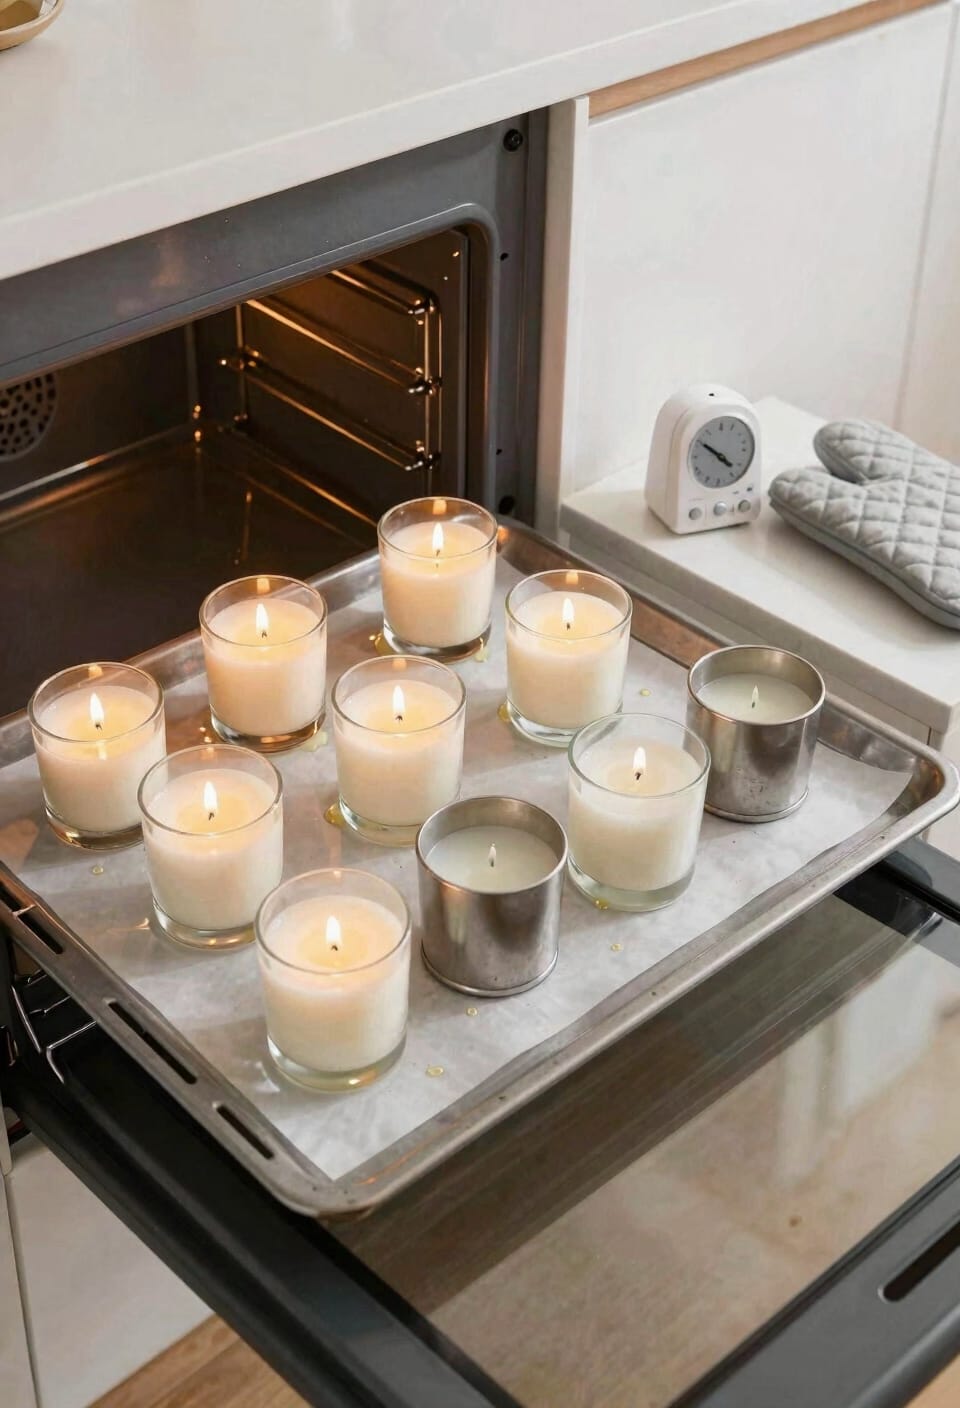
When you’ve got a whole collection of candle holders caked in wax—maybe you’re a collector, maybe you just got a little too enthusiastic with the stockpile—the oven method becomes your secret weapon. I preheat my oven to 200 degrees Fahrenheit, line a baking sheet with parchment, and arrange holders upright. In about 15 minutes, the wax melts completely. This batch processing approach handles multiple pieces simultaneously without any plumbing concerns, which beats running water methods one holder at a time. The energy efficiency speaks for itself when you’re tackling ten holders instead of ten separate sessions. Once they’re melted, I remove wick tabs and soot with oven mitts, then I’m left with clean holders and usable wax I can recycle into new candles.
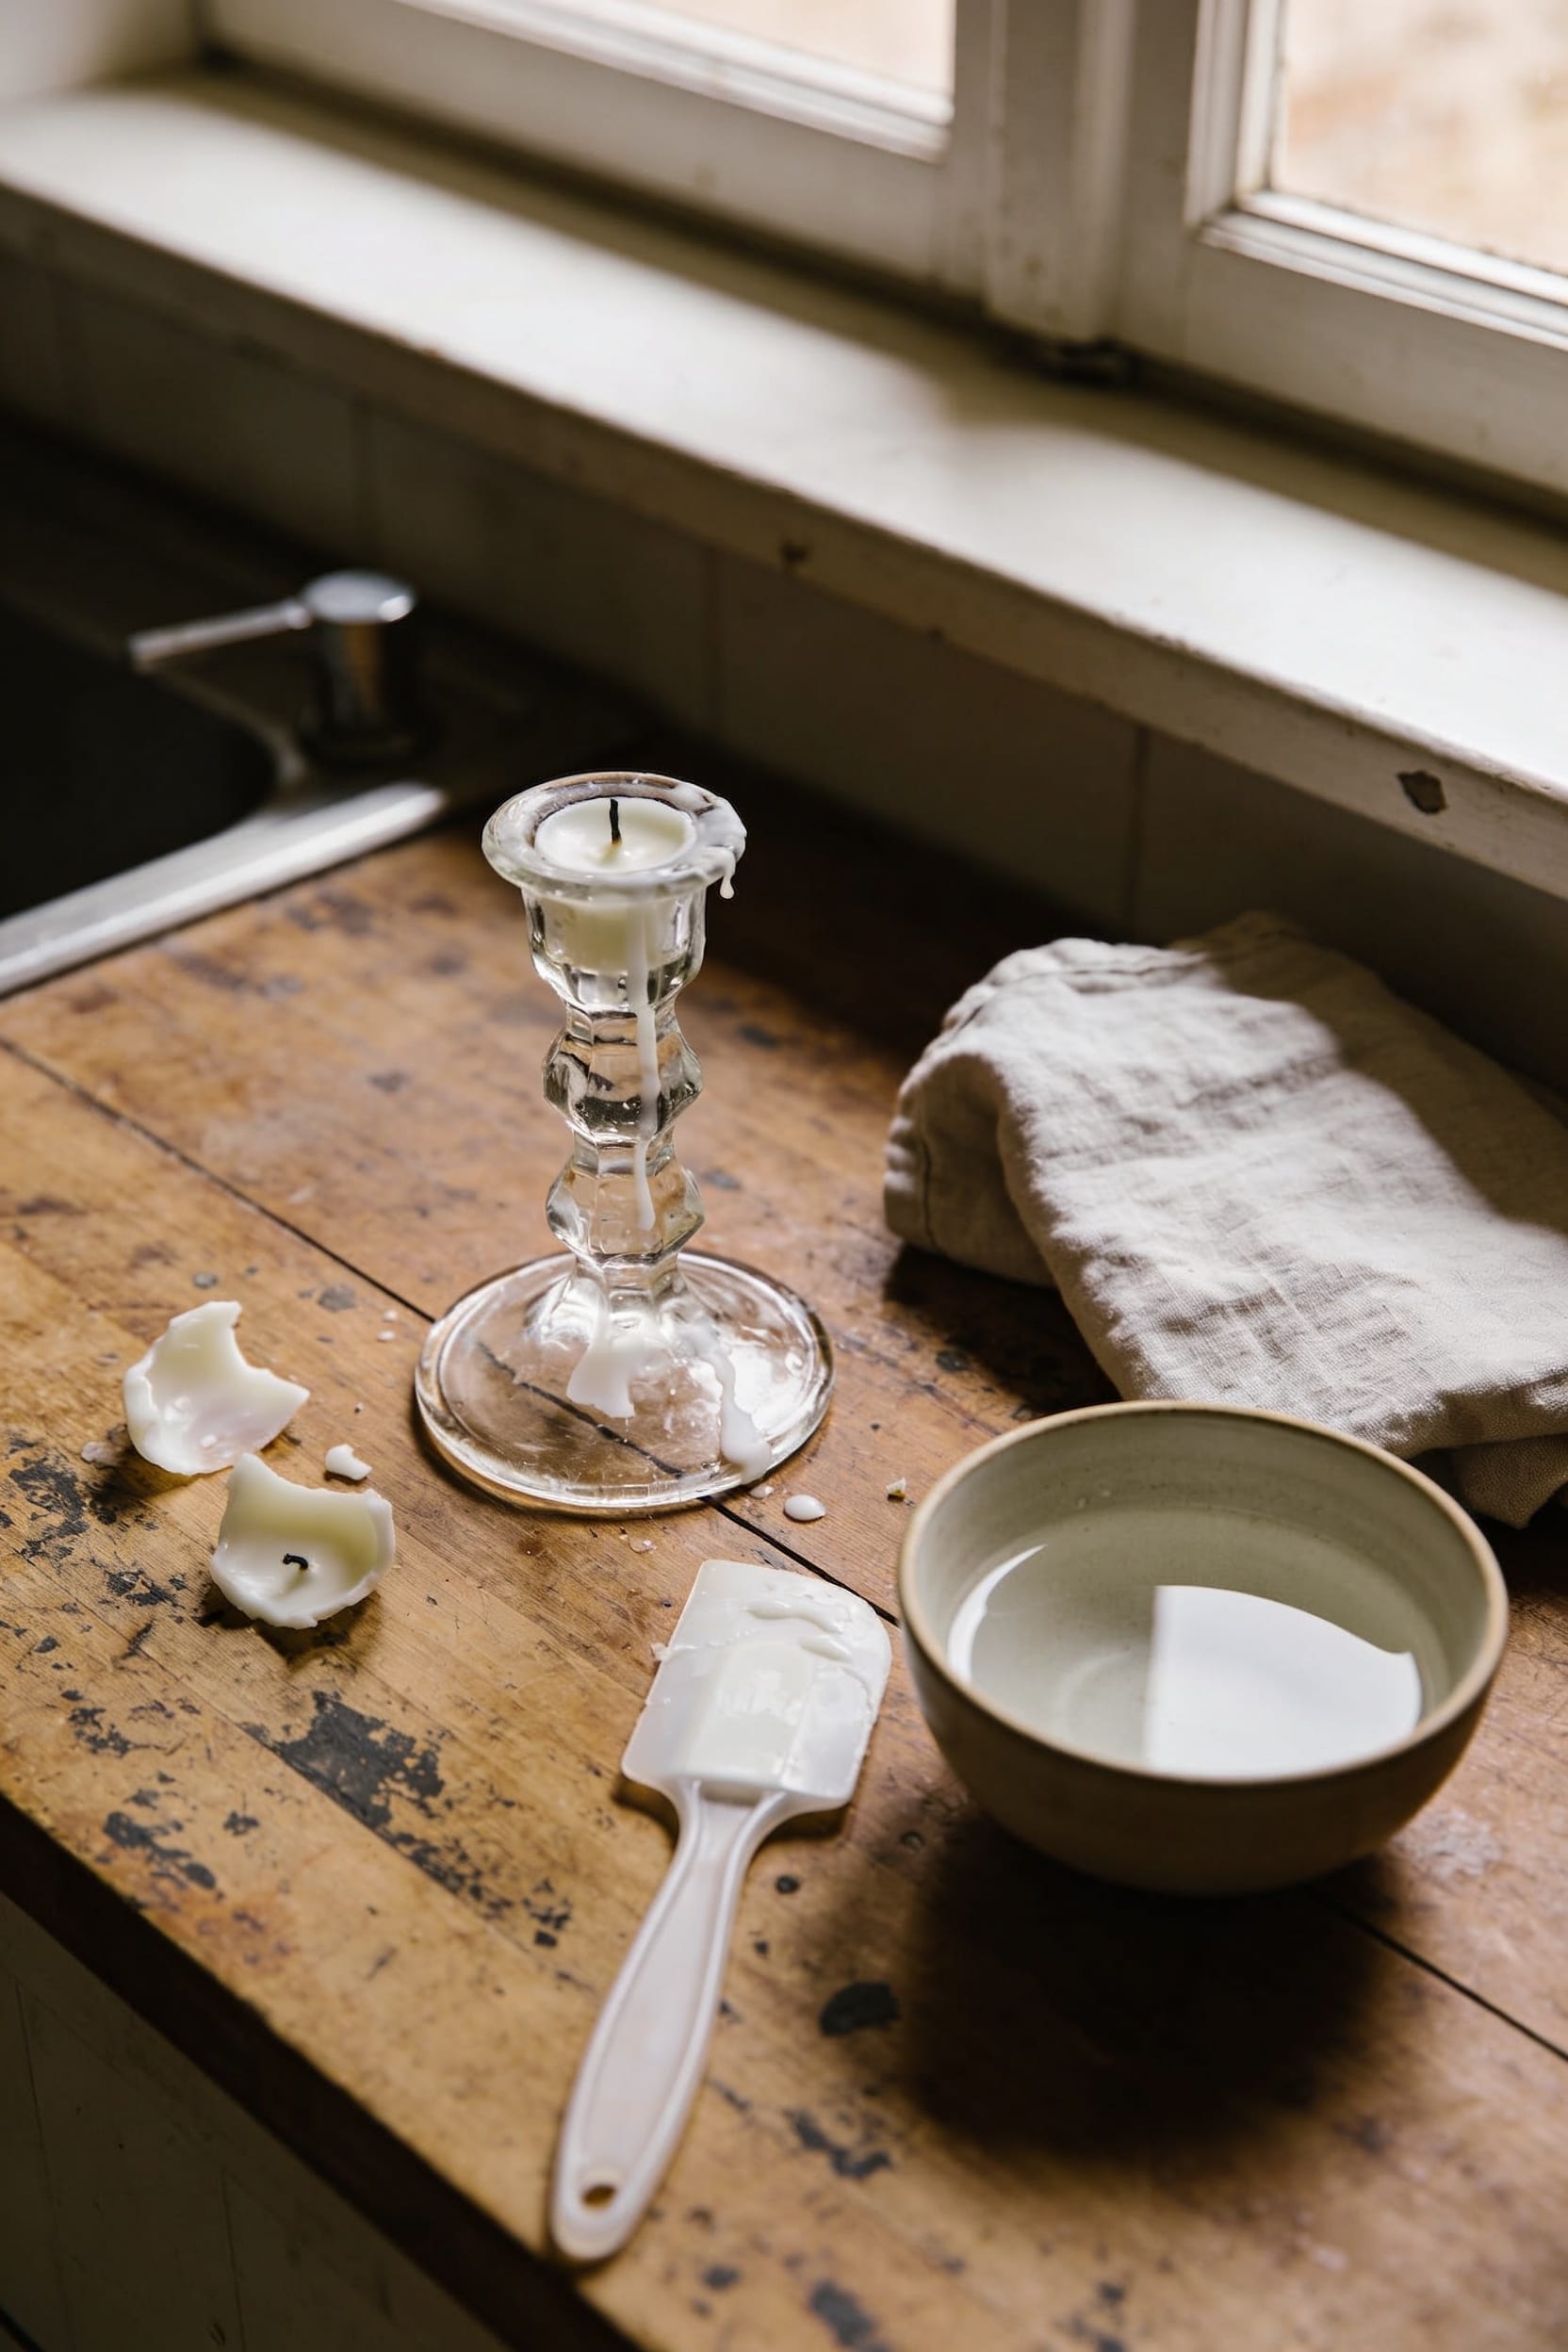
Scrape and Refine After Heat or Cold
Once you’ve softened your wax with heat or hardened it in the freezer, the real work begins—and it’s honestly the most satisfying part. Grab a plastic scraper or even a butter knife and gently work the wax away from the glass. You’re not trying to jackhammer it out; think of it as coaxing, not forcing.
For those fancy textured toothbrush holders or intricate designs, use a soft-bristled toothbrush to get into the crevices without scratching. After you’ve scraped away the bulk of it, pull out the wick and any soot tabs with a fork or your fingers.
Here’s the thing: avoid metal tools on delicate surfaces like silver—they’ll leave marks you’ll regret forever. Take your time. Your candle holder will thank you.
Microwave Wax Removal in 15 Seconds
If you’ve got a microwave and fifteen seconds to spare, you can skip the whole freezer-waiting game or the boiling-water-fills-your-kitchen-with-scent situation. Pop your holder in for just fifteen seconds—I’m serious, that’s it. The wax softens enough to wipe away with a paper towel, and microwave safety is straightforward: use an oven mitt because that holder gets hot. Here’s the real win: you retain scent retention way better than boiling does. No steam rising up, no fragrance vanishing into thin air while you’re standing there waiting. Just gentle, controlled heat. Afterward, wipe down any residue and you’re done. It’s honestly my go-to method when I’m impatient, which is always.
Protect Silver, Steel, and Specialty Glass From Damage
Not all candle holders are created equal, and that fancy silver candlestick or sleek stainless steel holder you’ve got deserves better than a careless scraping with whatever tool you’ve got handy. Here’s the thing: delicate surfaces need respect. Skip metal tools entirely—they’ll leave scratches you can’t unsee. Instead, use a soft-bristled toothbrush or your fingernail for stubborn spots. After wax removal, gentle polishing with a microfiber buffing cloth keeps everything looking sharp. For silver, avoid harsh chemicals; stick with anti tarnish products designed for precious metals, applying them in circular motions. Store your holders in protective storage bags between uses to prevent dust and oxidation. You’ve invested in quality—treat them like it.
Why Temperature Swings Crack Glass
Glass candle holders are basically tiny thermal time bombs, and here’s why: when you expose hot wax or a warm holder to sudden cold—or blast it from freezing temperatures straight into heat—the glass expands and contracts at different rates than the wax inside it. That expansion mismatch creates thermal stress on the glass itself. Think of it like this: the wax shrinks faster than the glass can follow, leaving tiny internal fractures that eventually crack into visible splits. You’re not just risking one ruined holder—you’re risking shattered glass everywhere. That’s why I always start with room-temperature water before boiling, and why I let frozen holders sit out gradually. Your patience now saves your glassware later.
Clean and Polish After Wax Removal
Once you’ve freed your candle holder from its waxy prison, the real work actually begins—because a holder covered in residue and soot isn’t much to look at, and honestly, it defeats the whole purpose of having something pretty to burn candles in.
Start with mild dish soap and warm water, using a microfiber cloth for gentle surface conditioning. Rinse thoroughly and dry immediately to prevent water spots that’ll make your holder look neglected. For detailed areas on candelabras, a soft toothbrush works wonders. Stubborn stains? Try white vinegar or baking soda paste. If you’re dealing with stainless steel or silver, polish with a high-quality product using circular motions to restore protective coatings and that satisfying shine that makes you actually want to display the thing.
Optional: Repurpose Melted Wax Into New Candles
Before you toss that melted wax down the drain (please don’t—it’ll clog your pipes faster than you can say “plumbing nightmare”), consider this: you’ve just extracted a bunch of perfectly good wax that’s ready for a second act. All right, here’s where it gets fun. You can combine your salvaged wax into recolor blends, mixing different shades for something entirely new. Or try scented mixes by melting wax from multiple candles together for layered fragrances. Add a fresh wick, pour everything back into your cleaned holder, and boom—you’ve got yourself a custom candle without spending another dime. It’s basically upcycling for people who actually enjoy burning things. Your wallet and the planet both win.
Frequently Asked Questions
How Long Does Wax Typically Take to Cool Into a Removable Disc?
I’ve found that your cooling time depends on ambient temperature, but typically you’ll wait about 30 minutes to an hour after pouring boiling water. Cooler rooms speed up the process, while warmer environments naturally extend it.
Can I Use the Freezer Method on Ceramic or Wooden Candle Holders?
I’d avoid the freezer method on ceramic or wooden holders due to material porosity and freeze safety concerns. The rapid temperature change can cause cracking in ceramic, while wood’s porous nature absorbs moisture, risking warping or damage.
What’s the Best Way to Remove Soot Buildup Inside the Holder?
Like shadows clinging to a cave’s walls, soot settles stubbornly inside. I’d recommend using a soft-bristled toothbrush for carbon removal, then microfiber polishing to restore shine. This gentle approach prevents damage while thoroughly cleaning.
Is It Safe to Combine Different Wax Types When Repurposing Melted Wax?
I’d recommend not combining different wax types because they’ve got varying melting points and fragrance compatibility issues. You’ll get inconsistent burning, poor scent throw, and an uneven candle that won’t perform well.
How Can I Prevent Candle Scent From Lingering After Wax Removal?
Did you know candle scents can linger for weeks? I’d recommend improving air circulation and using odor absorbers like baking soda or activated charcoal near your holder. They’ll neutralize stubborn fragrances effectively.
Conclusion
Look, you’ve now got the skills to rescue your favorite holders without accidentally destroying them. Here’s something wild: Americans spend roughly $2 billion annually on candles, yet most of us don’t know how to properly maintain them. Don’t be that person who ruins a gorgeous holder through impatience. You’ve got this. Pick your method, take your time, and enjoy those candles guilt-free.