As an Amazon Associate, we earn from qualifying purchases. Some links on this site are affiliate links at no extra cost to you. Our recommendations are based on thorough research and editorial judgment.
How to Make Wax Melts Last Longer: Tips to Extend Every Cube
you’re probably torching through wax melts because you’re using massive chunks when sugar-cube-sized pieces work just fine. Your warmer might also be underpowered—most need 25–40 watts to actually melt wax properly. Turn it off once your room smells good instead of letting it run constantly, and reuse melts until fragrance completely dies. Store cooled wax in airtight containers away from heat and sunlight, keep your warmer clean, and you’ll stretch every cube surprisingly far. Stick around to discover the specific tricks that’ll cut your spending in half.
Key Takeaways
- Use sugar-cube-sized portions instead of full cubes to preserve fragrance strength and extend lifespan significantly.
- Melt wax completely until scent fades rather than replacing with fresh cubes after short sessions.
- Turn off warmers once desired room scent is reached to prevent unnecessary wax consumption.
- Store cooled, partially used wax in airtight containers in cool, dark places away from heat.
- Ensure your warmer runs 25–40 watts for optimal melting; low-wattage units trap fragrance inefficiently.
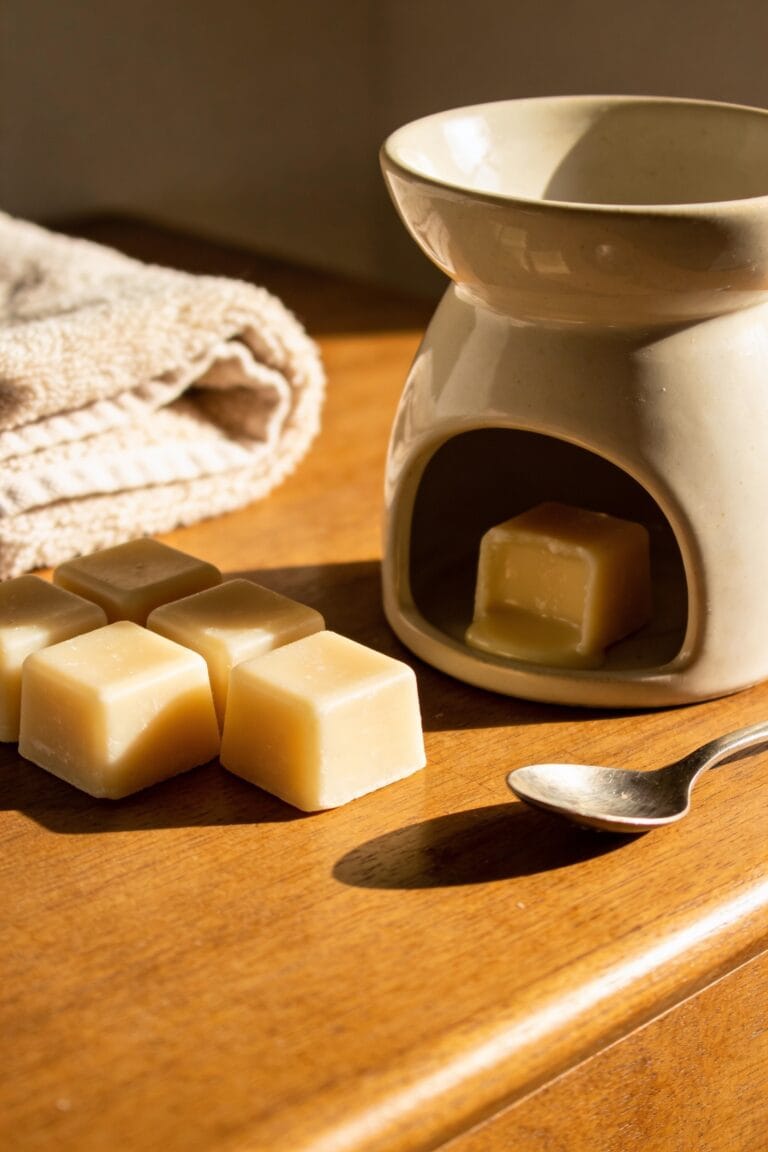
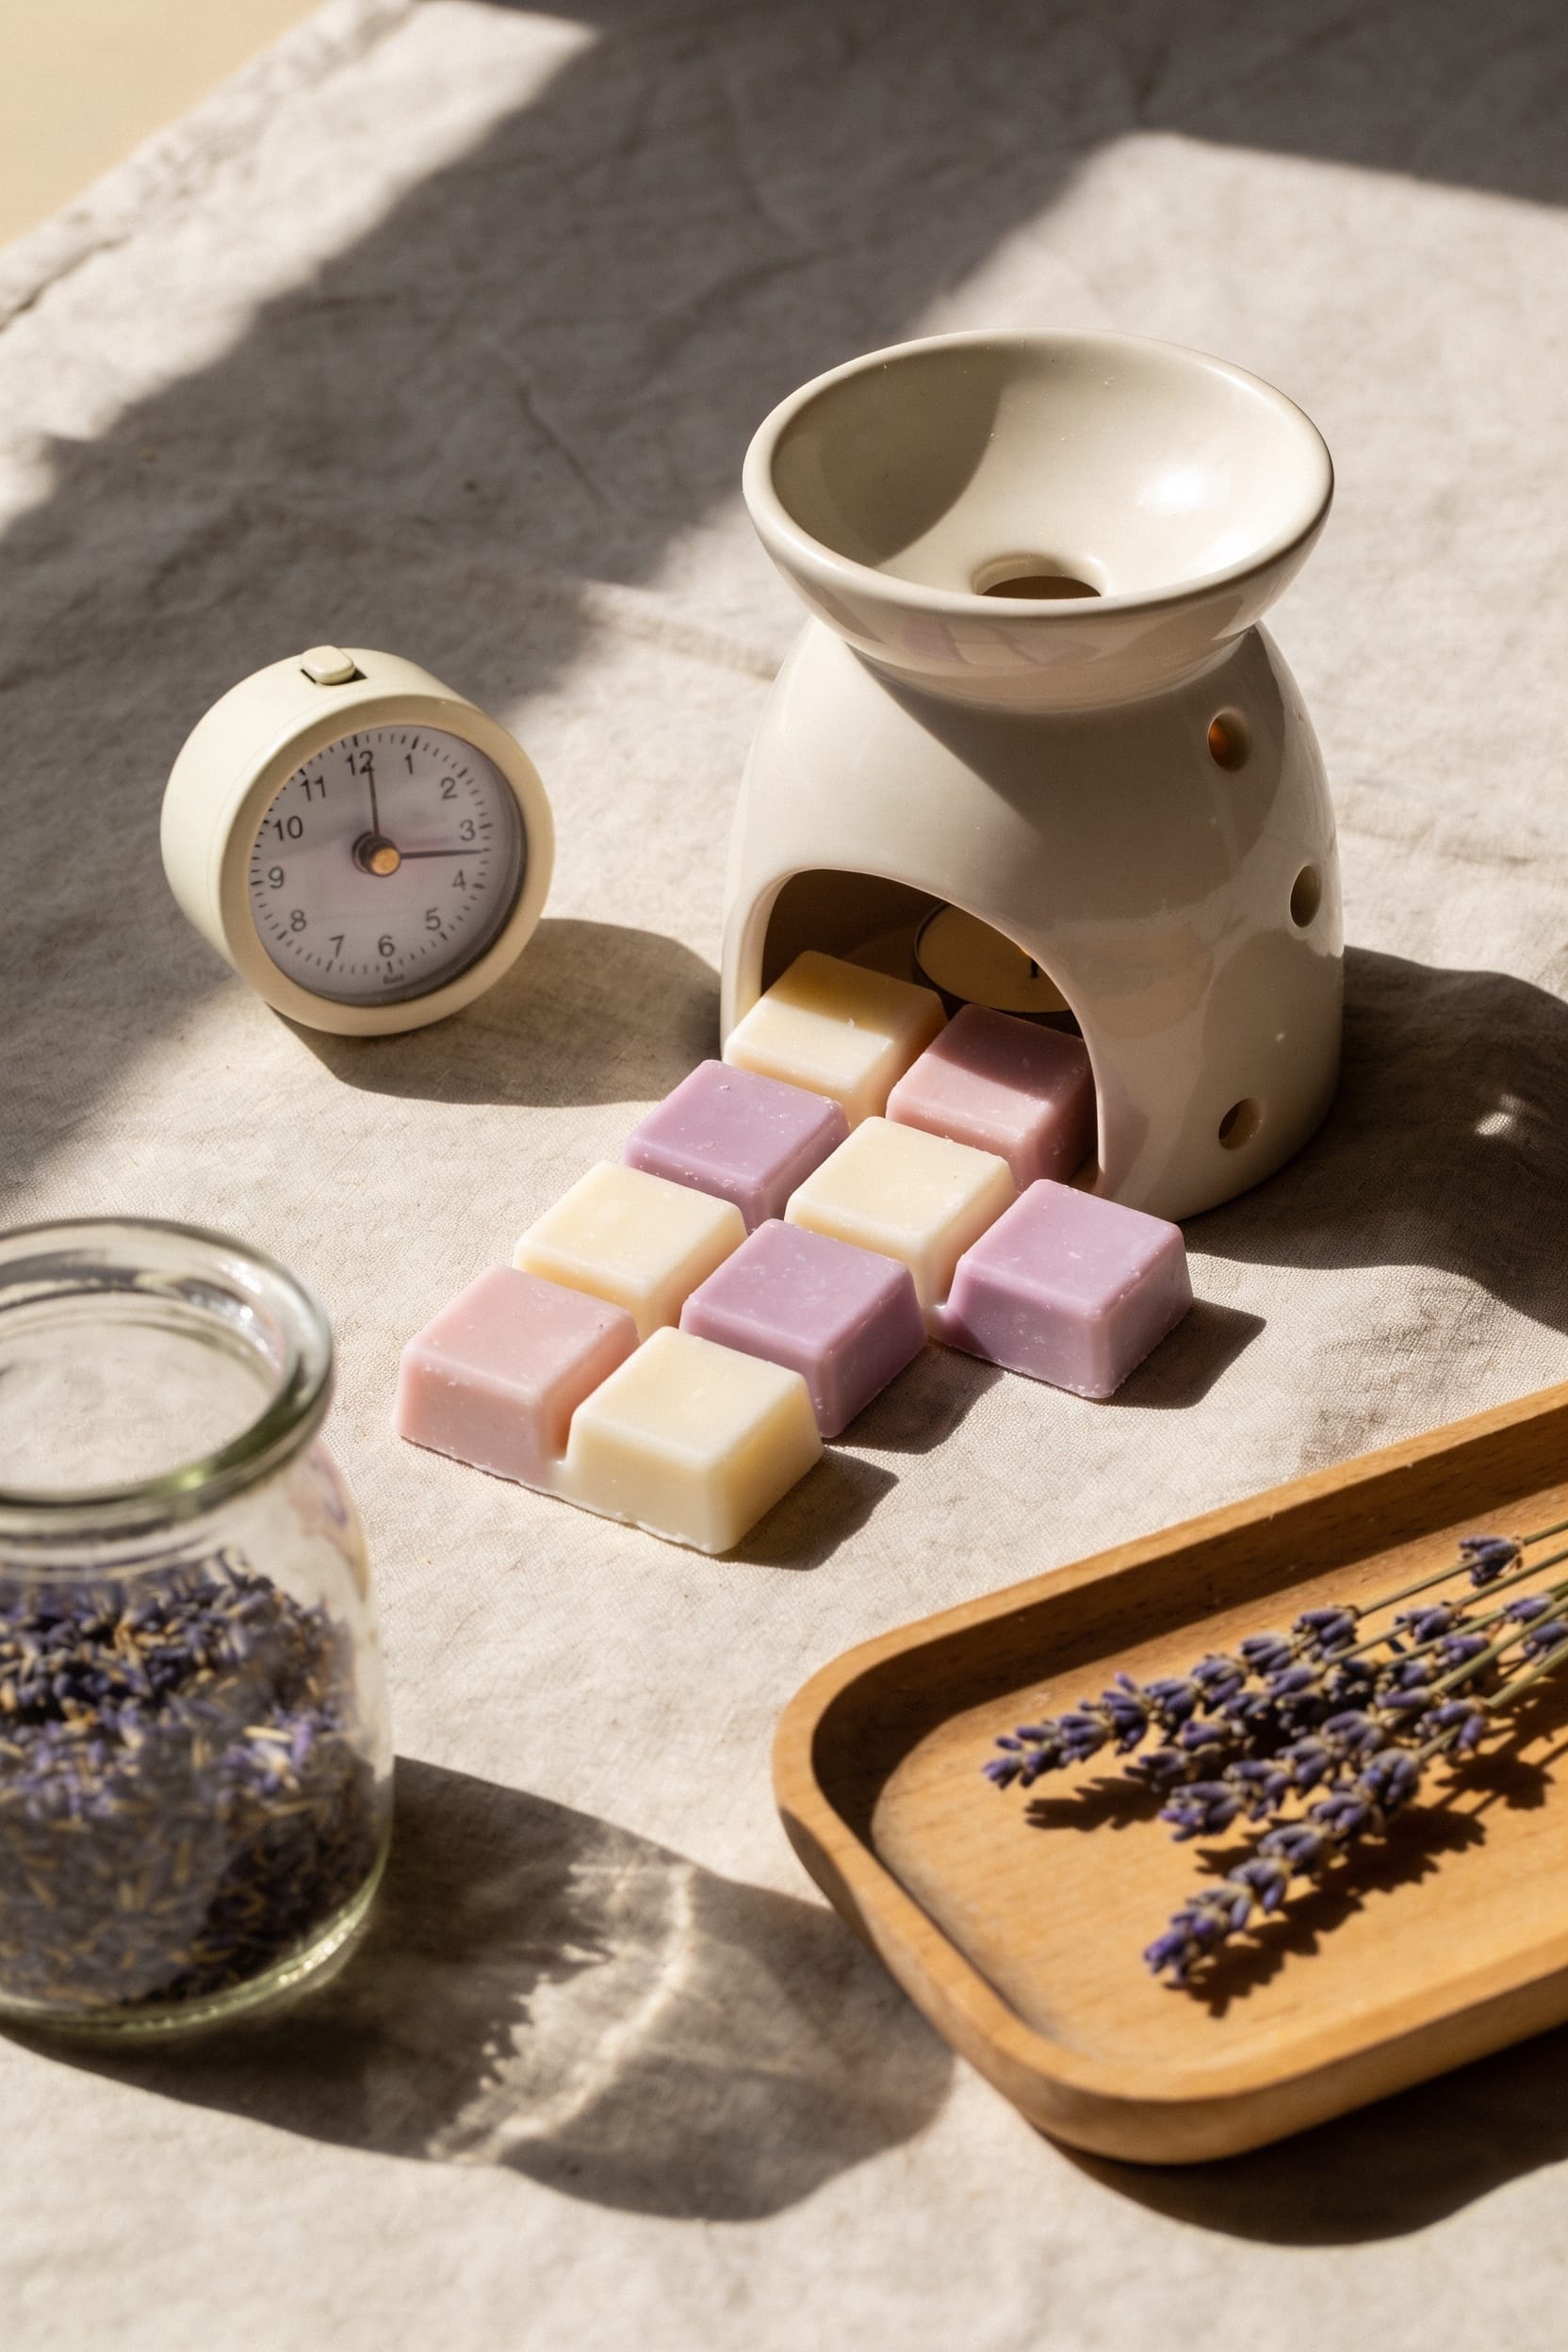
Use Less Wax to Make Melts Last Longer
you’re probably using way more wax than you actually need. I used to throw entire cubes into my warmer like I was running a scent factory, then wondered why they’d burn out in days. The secret? Small portions. You don’t need a full measured cube every time—grab a section instead. I’m talking a chunk about the size of a sugar cube or smaller. That’s genuinely enough to scent an average room. Reuse that same wax until the fragrance completely fades, then swap it out. By dialing back how much you’re melting, you’re not sacrificing scent strength; you’re just being smarter about it. Your wallet’ll thank you, and honestly, so will your sanity.
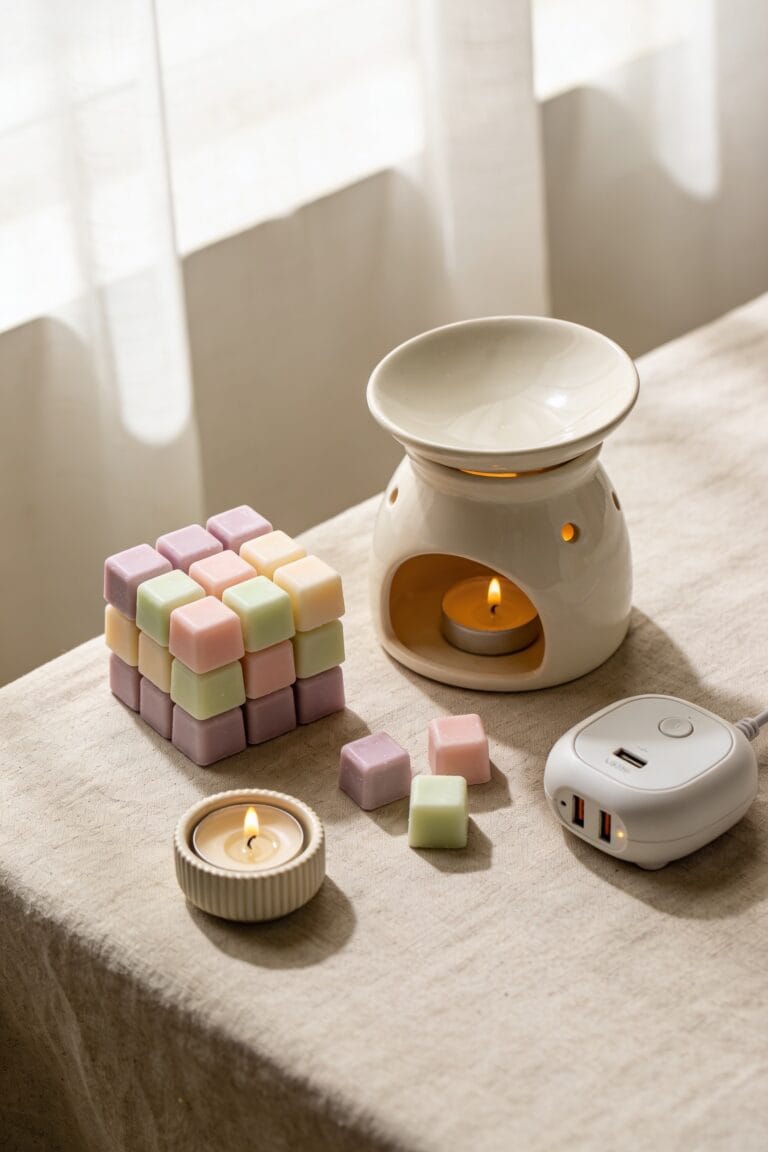
Does Your Warmer Have Enough Wattage?

Now here’s something I didn’t realize until my warmer started acting like it was depressed: low wattage is a silent wax-melt killer. Your warmer needs enough power to fully melt the wax, and when it doesn’t, you’re left with a lukewarm disappointment that barely scents your room.
Here’s the thing: do a wattage comparison between your current warmer and what you’re using. Most effective electric warmers run between 25-40 watts for solid power efficiency. If yours is markedly lower, it’ll struggle to liquefy wax completely, meaning fragrance stays trapped inside like it’s under witness protection.
Check your warmer’s specs. Upgrade if needed. Your wax melts—and your nose—will thank you.
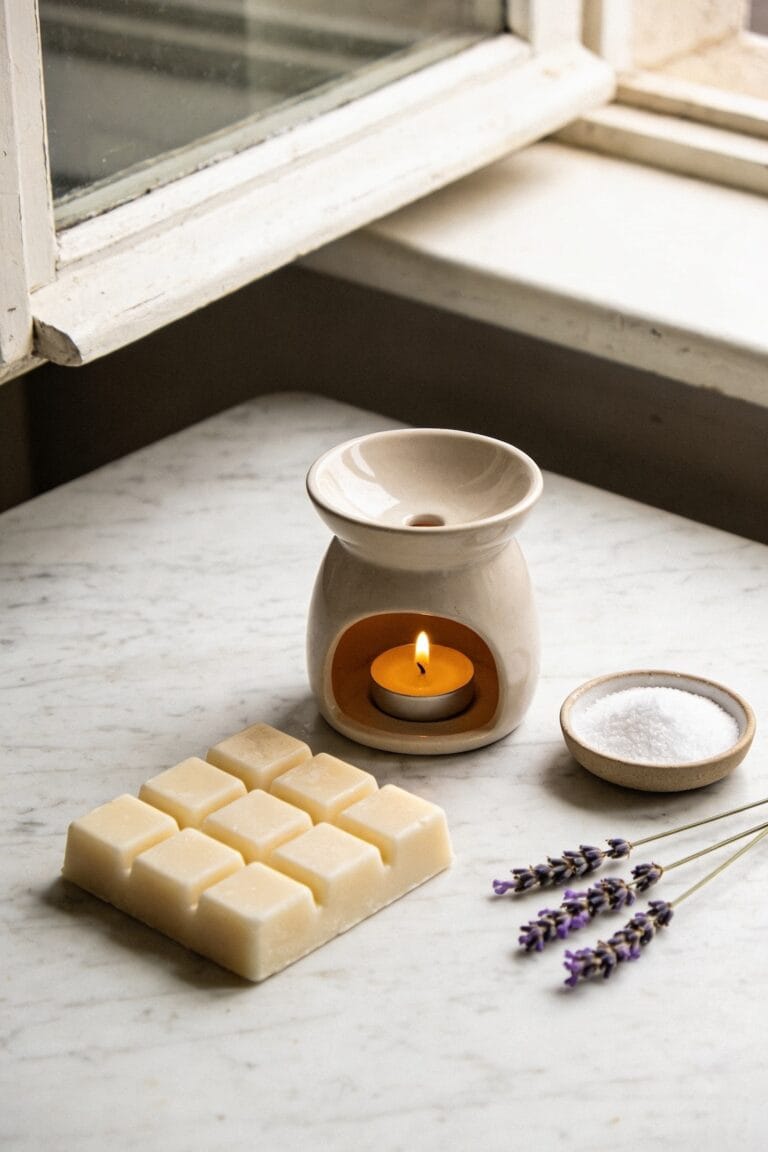
Turn Off When Scent Fills the Room
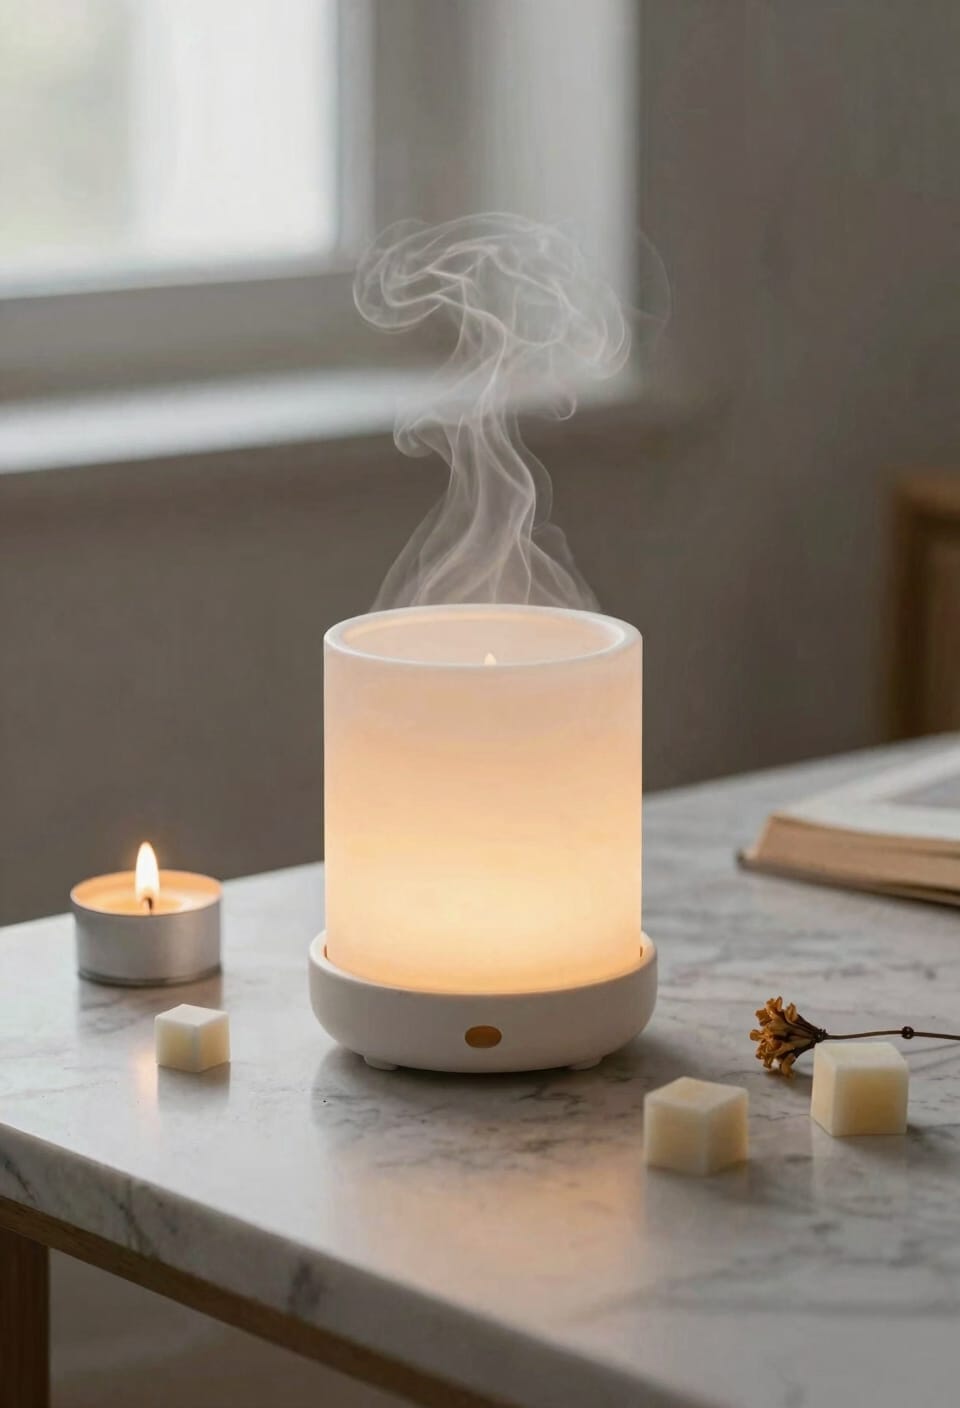
Once your warmer’s got the right wattage to actually do its job, there’s another move that’ll stretch your wax melts further than you’d think: turning the thing off.
I know it sounds counterintuitive. You’ve got a melting cube pumping out gorgeous fragrance, so why stop? But here’s the thing—once your room’s adequately scented, that warmer’s just burning through your wax for no reason. Set timed reminders on your phone if you’re forgetful like me. Better airflow management happens when you kill the heat early anyway; your scent’ll distribute naturally without being forced.
Turn it off once the aroma fills your space. That’s it. Your wallet and your wax supply will thank you.
Reuse Wax: The #1 Way to Extend Your Melts
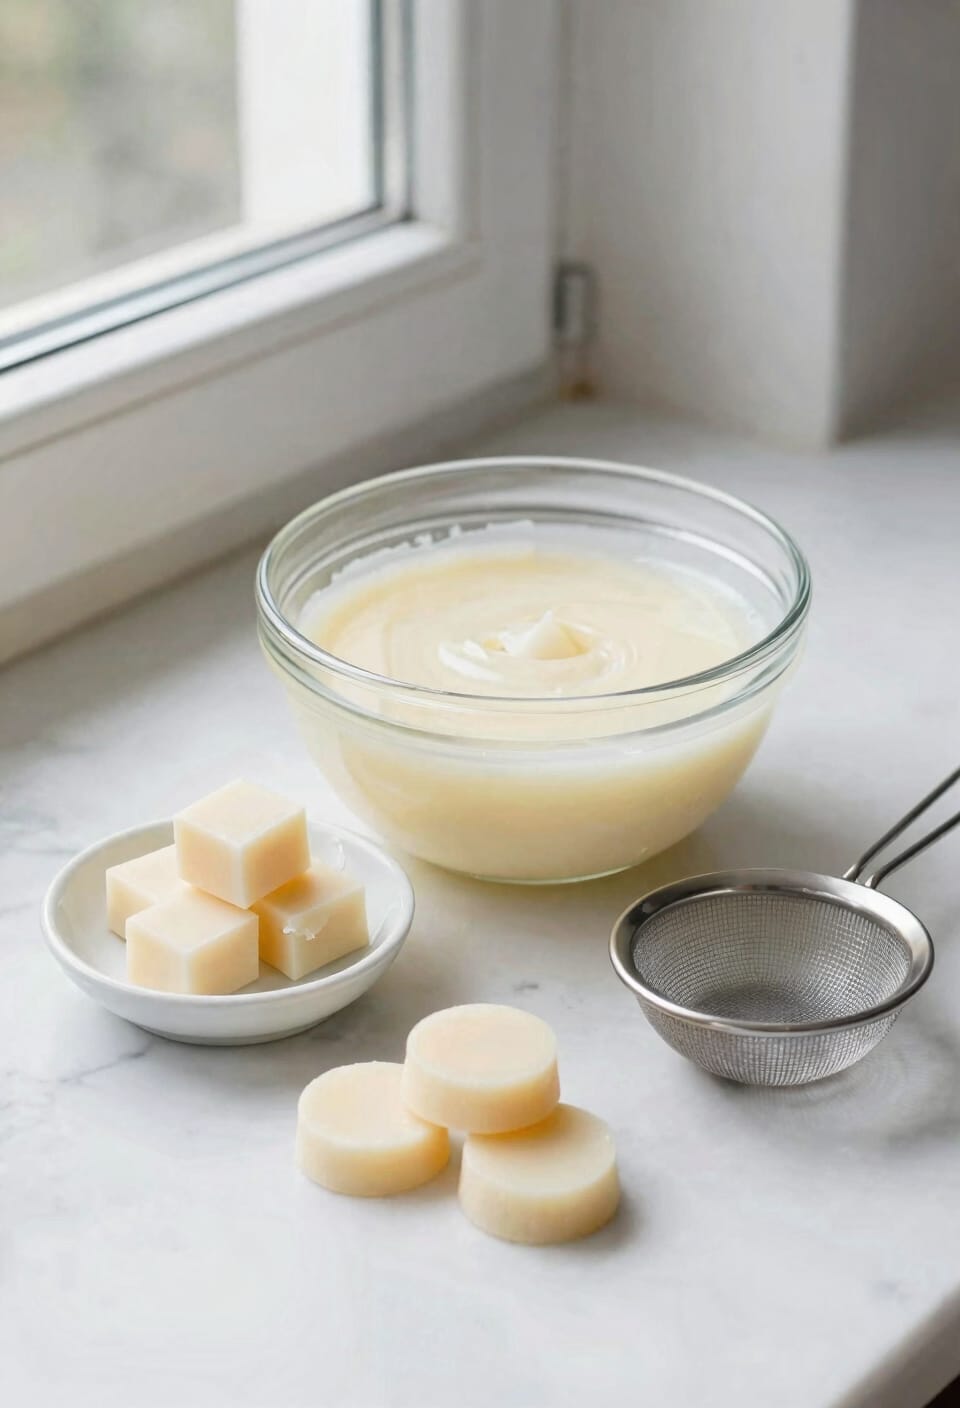
Most folks don’t realize that wax melts don’t actually die after a few days of use—they just get tired. Here’s the thing: you can absolutely reuse that partially melted wax if fragrance remains. Slide out the cooled cube, store it in your original packaging, and pop it back in when you’re ready. I’ve built my own reuse rituals around this, which sounds fancy but really just means I’m cheap and environmentally conscious simultaneously.
Now, scent layering takes this further. Stack different partially-used melts together to create new combinations while stretching each one’s lifespan. You’re getting double duty from cubes that still have aromatic juice left. That’s how you transform a few days of scent into weeks of use without spending extra cash or feeling wasteful about it.
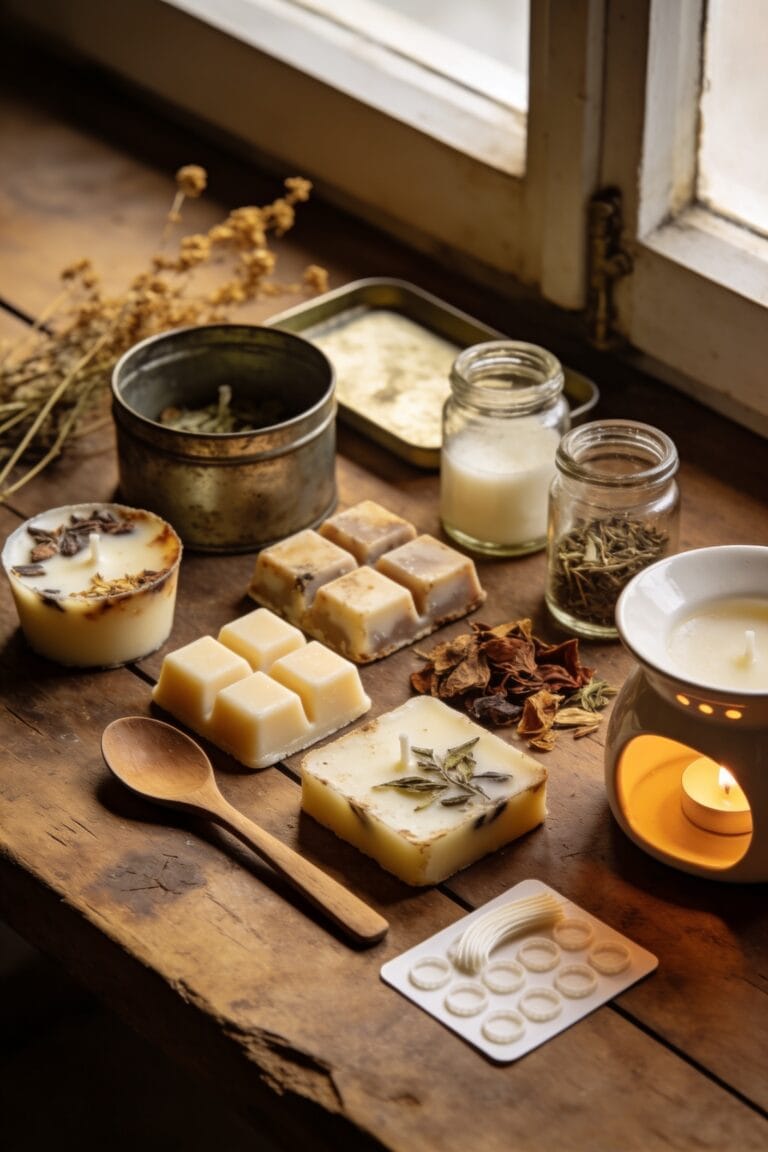
Store Melts Properly to Preserve Fragrance
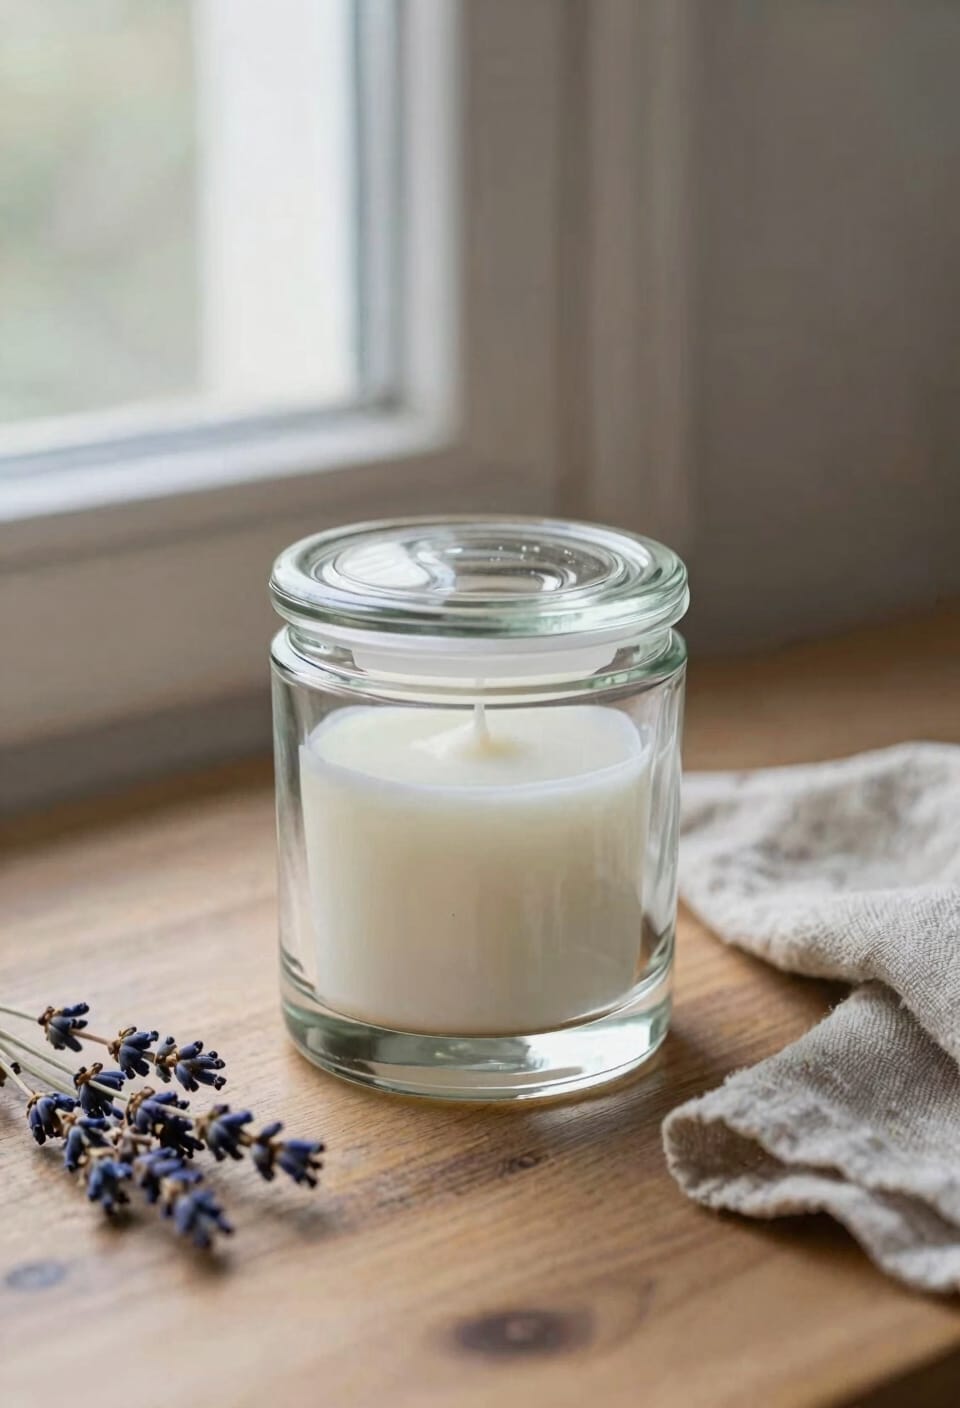
If you’ve managed to reuse your wax melts and layer them thoughtfully, you’re already winning—but here’s where most people accidentally sabotage their progress: storage. Look, I’ve seen perfectly good melts turn crumbly and weak because they were just sitting on a shelf. You need airtight containers—ziplock bags or tight-lid plastic work great—to lock in that fragrance. Temperature monitoring matters here; keep them somewhere cool and dark, away from direct sunlight and heat sources. Seriously, your bathroom cabinet during summer? That’s a scent graveyard. Label everything so you don’t forget what you’ve got stashed away. Store melts properly and you’ll stretch those cubes further than you’d think possible.
Set Up Your Warmer for Safety and Performance
The warmer itself is honestly half the battle—get this part wrong and you’re basically throwing money at a decorative paperweight that smells vaguely nice. You’ve got to place your warmer on a level, heat-proof surface where it won’t tip or get knocked around. Childproof placement matters too—keep it away from curious hands and paws because melted wax burns hurt way worse than regular burns.
Check that your warmer’s wattage is actually strong enough to melt wax fully. Low-wattage warmers create incomplete melting, which wastes your product and disappoints your nose. If you’re using an aroma burner, place a foil-wrapped base underneath to intensify heat. Consider using a place thermometer nearby to monitor the temperature zone you’re creating. This setup transforms your warmer from decoration into a hardworking scent machine that respects both your safety and your wallet.
Clean Between Uses to Prevent Buildup
Now that you’ve got your warmer positioned perfectly and running like a well-oiled machine, here’s what most people skip: keeping that dish clean between burns. I get it—you’re tired, the wax smells amazing, and cleaning feels optional. But here’s the thing: residue buildup actually ruins your scent throw, which defeats the entire purpose of making melts last longer.
After each use, let your warmer cool completely, then wipe residue off with a paper towel or damp cloth. This takes literally thirty seconds. Once that bowl’s clean and dry, you’re ready for your next cube. Think of it like sanitizing bowl between meals—nobody wants yesterday’s dinner flavoring today’s lunch. Same energy applies here. Clean dishes mean better melting, better scent distribution, and wax that actually lasts as long as it should.
Spot Equipment Problems Before They Waste Wax
Catch equipment problems before they silently drain your wax’s potential—because a warmer that’s barely working is basically a $15 paperweight that smells vaguely nice. Check your warmer’s wattage first. Low wattage means incomplete melting, which wastes both fragrance and wax. You’re basically just heating air at that point.
Look for uneven heating too. If one side of the dish melts faster than the other, you’ve got an issue. Inspect the warmer for visible cracks, damaged heating elements, or broken wiring before you plug anything in. A cracked dish or faulty element won’t distribute heat properly and’ll torch through your cubes without actually scenting your space.
Wipe out residue buildup between uses. Crud accumulation blocks heat transfer, forcing your warmer to work harder while accomplishing less. It’s the candle equivalent of a clogged filter.
Frequently Asked Questions
How Long Does a Single Wax Melt Cube Typically Last in a Standard Warmer?
I’d say a single wax melt cube typically lasts eight to ten hours in your standard warmer. You’ll get consistent scent throw throughout that burn time, though turning it off earlier preserves fragrance for extended use.
What’s the Best Way to Remove Stubborn Wax Stuck in the Warmer Bowl?
I’d recommend placing your warmer in the freezer for 10-30 minutes so the wax pops out easily. If that doesn’t work, I’ll reheat it briefly, then wipe the bowl with a damp paper towel and hot water.
Can I Store Wax Melts in Their Original Packaging Indefinitely?
I’d recommend keeping original packaging sealed, but I can’t guarantee indefinite storage. You’ll want to monitor for long-term discoloration and packaging off-gassing, which can degrade your wax’s scent quality over time.
How Do I Know When Wax Has Completely Lost Its Fragrance?
You’ll know your wax’s fragrance is gone when you can’t detect any cold throw or scent when it’s melting. If you’re experiencing scent fatigue, take a break and return later to confirm the aroma’s truly dissipated before replacing it.
Why Do Soy-Based Wax Melts Sometimes Crumble During Storage?
I’ve found that while soy-based melts crumble from moisture exposure, they’re simultaneously fragile yet resilient. Improper storage causes soy bloom and scent migration, degrading their structure. I store mine airtight, away from heat, preventing this deterioration entirely.
Conclusion
You’ve got this. I’m genuinely thrilled you’re taking your melts seriously, because here’s the thing: studies show that proper wax maintenance can extend your melts’ lifespan by up to 50%. That’s half again your money’s worth. Clean your warmer, use less wax, turn it off when the scent kicks in, and reuse those stubborn bits. You’ll stop tossing money into the trash and actually get your money’s worth.