As an Amazon Associate, we earn from qualifying purchases. Some links on this site are affiliate links at no extra cost to you. Our recommendations are based on thorough research and editorial judgment.

How Does a Tealight Wax Burner Work? Setup, Safety & Tips

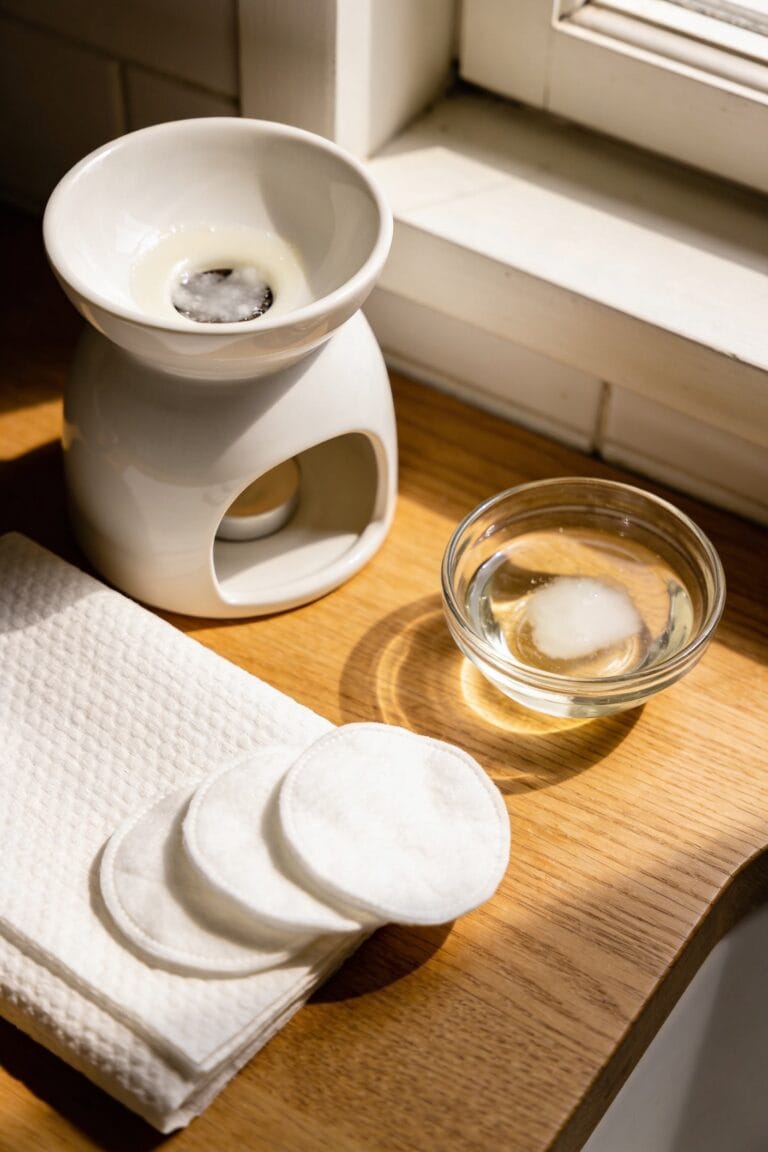
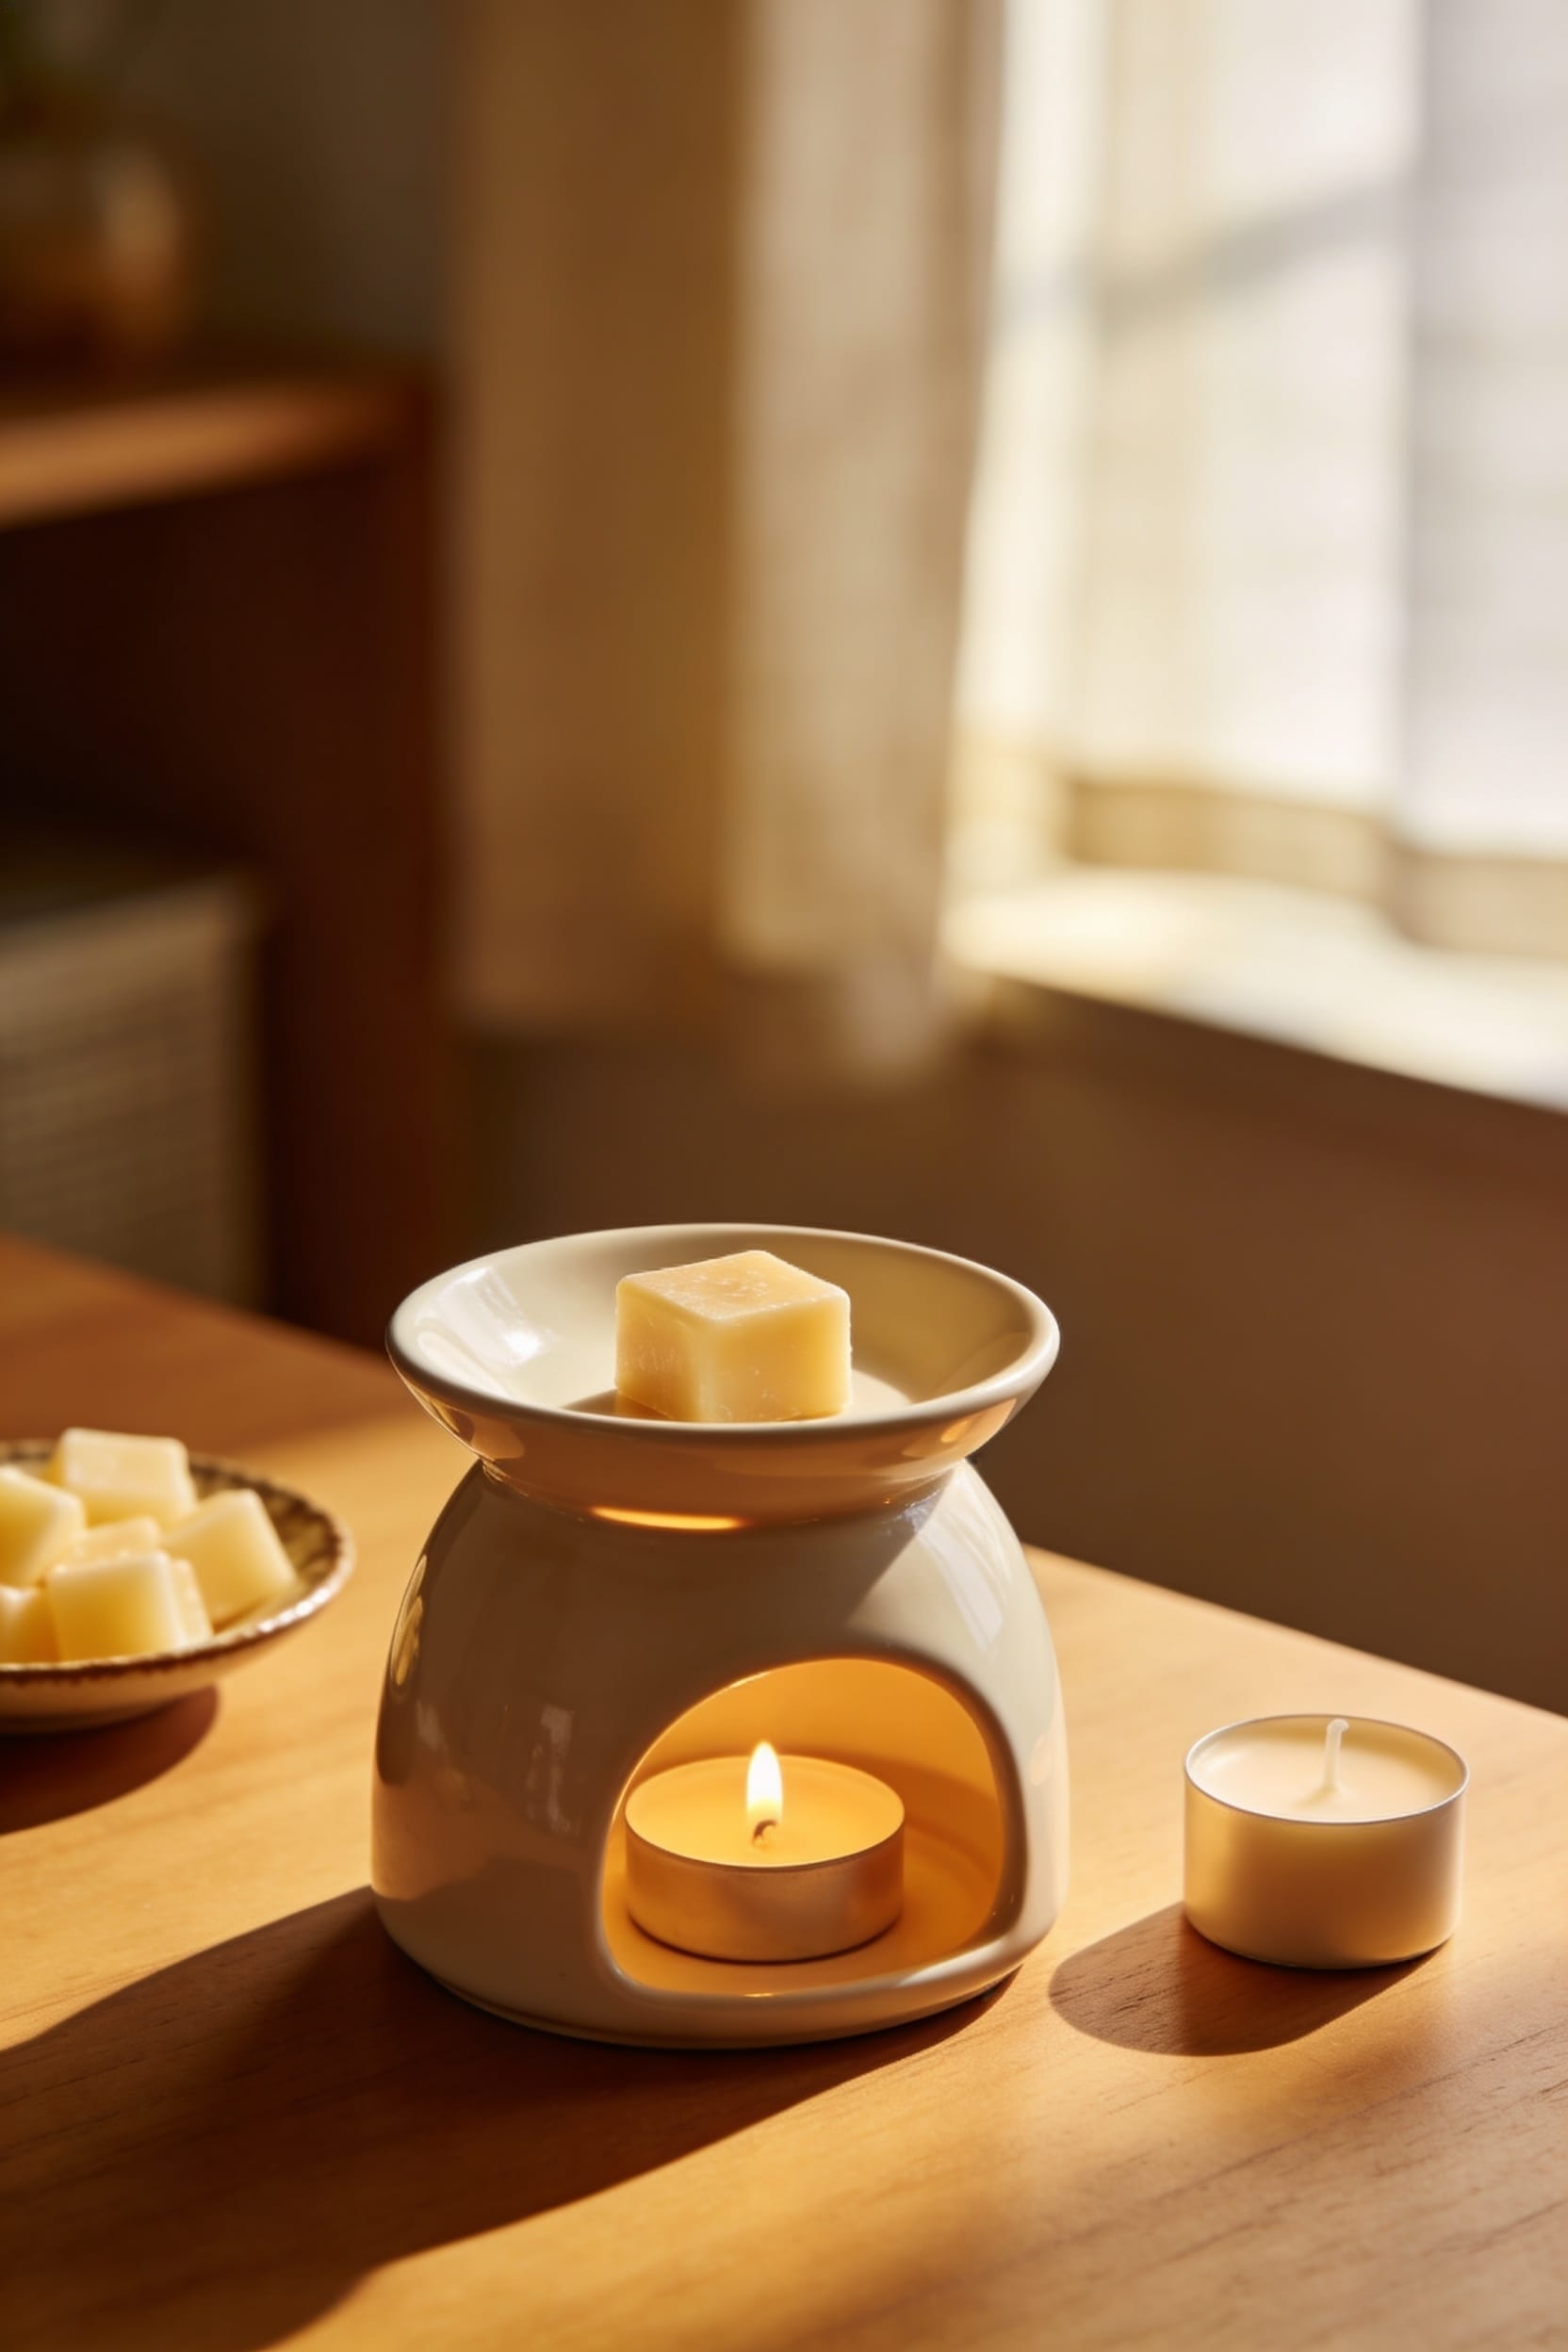
A tealight wax burner works by positioning a small lit candle (that’s your heat source) beneath a dish filled with wax melts, which melt from the gentle warmth without any direct flame contact. You’re basically letting controlled heat do the work instead of combustion, so fragrance releases smoothly into your room as the wax liquefies. Keep at least six centimeters between the tealight and your wax dish, never leave it unattended, and swap out tealights every four hours. Setup’s simple, but there’s definitely a right way and a wrong way to keep your melts performing their best.
Key Takeaways
- A tealight flame heats a ceramic, metal, or glass dish containing wax melts, which melt and release fragrance through controlled warmth without combustion.
- Place the burner with at least six centimeters between the tealight and wax dish; use a single unscented 4-hour tealight to start.
- Never leave a lit burner unattended; position it away from children and pets, and replace tealights every four hours for consistent heat.
- Monitor the tealight flame for steady melting; allow wax to fully melt before assessing scent throw and adjust placement by season as needed.
- Let wax cool completely before removal, wipe the dish with a damp cloth between uses, and inspect the burner regularly for damage.
How Does a Tealight Wax Burner Work?
Envision this: you light a tiny candle, and somehow—without any flame touching your wax—the whole thing melts into a fragrant puddle of bliss. Here’s the thing: a tealight wax burner works through material conductivity—the ceramic, metal, or glass dish above the flame conducts heat upward, warming your wax melt without direct contact. The heat rises naturally, melting the wax gradually and enabling fragrance diffusion into your room. You’re not burning anything; you’re simply using controlled warmth to release scent. The tealight—that’s the small candle in the base—provides steady heat for around four hours, giving you consistent, flame-free fragrance that’s honestly stronger than most diffusers. Pretty clever setup when you think about it.
Choosing the Right Burner for Your Space
Now that you know how the burner actually works, you’ve got to pick one that fits your space—because not all burners are created equal, and frankly, the wrong choice will leave you either frustrated or worse, unsafe.
Consider your room size first. A tiny burner won’t throw enough scent into a large bedroom, while an oversized one might feel wasteful in a small bathroom. Match the burner’s heat output to your space accordingly.
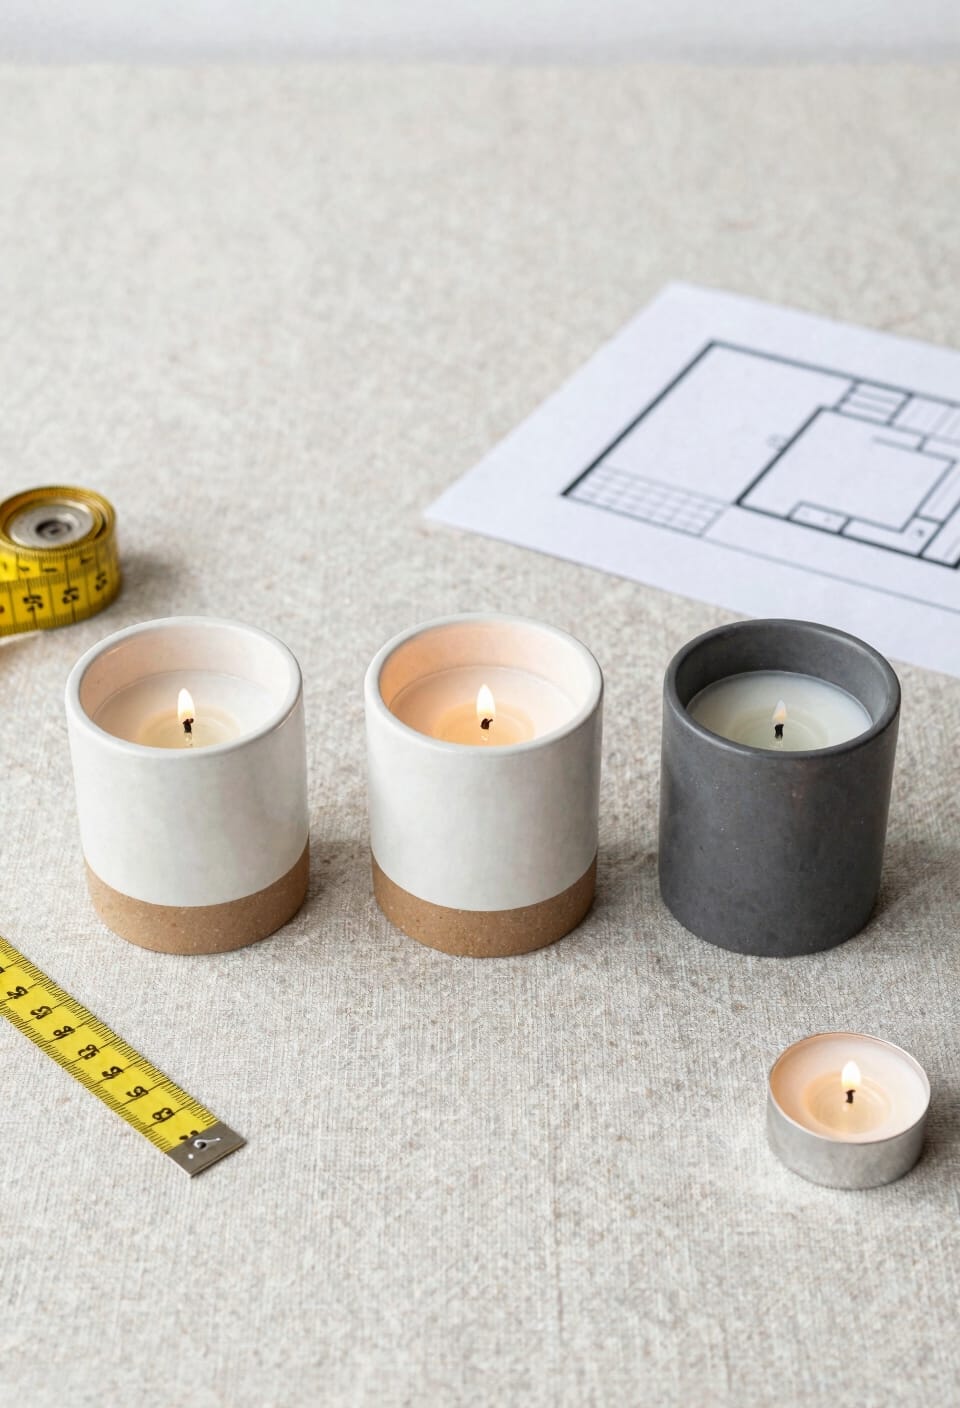
Burner finish matters too. Ceramic holds heat beautifully and looks intentional on a nightstand. Metal conducts heat efficiently but can get scorching hot. Glass looks elegant but demands more careful handling around kids or pets. Choose what actually works for where you’ll use it—not just what photographs well.
How to Set Up Your Wax Burner (Step-by-Step)
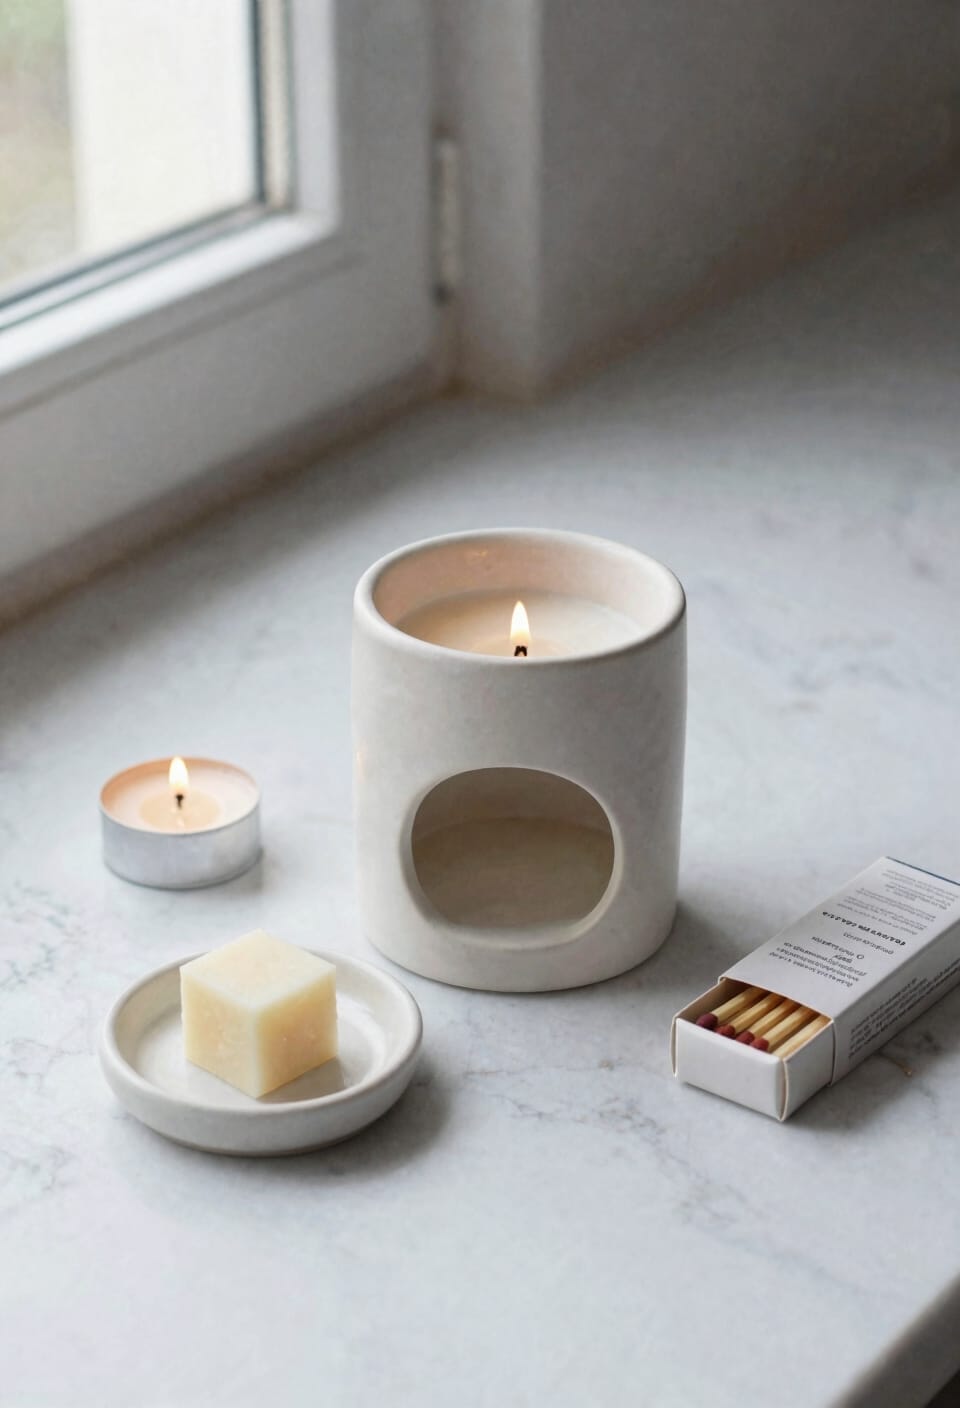
Getting your wax burner set up right is honestly the difference between a room that smells amazing and a room that smells like you’re trying to cover something up. Start by picking a burner designed specifically for wax melts—you want at least six centimeters between your tealight and the dish holding your wax. Place a single melt in the dish, insert an unscented 4-hour tealight into the base, then light it. Wait a few minutes for everything to melt. The fragrance’ll hit differently depending on your seasonal melts—winter scents need more warmth to throw properly than lighter spring options. That’s your placement and lighting sorted. Don’t overthink it.
Which Tealights Burn Best and Longest?
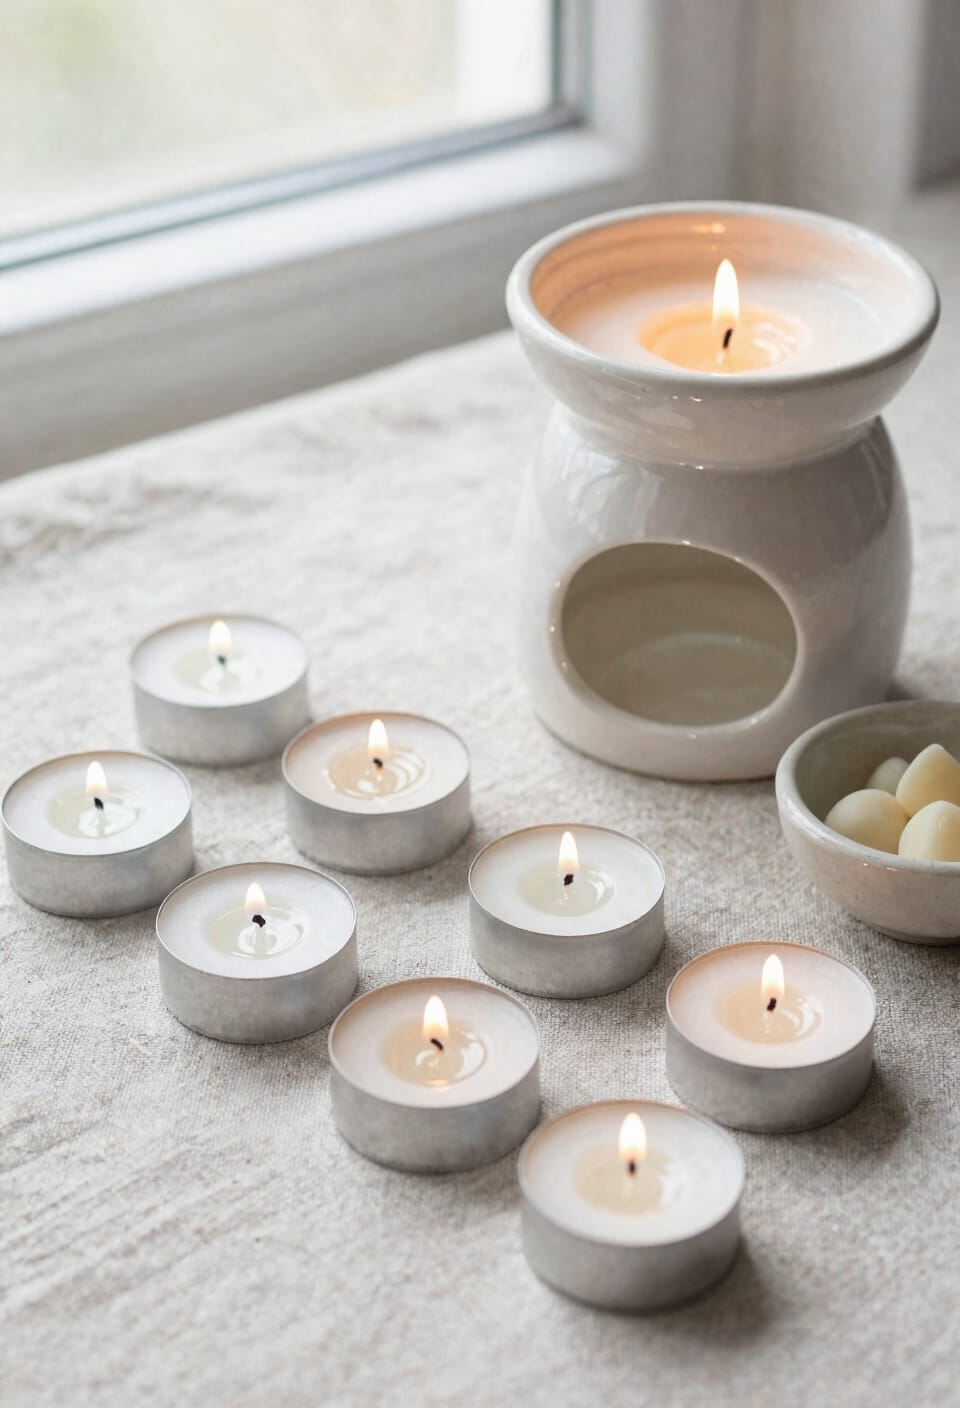
Most people grab whatever tealight’s sitting in the checkout aisle, but here’s the thing—not all tealights are created equal, and your choice actually matters for how long your wax melts stick around. Standard paraffin tealights burn about four hours, which is fine for casual melting. But here’s where it gets interesting: soy tealights and plant based blends can stretch that to five hours, giving your wax more time to release fragrance before you need a replacement. Natural wax variants also tend to burn cleaner without competing scents. Skip the extended-burn or maxi versions—they’re too intense for burners and’ll overheat your dish. I’d stock standard unscented tealights in either paraffin or soy, depending on your preference. Check the packaging, grab what feels right, and you’re golden.
Wax Burner Safety: Rules You Must Follow
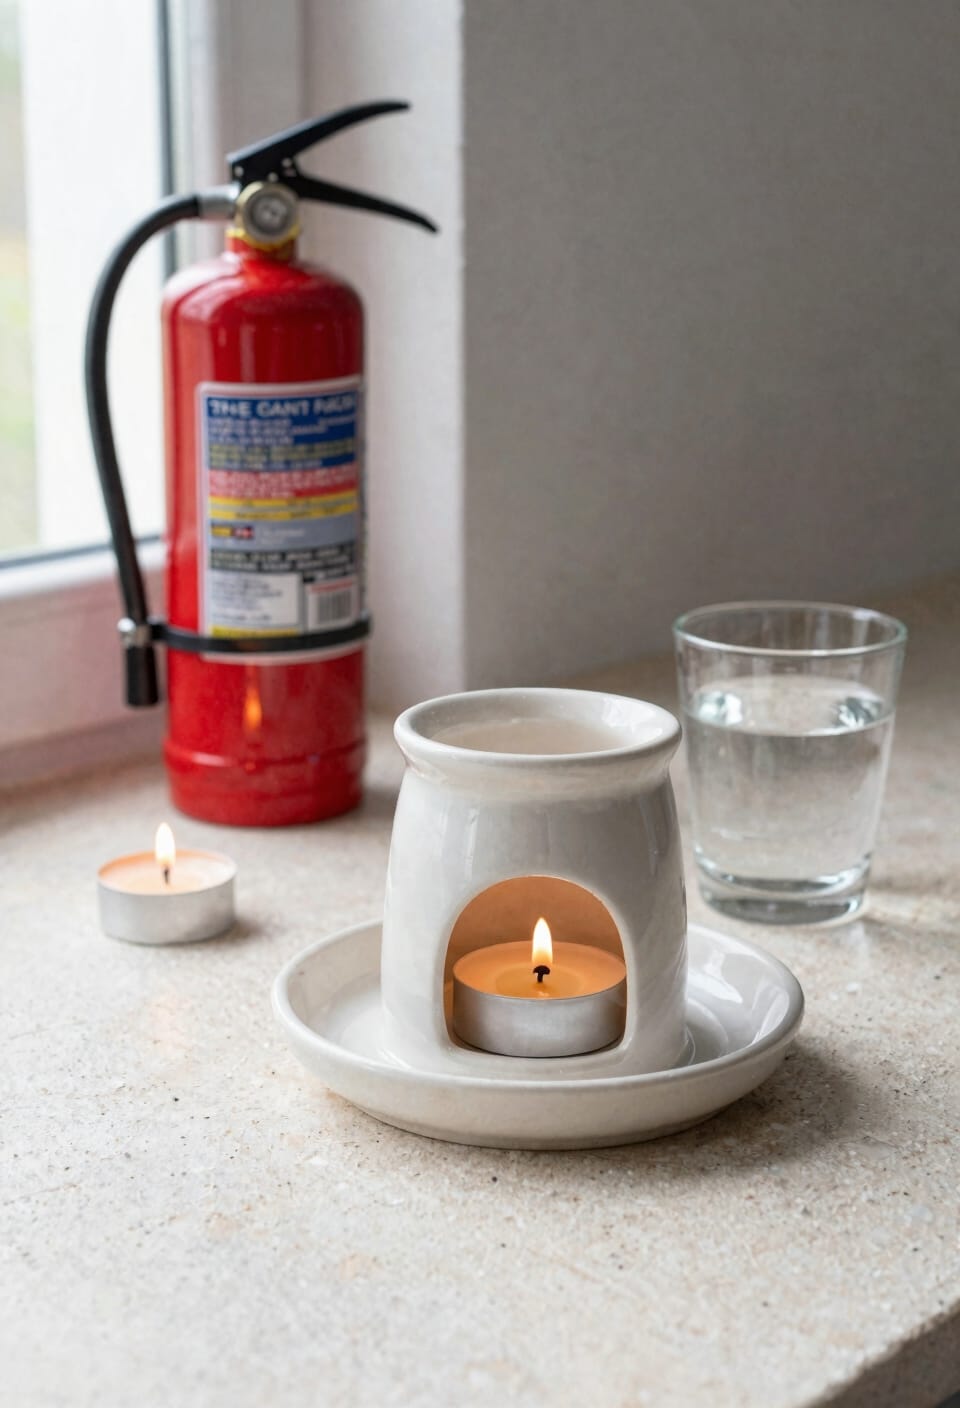
You’ve picked the right tealights and you know how long they’ll burn, so let’s talk about something that actually matters—keeping your wax burner from becoming a hazard. Never leave your burner unattended while it’s lit. I know life gets busy, but that’s how accidents happen. Use burners specifically designed for wax melts, and follow the manufacturer’s instructions exactly—they’re not suggestions. Guarantee childproof placement on high shelves or secured surfaces away from curious hands. Set up petproof barriers if you’ve got cats or dogs who think everything’s a toy. Maintain at least six centimeters between the tealight and wax dish to prevent overheating. Skip maxi tealights or votives; they’ll overheat your setup. Consider electric alternatives if you’re worried about open flames. Your safety matters more than perfect scent throw.
How to Remove and Replace Used Wax
Now, here’s the thing about spent wax—it doesn’t disappear into thin air like you might hope, which means you’ll eventually need to swap it out for fresh melts. When your wax melt loses its scent punch, let it cool completely, then gently warm your dish for 30-45 seconds. The softened wax should slide right out without forcing. Skip the freezer trick and sharp tools; they’ll damage your burner. Once removed, toss used wax in the bin—never down your sink, trust me on this. For storage tips, keep fresh melts in a cool, dark spot away from direct sunlight so they hold their fragrance longer. You’re basically giving your wax the respect it deserves.
Keep Your Burner in Top Shape
Keeping your burner clean between wax swaps is one of those small habits that pays dividends over time—it takes maybe two minutes, but it keeps your burner looking fresh and working like it’s brand new. Wipe down the dish with a damp cloth before adding fresh wax, removing any leftover residue or dust. While you’re at it, do periodic inspections of the ceramic, glass, or metal for cracks or damage that might affect heat distribution. Check ventilation checks around your burner spot too—you want air flowing freely so heat disperses properly and fragrance spreads evenly. A little maintenance now means your burner won’t turn into a dingy, inefficient mess later. Your nose will thank you.
Troubleshooting Poor Melt: Temperature, Distance, and Wax Volume
When your wax isn’t melting evenly or takes forever to liquify, the culprit usually comes down to one of three things: your tealight isn’t hot enough, it’s sitting too far from the wax, or you’ve loaded way too much wax into the dish. Temperature control matters—a standard 4-hour tealight should generate enough heat if it’s positioned correctly. I’ve learned the hard way that distance is everything. Keep at least 6 centimeters between the heat source and your wax dish. You’re also probably overfilling it. Your wax capacity shouldn’t exceed what fits comfortably in the dish’s center. Less is genuinely more here. Start with one melt, wait a few minutes, and watch what happens. Patience beats troubleshooting.
Mix Wax Melts for Custom Scents
Creating your own signature scent by blending wax melts is honestly one of the most satisfying parts of the whole wax melt experience—it’s like you’re a fragrance alchemist, except way cheaper and you don’t need a lab coat. I combine melts one at a time in the dish, letting each layer melt slightly before adding the next. Scent layering lets you discover unexpected combinations: lavender with vanilla, citrus with spice. Seasonal blends work brilliantly too—think pumpkin spice in fall or peppermint-pine in winter. The beauty? You’re not locked into whatever a brand decided was “winter wonderland.” You’re in control. Start conservative with ratios. You can always add more, but you can’t remove it. Now go experiment.
Electric vs. Tealight: Speed, Safety, and Longevity Compared
Once you’ve figured out how to blend your own custom scents, you’ll probably start wondering which burner setup actually makes the most sense for your lifestyle—and honestly, that’s where things get interesting. Electric burners win on safety since there’s zero flame involved, but they melt wax slower, which means your scent throw takes longer to kick in. Tealight burners give you faster heat and stronger fragrance dispersal, though they require constant supervision and present obvious flame risks. Energy efficiency favors electric models—they use minimal power compared to repeatedly buying tealights. Here’s the thing: maintenance frequency matters too. Tealights need replacing every four hours; electric burners just need occasional cleaning. Heat variability is more predictable with electric options, while tealight flame control depends entirely on your attention level.
Frequently Asked Questions
Can I Use Scented Tealights in My Wax Burner, or Will They Interfere With Fragrance?
I’d recommend using unscented tealights instead. Scented ones create competing fragrances that interfere with your wax melt’s scent. While wick interference isn’t an issue, unwanted scent layering diminishes your burner’s effectiveness and creates an unpleasant aroma blend.
What Should I Do if Wax Overheats, Discolors, or Produces a Burnt Smell?
I’d extinguish this fire before it spreads: immediately blow out your tealight. Let wax cool completely, then use proper cleaning methods to remove it. Position a fan nearby to improve airflow and prevent future overheating issues.
How Long Does One Wax Melt Typically Last Before Needing Replacement?
I’d say you’ll get several days to weeks from one wax melt, depending on daily usage. The scent longevity diminishes gradually—you’ll notice reduced melt duration and fragrance throw before it’s completely exhausted.
Is It Safe to Use a Wax Burner in Bedrooms or Enclosed Spaces?
Yes, it’s safe in bedrooms if you’re careful. I’ve noticed that just as smoke detectors protect homes, ventilation importance can’t be overstated. Make certain proper airflow and never leave your burner unattended while sleeping.
Can I Pour Melted Wax Directly Into the Burner Dish Without a Container?
I’d recommend against pouring melted hot wax directly into your burner dish. You’ll want a container—wax melts are designed for this. If you’re seeking container alternatives, consider small ceramic cups or silicone molds that fit your burner.
Conclusion
I’ve learned that a tealight wax burner‘s really just a gentle kitchen for your wax—low heat, patient melting, custom scents blooming like flowers in slow motion. You’ve got the knowledge now. Set it up right, respect the flames, and watch your space transform. It’s that simple. Your nose’ll thank you, and honestly, so will your wallet when you’re squeezing every last drop of fragrance from those melts.