As an Amazon Associate, we earn from qualifying purchases. Some links on this site are affiliate links at no extra cost to you. Our recommendations are based on thorough research and editorial judgment.
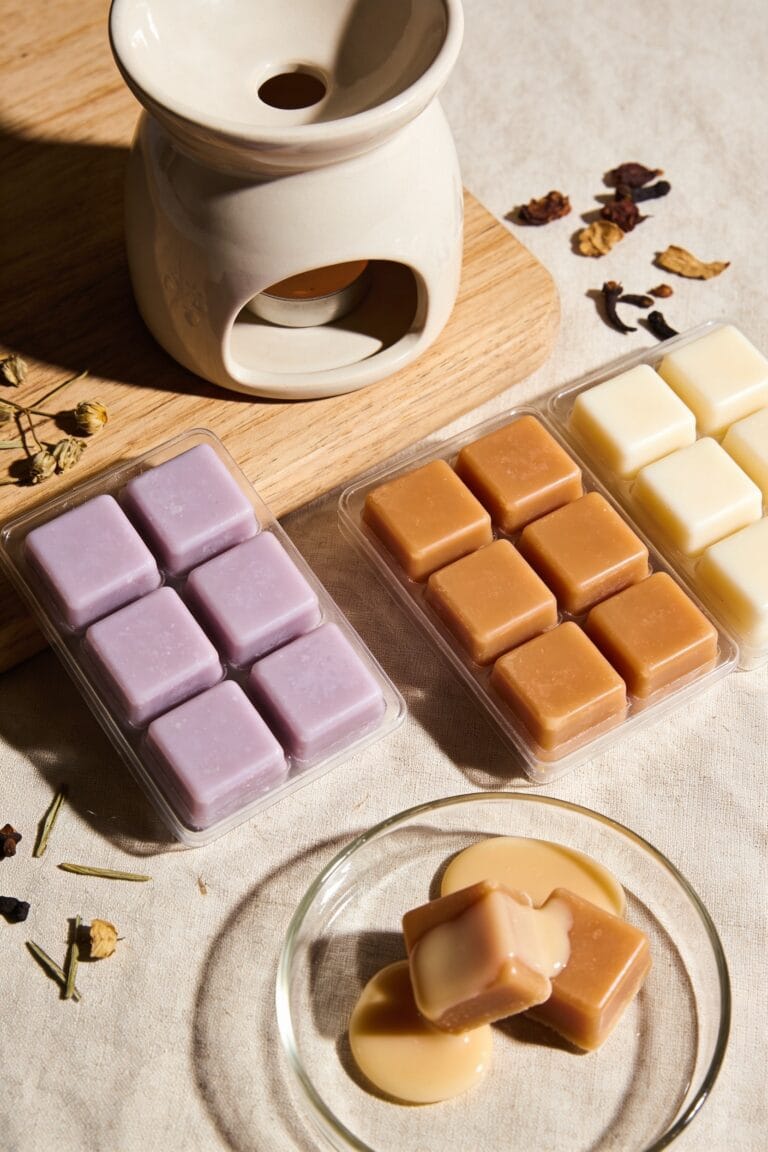
How to Use Wax Melts Without a Warmer (5 Easy Methods)
Look, you don’t need a fancy warmer—I’ve melted wax in ceramic mugs over boiling water, balanced bowls on simmering pots, tucked containers near radiators, and even nuked them in the microwave. Each method works, though they’ve got trade-offs: boiling water’s easiest, double boilers give you control, radiators are pure passive vibes, tealights add ambiance, and microwaves are fastest if you’re impatient like me. Skip plastic containers, never leave melting wax unattended, and resist the urge to scorch it into fume-city. The real mistakes reveal themselves fast.
Key Takeaways
- Use boiling water in a ceramic mug with a heat-safe bowl on top to melt wax gradually.
- Place a heat-proof bowl over simmering water in a double boiler for even, controlled melting.
- Position wax melts in a glass jar near a radiator or heat vent for passive warming.
- Set a heat-resistant dish over a trimmed tealight candle for gentle, monitored fragrance release.
- Heat wax melts in microwave-safe dishes using 10–15 second bursts, avoiding overheating and fumes.
Boiling Water Method: The Easiest Start
Look, if you’ve got a wax melt sitting in a drawer because you don’t own a fancy warmer—and honestly, who wants to buy yet another gadget—the boiling water method is about to become your new best friend. Fill a ceramic mug with boiling water for ceramic safety and durability. Place a heat-safe bowl or aluminum foil on top, then add your wax melt. The hot steam rising from below melts your wax gradually, releasing fragrance without any direct heat risk. When the water cools down, just refresh it and you’re good to go again. It’s seriously that simple. You’ll get sustained scent release without spending a dime on equipment you don’t need.
Recommended Products

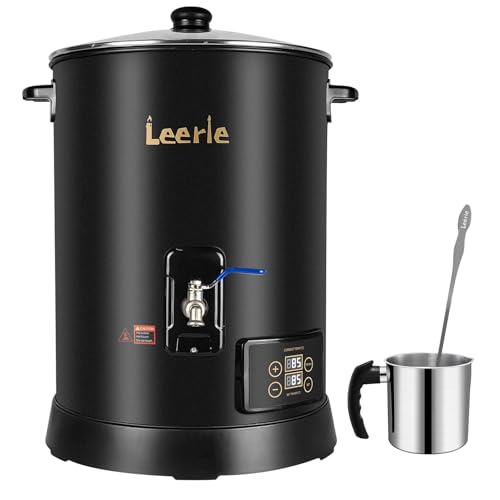
✔UPGRADE CADNLE CRAFT, BOLDER CREATIONS: With Leerie D6 digital wax melter, you're not just upgrading your equipment—you're upgrading your entire crafting experience. With the 12 lbs capacity to melt up to 48 4oz candles at a glance, without the constant need for refills or multiple melting sessions. D6 Wax Melter is your craft room's new best friend, whether you're a DIY enthusiast looking to make candles for gifts or a small-batch producer aiming to grow your business.

✔EASIEST BEGINNER'S WAX MELTER: Revolutionize your craft with a Leerie L5 Wax Melter! Our extra-large wax melter holds a whopping 10 lbs of molten wax, creating up to 40 4oz candles at a time, a game changer for enthusiasts and small workshops. No more small batches or double boiling - this wax melter turns candle making into a seamless and enjoyable process.
Double Boiler for Even, Controlled Melting

If you want to step up from the mug method and get more precise control over your melting, the stovetop double boiler is where it’s at. You’ll fill a pot with water and bring it to a simmer, then place a heat-proof bowl on top—making sure it doesn’t touch the water itself. Drop your wax melt into that bowl, and the steam control underneath does the heavy lifting for you. This setup gives you genuine temperature regulation without any direct heat scorching your wax or releasing weird fumes. The gentle melting happens evenly across the bowl, which means your scent releases consistently rather than in chaotic bursts. It’s safer than you’d think, and honestly, it’s my go-to when I want results.
Recommended Products

Included Components: 10 Inch Skillet

SET INCLUDES: 1.5-quart Saucepan with cover, 2.5-quart Saucepan with cover, 3-quart Saute Pan with cover, 4-quart Dutch Oven with cover, 8-quart Stockpot with cover, 8-inch Skillet, 10-inch Skillet and steamer insert

Includes solid insert and cover
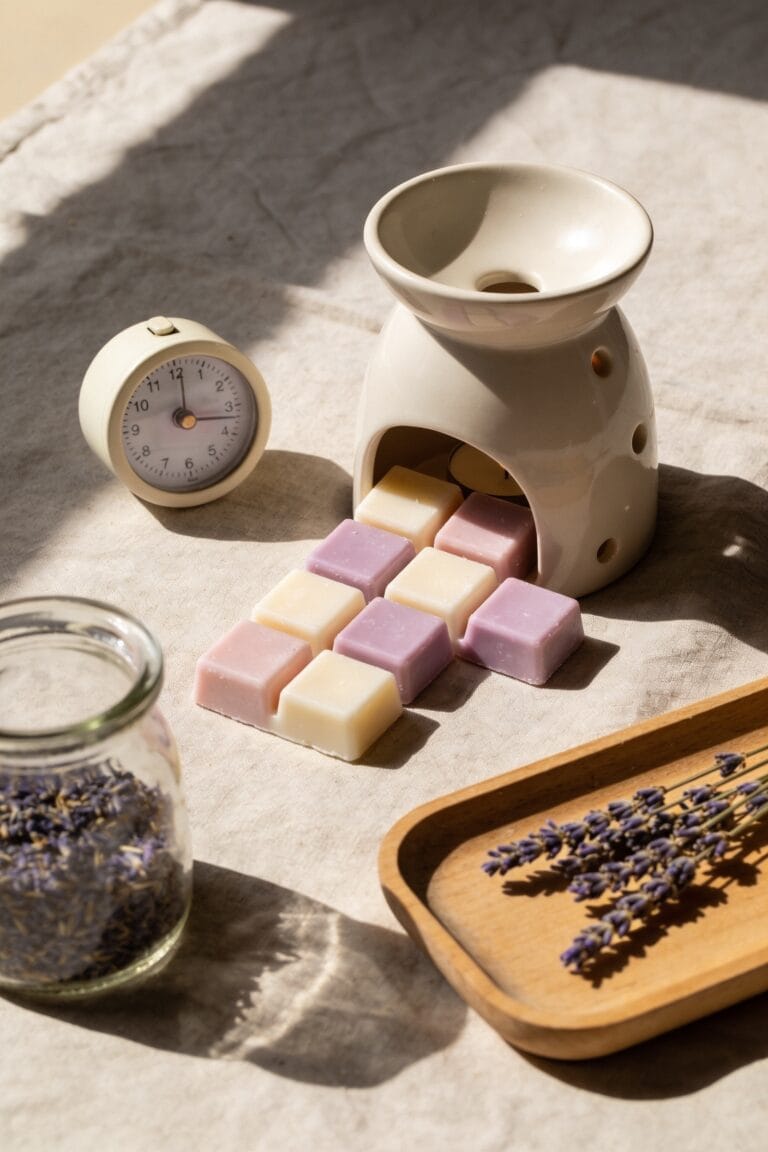
Radiator Heat: A Passive Alternative
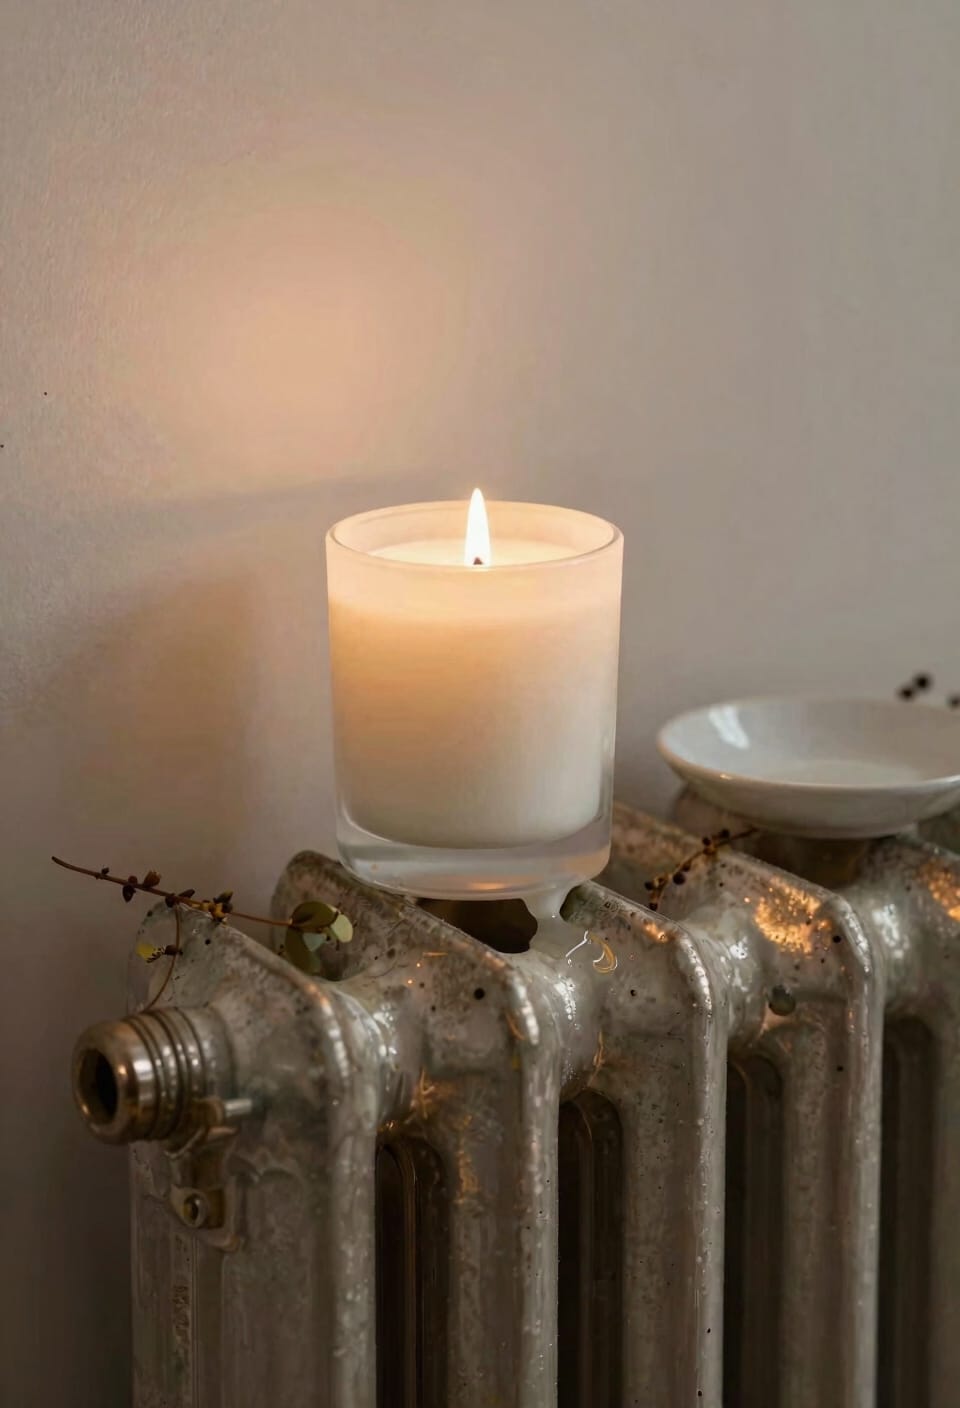
Now, if the stovetop method feels like too much fussing around—and I get it, not everyone wants to babysit a pot of water—there’s a beautifully lazy alternative that’s been sitting in your home the whole time. I’m talking about your radiator or heat vent. Just drop your wax melt into a small glass jar or heat-safe bowl and position it nearby, not directly on the heat source. The consistent ambient warmth softens the wax gradually, releasing fragrance without any effort from you. This works especially well in winter when your heating’s already running. For radiator safety, keep containers away from the actual heat source, and always use ceramic or glass. You’ll get decent scent longevity since the gentle, steady heat prevents the fragrance from burning off too quickly.
Recommended Products
✔ MELT MORE, SELL MORE—30LBS AT ONCE : Scale up without slowing down. Designed for professional makers, the Leerie D15 Wax Melter holds up to 30 lbs of wax—enough to pour 120 4oz candles in a single session. Perfect for small businesses and studios handling wholesale orders, seasonal demand, or daily restocks. Big capacity, big results—minus the batch hassle.

Fast Melt 60 Candles for You: Achieving a rush order for a bulk order was made easy. TOAUTO 30Lbs wax melter can melt 30Lbs of candle wax and make 60 8-ounce candles at a time, greatly reducing your production time and making mass production of candles piece of cake. it's time to consider investing in a fully functional candle maker machine!

Fast Melt 80 Candles at A Time: The TOAUTO WMF-10L digital wax melter can handle a rush order for bulk candle production. It can melt 10 quarts of candle wax and create 80 4-ounce candles at a time, significantly reducing production time and making mass production easier.
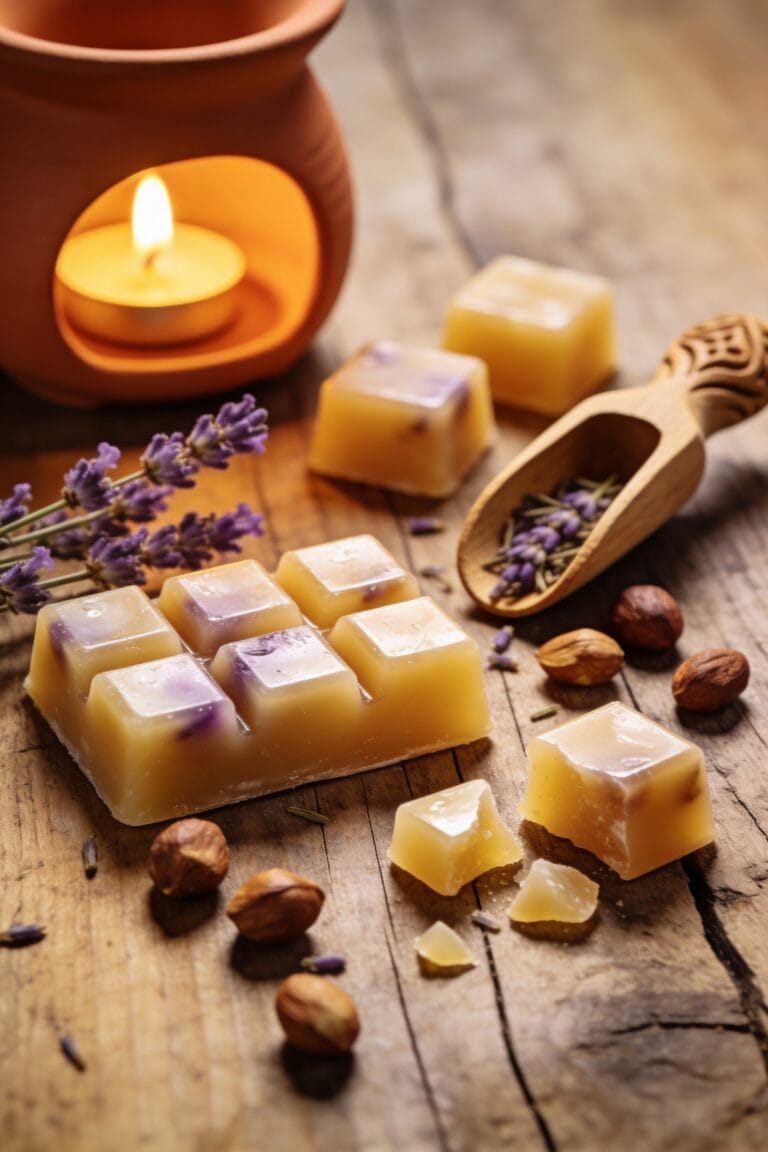
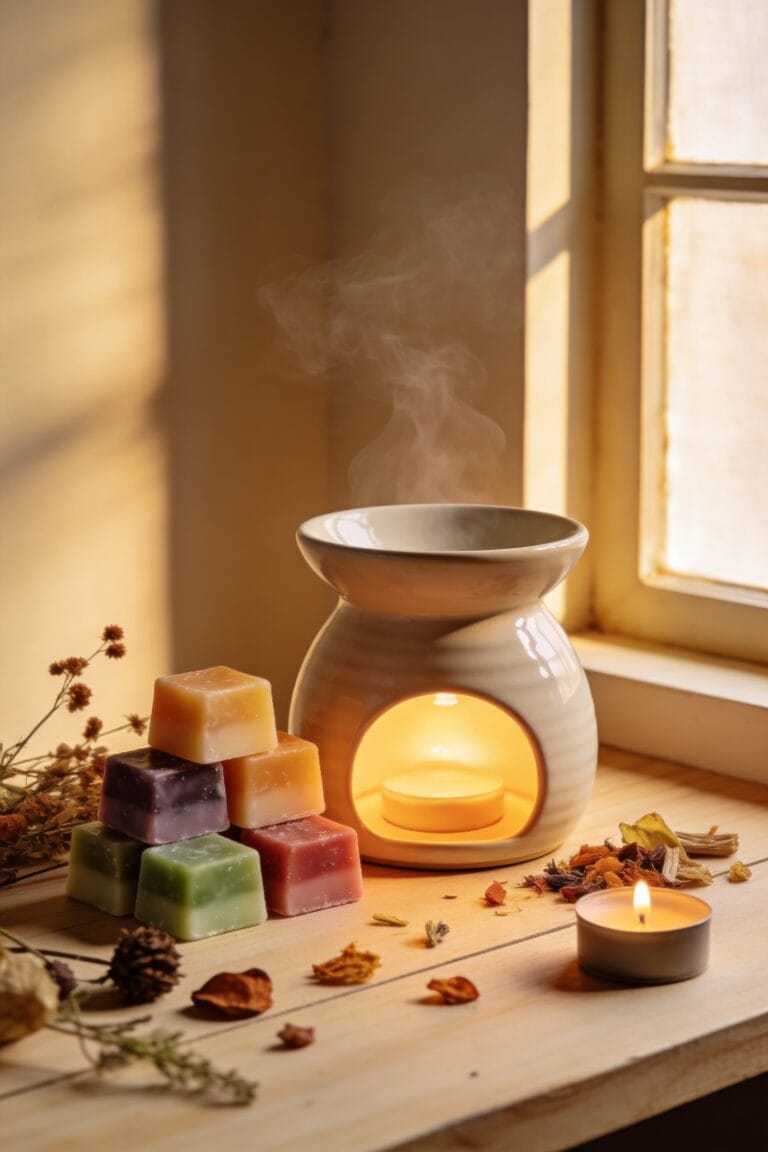
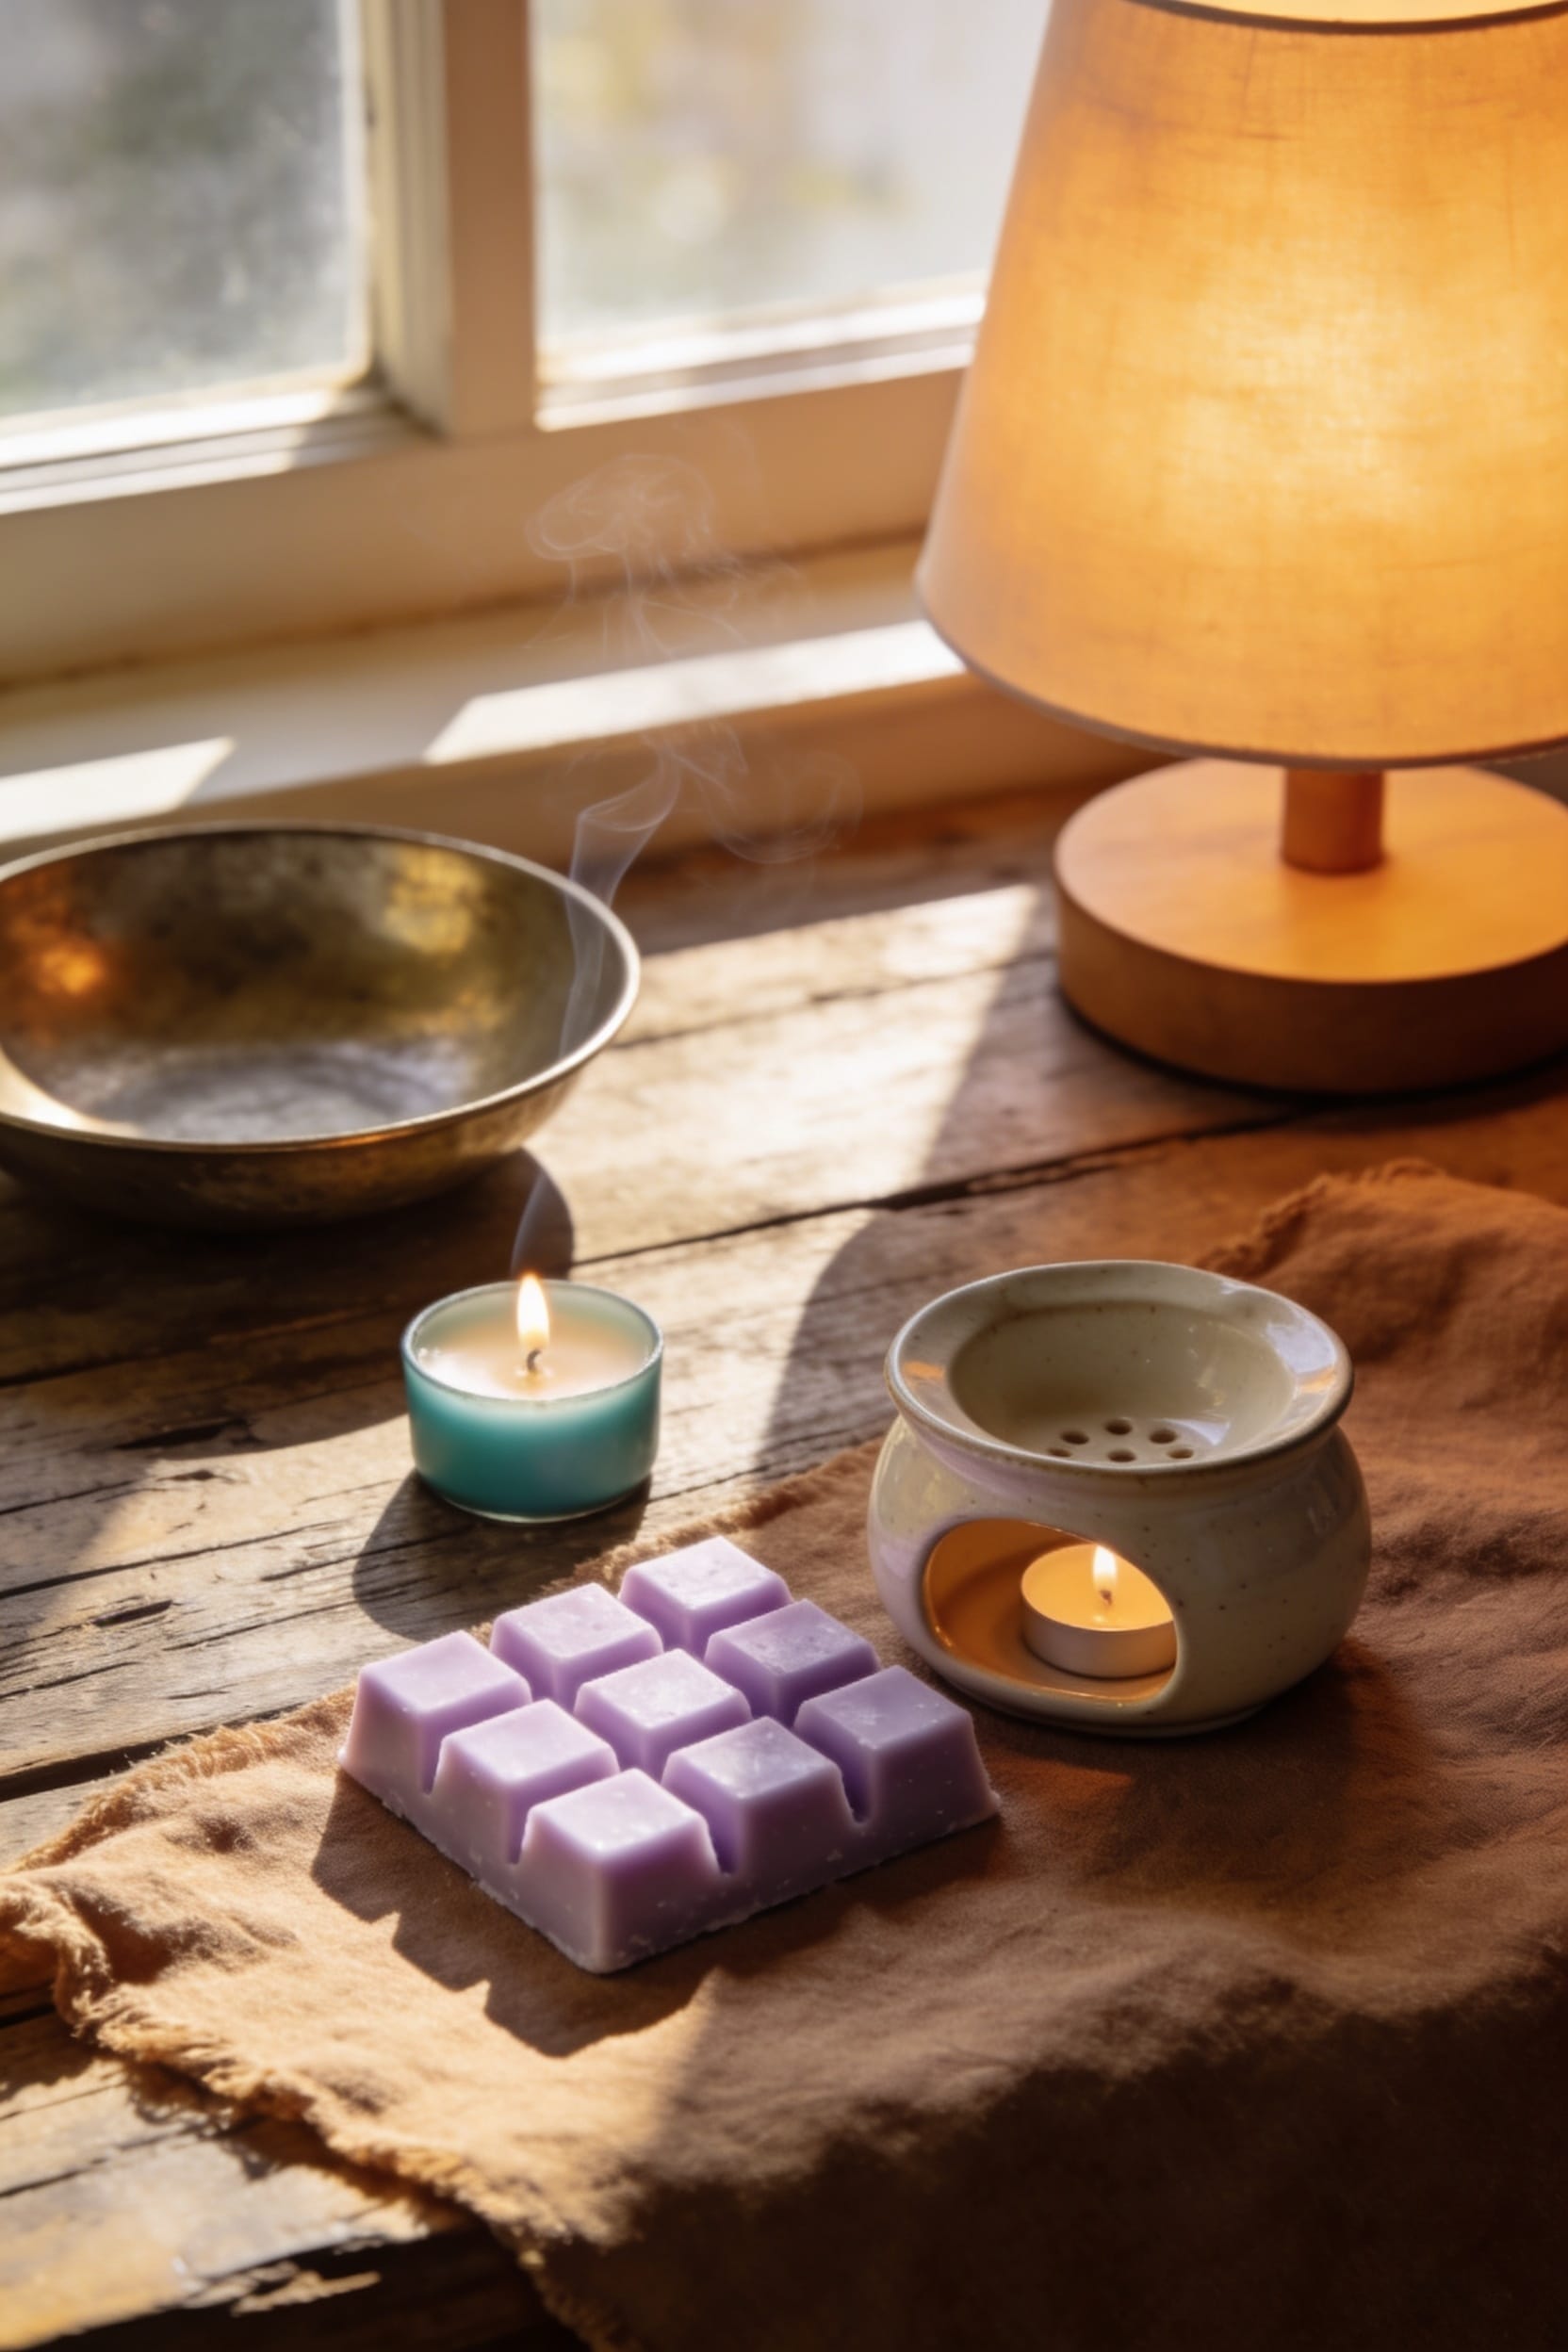
Tealight Candle Warmth
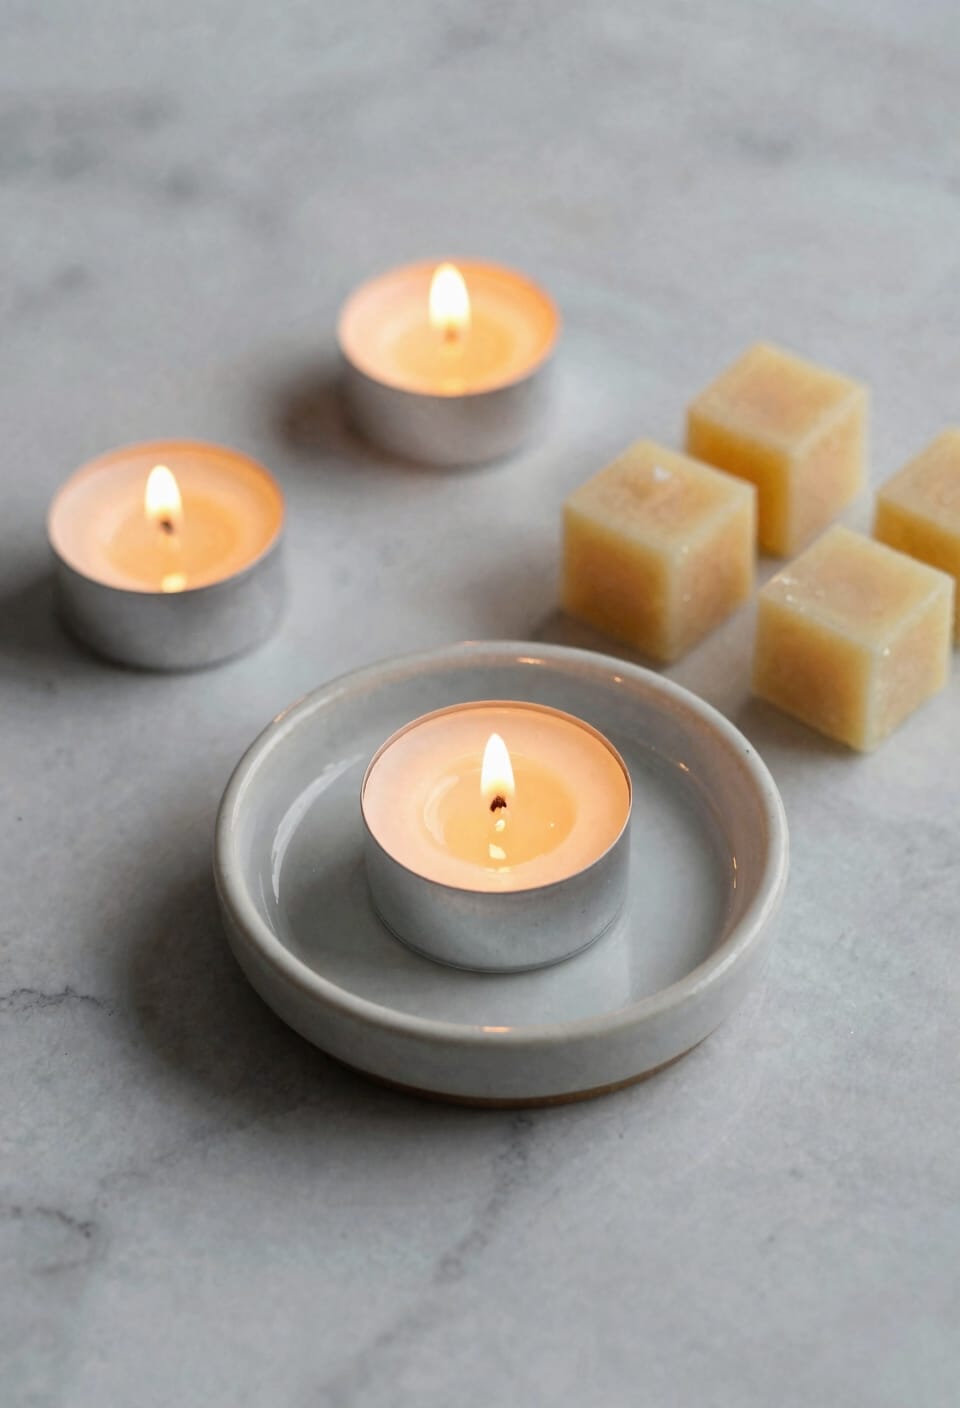
Want a warmer that doubles as ambient lighting? I love the tealight method—it’s simple and honestly kind of cozy. Place a heat-resistant dish over a burning tealight candle, then add your wax melt on top. The flame’s warmth melts the wax gradually, releasing fragrance while casting a gentle glow.
Now, here’s where people mess up: candle placement matters. Position your dish directly above the flame with enough clearance so the wick isn’t suffocated. Speaking of wicks, if you’re using a tealight, trim that wick to about quarter-inch before lighting—it prevents excessive soot and keeps your scent throw consistent.
Monitor it while burning. You want melting, not scorching. This method won’t heat as aggressively as dedicated warmers, but that’s honestly the appeal.
Recommended Products

Detailed Size to Apply: our ceramic oil burner is measured about 2.95 inches/ 7.5 cm in bottom diameter, 2.83 inches/ 7.2 cm in top diameter, and 3.39 inches/ 8.6 cm in height, the candle spoon is about 3.35 inches/ 8.5 cm in length, the suitable size allows the holder to move freely in and out of the bottom of the container

KITS MAKE THE PERFECT GIFT SET – This kit has everything you need, ready to go! Our Mod Warmer kits include our Happy Wax Mod Wax Warmer, along with a collection pack of our soy wax melts, and our “no-scrape” silicone wax melt dish!

MOD WAX WARMER FOR BIG SPACES: This elegant, ceramic wax melter comes with a built-in ceramic heater which means no more replacing light bulbs! Ideal for large spaces, this wax warmer will provide long-lasting fragrance diffusion without the hassle of frequent maintenance.
Sunlight: The Eco-Friendly Option

Harnessing sunlight to soften your wax melts sounds almost too simple, but I’m telling you it works—and it costs you absolutely nothing beyond what the sun’s already doing anyway. Just drop your melt into a shallow dish and park it on a sunny windowsill or outside on a warm day. Solar safety’s important though—use glass or ceramic containers, never plastic, since you’re dealing with heat. The scent intensity won’t knock you over the way a warmer would, which honestly makes this perfect for subtle fragrance that doesn’t overwhelm your space. It’s genuinely eco-friendly, requires zero electricity, and lets you recycle those old teacups gathering dust in your cabinet. Nature’s doing the heavy lifting here.
Quick Microwave Method
If you’re short on time and patience—and let’s be honest, who isn’t—the microwave method is your speed run to melted wax. I’ll level with you: this is fast, but it’s not foolproof.
Here’s the thing: place your wax melt in a microwave-safe dish and heat it in 10 to 15-second bursts. Rapid melting happens, sure, but uneven heating is the trade-off. You might end up with molten edges while the center stays stubbornly solid.
Pull the dish out carefully—it’ll be hot enough to cause real damage. Position your melted wax toward the center of the room so the scent actually spreads instead of pooling in one corner like it’s antisocial.
It works. Just don’t overdo it, or you’ll chase fumes and regret.
Recommended Products

![Freshware Compostable Clamshell Food Containers [8x8] 3-Compartment, Disposable - Paper Food Containers - Microwave & Freezer Safe, Stackable (Pack of 200)](https://m.media-amazon.com/images/I/41iIVOwlTGL._SL500_.jpg)
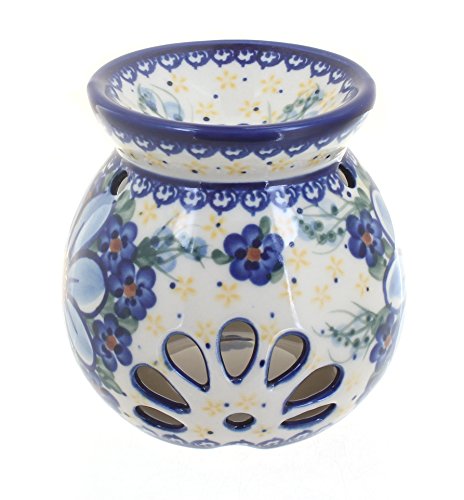
Expertly handcrafted in Poland by skilled artisans, each piece reflects generations of ceramic tradition, offering exceptional durability, authentic charm, and timeless beauty for your home.
Mistakes to Avoid When Melting Wax Without a Warmer
Now that you’ve got six different ways to melt wax without a warmer, here’s the tricky part: you can mess up almost any of them if you’re not paying attention. First, watch out for overheating hazards—cranking your microwave too long or placing a container directly on a hot burner will scorch your wax and release nasty fumes you don’t want breathing in. Container selection matters more than you’d think. Glass and ceramic handle heat beautifully, but plastic melts faster than your resolve at a candle sale. Don’t use thin dishes either; they’ll crack under temperature stress. Also, never leave melting wax unattended near flames or heat sources. You’re going for gentle, gradual melting, not a science experiment gone wrong.
Frequently Asked Questions
How Long Do Wax Melts Typically Last When Melted Using Alternative Methods?
I’d say melt duration typically ranges from 4-8 hours, depending on your method and wax quality. Scent longevity varies—water-based methods release fragrance gradually, while heat methods provide faster, more intense scent dispersal initially.
Can I Reuse Wax Melts After They’ve Cooled and Solidified Again?
Yes, you can reuse them—I’ve done it countless times! Just watch re-melting safety and know fragrance degradation happens with each cycle. They’ll work, but scent weakens eventually.
What Scent Throw Differences Exist Between Warmer and Non-Warmer Melting Methods?
I’ve found that dedicated warmers provide superior scent intensity and a wider throw radius compared to alternative methods. Non-warmer techniques typically deliver gentler fragrance distribution, though sunlight and tealight methods work reasonably well for smaller spaces.
Are Certain Wax Melt Brands Better Suited for Alternative Melting Techniques?
Have you noticed how fragrance concentration varies across brands? I’ve found that higher-quality wax melts with stronger scent profiles work best with alternative methods. Brand compatibility matters—premium brands’ concentrated formulas perform excellently without traditional warmers.
How Do I Safely Dispose of Used Wax Melts After Melting?
I’ll help you safely dispose of used wax melts. Let the wax cool completely, then scrape it into a trash bin or compost pile. For minimal environmental impact, I recommend reusing containers or recycling them responsibly.
Conclusion
You’ve now got five methods tucked in your back pocket, each one waiting to rescue your wax melts from a life of neglect. But here’s where I leave you hanging—which technique will you actually try first? The beauty is you probably have everything you need already sitting around your home. So stop scrolling, grab those melts, and get started. Your nose will thank you.